50
ScoopTeam - User manual - Draft 0002
6.
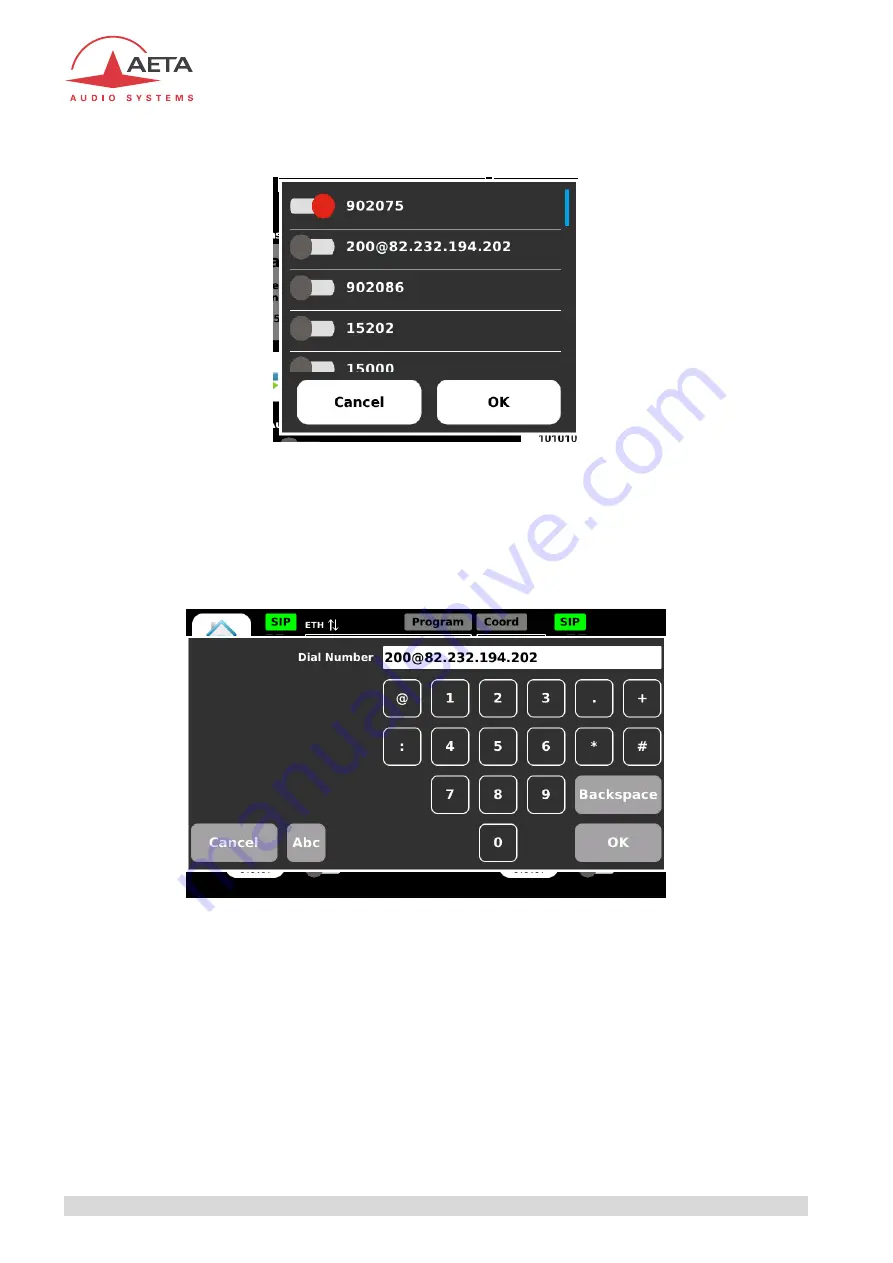
“Call history” button: touch the button and the “Call history” pop-up box opens, where you can
pick a destination from the past called numbers.
Once confirmed with the “OK” button, the selected number is set inside the connection pad,
ready for calling out.
Note that only relevant numbers are shown: previous ISDN numbers called are not displayed if
the current network is an IP interface, and previous AoIP destinations called are not displayed if
the current network interface is ISDN.
7.
“Dial” button: touch the button and the dial keypad pops up.
You can edit the last number or enter a new number (it is possible to switch to the full
alphanumeric keypad if necessary: touch the “Abc” button). Once you validate with OK, the
edited number is set inside the connection pad, ready for calling out.
8.
“Coding” shortcut button: touch the button to call the menu, and go directly to the
Coding
branch, for the selected codec. There you can set up the coding algorithm and parameters for
the codec. The resulting configuration is shown in the connection pad, ready for launching an
outgoing call. You can find further (xxx) the detailed description of this branch in the menu.
9.
“Auto redial” switch: when this feature is activated, codec 1 restarts a call to the destination in
case the connection is dropped undesirably. The feature is described in detail in 3.4.2, Auto-
redial feature, and its parameters can be set in the
Tools
/
Miscellaneous
branch of the menu,
Auto Redialing
section (see further xxx).


