4 8
PPC-S123 User's Manual
6.1
Introduction
The PPC-S123 has an onboard AGP flat panel/VGA interface. The
specifications and features are described as follows:
6.1.1 Chipset
The PPC-S123 uses a Lynx EM4 SMI710 chipset from Silicon Motion
Inc. for its AGP/SVGA controller. It supports many popular LCD, EL,
and gas plasma flat panel displays and conventional analog CRT
monitors. The SMI 710 VGA BIOS supports monochrome LCD, EL,
color TFT and STN LCD flat panel displays. In addition, it also
supports interlaced and non-interlaced analog monitors (color and
monochrome VGA) in high-resolution modes while
maintaining complete IBM VGA compatibility. Digital monitors
(i.e. MDA, CGA, and EGA) are NOT supported. Multiple frequency
(multisync) monitors are handled as if they were analog monitors.
6.1.2 Display memory
With onboard 4 MB display memory, the VGA controller can drive CRT
displays or color panel displays with resolutions up to 1280 x 1024 at
16 M colors.
6.2
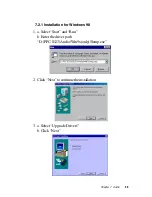
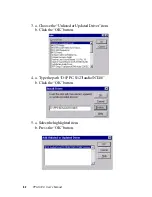
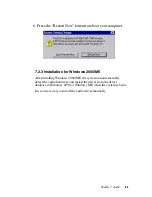
Installation of SVGA Driver
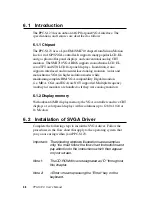
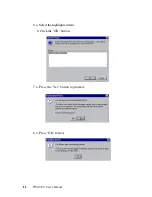
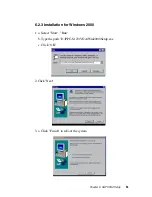
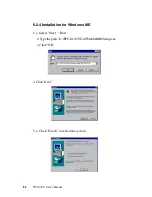
Complete the following steps to install the SVGA driver. Follow the
procedures in the flow chart that apply to the operating system that
you you are using within your PPC-S123.
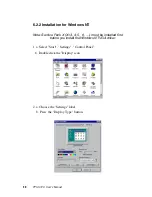
Important: The following windows illustrations are examples
only. You must follow the flow chart instructions and
pay attention to the instructions which then appear
on your screen.
Note 1:
The CD-ROM drive is designated as "D" throughout
this chapter.
Note 2:
<Enter> means pressing the "Enter" key on the
keyboard.
Содержание PPC-S123
Страница 1: ...PPC S123 UltraSlim Pentium III processor based 12 1 panel PC User sManual ...
Страница 20: ...8 PPC S123 User s Manual 1 4 Dimensions Figure 1 1 Dimensions of the PPC S123 Unit mm ...
Страница 28: ...16 PPC S123 User s Manual ...
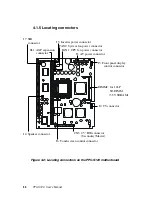
Страница 35: ...Chapter 3 Hardware and Peripheral Installation 23 Figure 3 7 CPU installation ...
Страница 68: ...56 PPC S123 User s Manual ...
Страница 76: ...64 PPC S123 User s Manual ...
Страница 77: ...Award BIOS Setup This chapter describes how to set BIOS configuration data CHAPTER 8 ...
Страница 96: ...84 PPC S123 User s Manual ...
Страница 101: ...Chapter 9 Touchscreen 89 3 Click Yes to accept the agreement 4 Click Next 5 Choose the directory then click Next ...
Страница 102: ...9 0 PPC S123 User s Manual 6 Click Next 7 Click Next ...
Страница 103: ...Chapter 9 Touchscreen 91 8 Click Finish to complete the installation Then follow the instruction to reboot the computer ...
Страница 105: ...Chapter 9 Touchscreen 93 3 Click Yes to accept the agreement 4 Click Next ...
Страница 106: ...9 4 PPC S123 User s Manual 5 Choose the directory then click Next 6 Click Next ...
Страница 107: ...Chapter 9 Touchscreen 95 7 Click Finish 8 Click Finish to complete the installation ...
Страница 110: ...9 8 PPC S123 User s Manual 3 Click Next to accept agreement 4 Click Install to start the installation ...
Страница 112: ...100 PPC S123 User s Manual ...
Страница 116: ...104 PPC S123 User s Manual ...
Страница 117: ...Full Disassembly Procedures APPENDIX B ...
Страница 122: ...110 PPC S123 User s Manual ...
Страница 123: ...I O Pin Assignments C APPENDIX ...
Страница 128: ...116 PPC S123 User s Manual ...

