eWorx SE500 Series Switches
:
119
The following table describes the items in the previous figure.
Item
Description
Ring ID
Enter a number to specifies a ranging from 1 to 255 to identify a given
X-Ring Pro group.
Port 1
Click the drop-down menu to define the port designation.
Port 2
Click the drop-down menu to define the port designation.
Add
Click
Add
to save the values and update the screen.
Table 62: L2 Switching > X-Ring Pro > X-Ring Pro Groups > X-Ring Pro Groups Settings
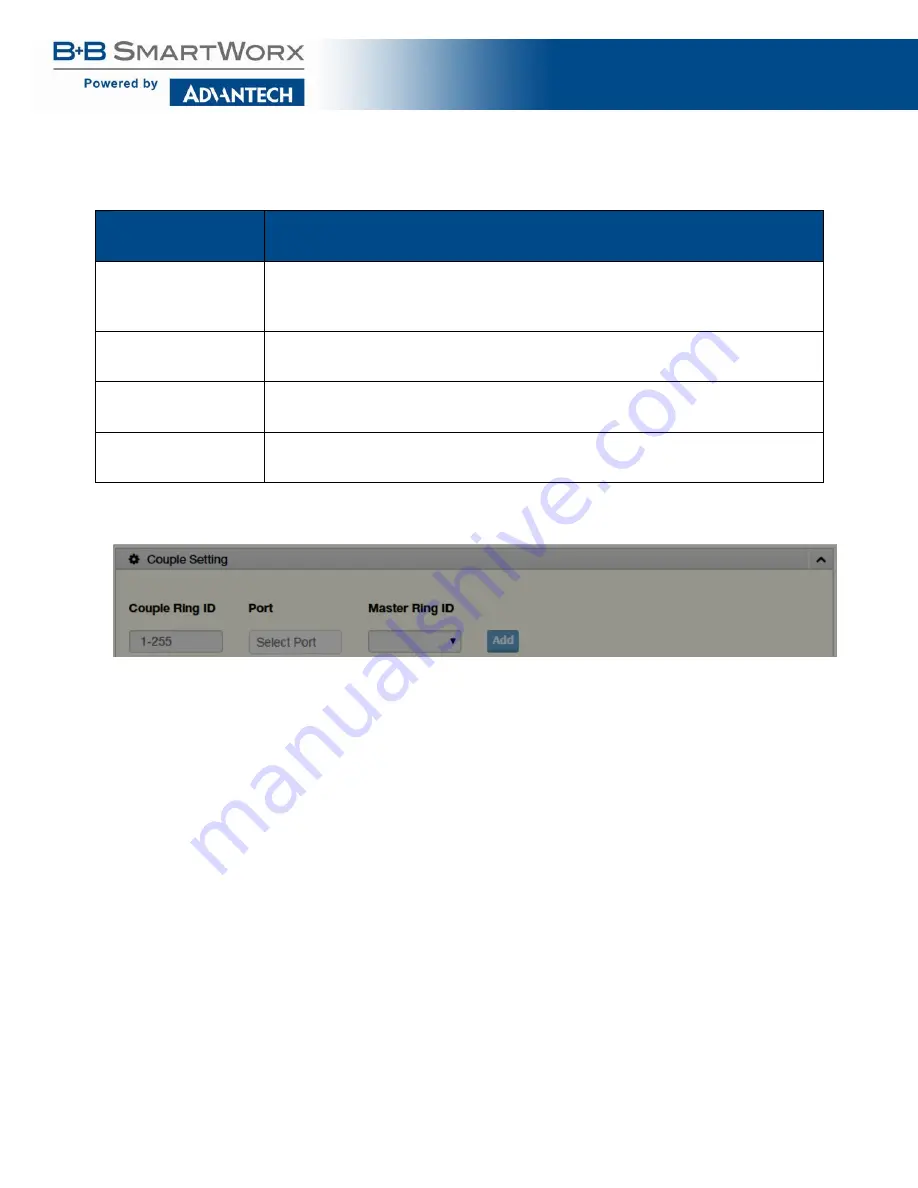
Figure 74: L2 Switching > X-Ring Pro > X-Ring Pro Groups > Couple Setting
Содержание eWorx SE500
Страница 1: ...eWorx SE500 Series Switches User Manual ...
Страница 28: ...eWorx SE500 Series Switches 28 System LED Panel Figure 2 System LED Panel ...
Страница 70: ...eWorx SE500 Series Switches 70 Figure 38 System DHCP Client Option 82 ...
Страница 90: ...eWorx SE500 Series Switches 90 Figure 49 L2 Switching 802 1Q VLAN Port to VLAN ...
Страница 96: ...eWorx SE500 Series Switches 96 Figure 52 L2 Switching GARP GARP Settings ...
Страница 128: ...eWorx SE500 Series Switches 128 Figure 81 Security Storm Control Port Settings ...
Страница 139: ...eWorx SE500 Series Switches 139 Figure 90 Security 802 1x 802 1x Settings ...
Страница 150: ...eWorx SE500 Series Switches 150 Figure 98 QoS General DSCP Mapping ...
Страница 152: ...eWorx SE500 Series Switches 152 Figure 99 QoS General IP Precedence Mapping ...
Страница 159: ...eWorx SE500 Series Switches 159 Figure 106 Management LLDP LLDP System Settings ...
Страница 172: ...eWorx SE500 Series Switches 172 Figure 116 Management Power Over Ethernet PoE Port Settings ...
Страница 188: ...eWorx SE500 Series Switches 188 Figure 128 Management RMON Rmon Alarm ...
Страница 192: ...eWorx SE500 Series Switches 192 Figure 131 Diagnostics Ping Test ...
Страница 205: ...eWorx SE500 Series Switches 205 Figure 140 Tools Upgrade Manager ...


