Pioneer Gripper
Chapter 3
Installation and Testing
Please read through this chapter carefully before you attempt to attach the Pioneer
Gripper to your robot. If for any reason you do not wish to perform the work yourself,
contact
Activ
Media Robotics and make arrangements to have the assembly installed at
the factory.
S
TEP
1: R
EMOVE
P
OWER
Switch
Main Powe
r off. REMOVE ALL BATTERIES! If you have the Pioneer 3
docking/charging accessory, reach in through the robot’s back door and remove the
automotive spade-type fuse from its socket on top of the battery box.
Skip to
Step 6
if the Gripper came with your new robot;
it just needs to be attached.
S
TEP
2: L
OOSEN OR
R
EMOVE THE
R
OBOT
'
S
N
OSE
For new installations, you need to run the power and signal through the nose and into
the body of your Pioneer robot. Use the 3mm hex wrenches that came with the robot.
Depending on the model, two or three screws hold the nose to the underside of the
sonar ring. The bottom of the DX nose is hinged; another screw attaches the nose to the
underside of the AT. Swing the unfastened DX nose down (the nose comes completely
off with older models), or the AT nose towards the left side of the robot.
Also remove the plastic plug that covers the rectangular gripper cable-access hole in
the front face, lower right corner of the nose.
S
TEP
3: R
EMOVE
T
OP
D
ECK
P
LATE
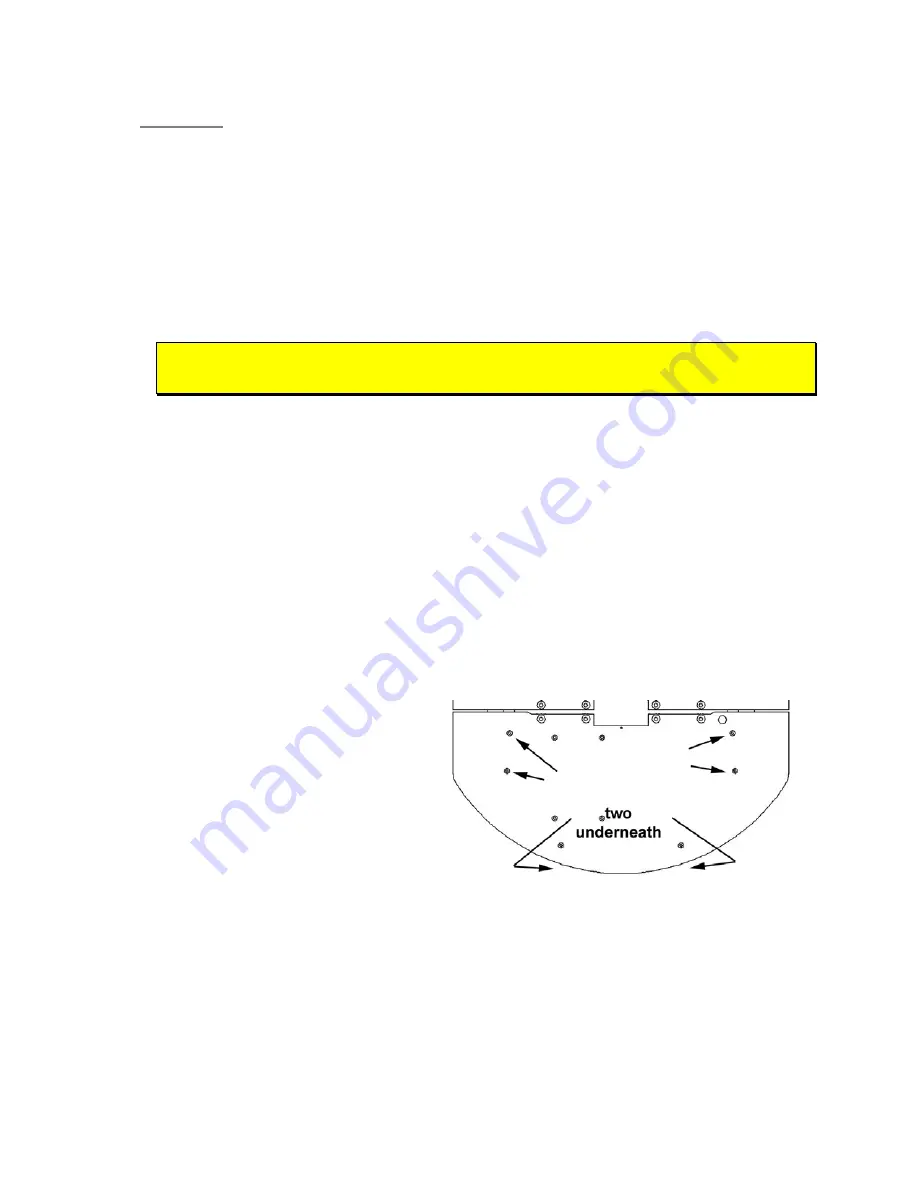
Using the 3mm hex wrench that
came with your robot, remove
the screws (Figures nearby) that
attach the front top deck plate to
the robot’s body.
Figure 3. Pioneer 3-DX and -AT front deck screws
Lift the front top deck open and
attach the cables through the
front half of the robot per Step 4.
Close and re-attach the front half
of the top plate, then open the
rear half of the top plate to
access the termination points for
the Gripper cables.
5


