19
Getting Started with the NAS System
· Installation
Connecting to NAS Management GUI
1. Configure the network setting of your host system (computer that will be used to manage the NAS) ),
i.e. add network IP address such as 172.16.0.5 subnet 255.255.0.0, to enable connection to NAS
default IP 172.16.0.1, (if there is no DHCP server in your network). Refer to Table below.
2.
Open web browser and type in the address bar
http://172.16.0.1:3000
, or use the dynamic
IP assigned to the NAS, if a DHCP server is available.
3.
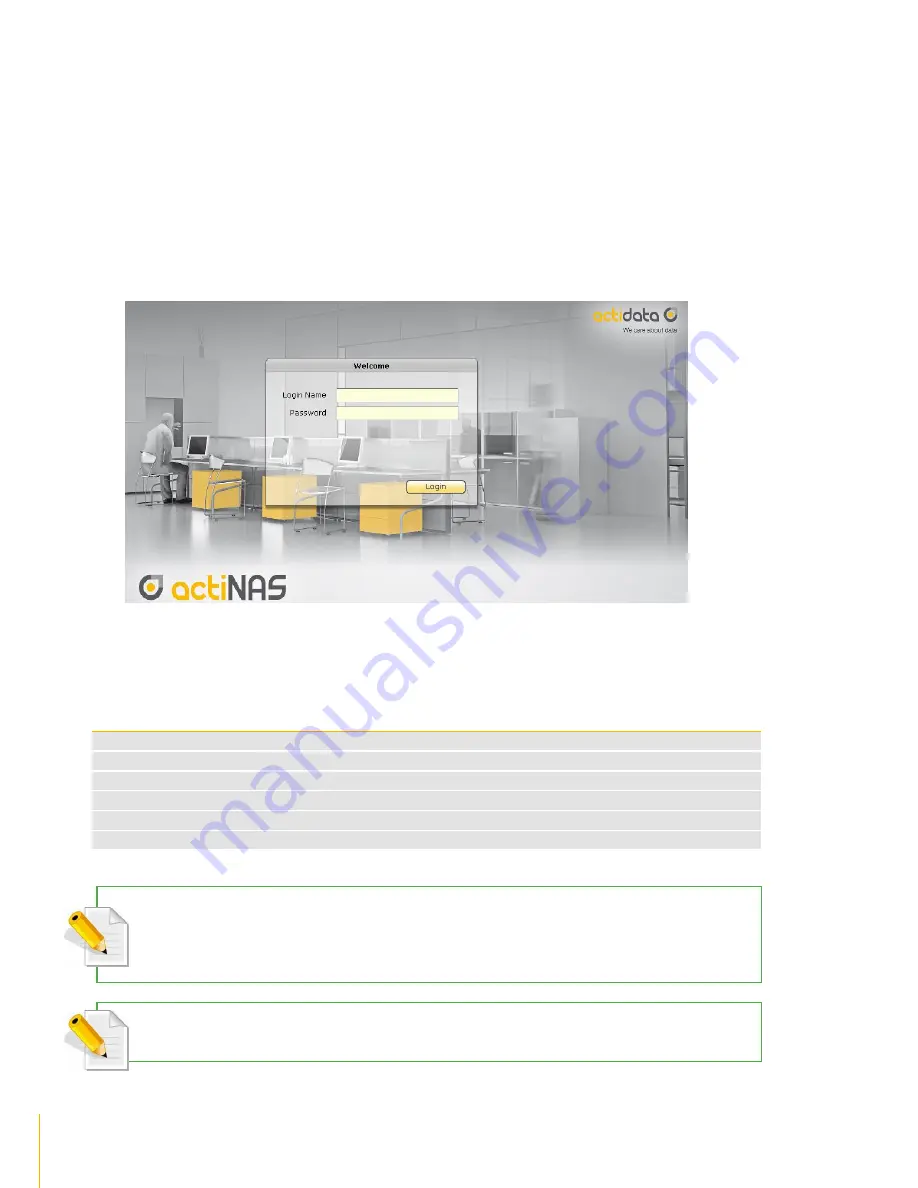
The actiNAS Login Page will be displayed.
4. Enter the Login Name account and Password. See default settings in the table below.
NAS Default Settings
Entity
Default Value
LAN0 (eth0) IP address
172.16.0.1
TCP port
3000
Net Mask
255.255.0.0
Hostname
NAS
Login Name
admin
Password
00000000
NOTE
:When the system initially has no NAS configuration (Unit is new and drives have just been used and
inserted in the disk slots), after login to GUI, the Quick Setup option will be displayed. Refer to the Quick Setup
information in the next section.
NOTE
: The admin password for NAS management GUI login can be changed in Account
Account tab.
Содержание actiNAS cube RDX
Страница 27: ...27 Overview of the NAS Setup Phases Installation Please refer to page 30 for more information ...
Страница 60: ... actiNAS Manager Storage Share 60 7 Click Save when done Then Share Folder will be created ...
Страница 73: ...73 Storage Share actiNAS Manager ...
Страница 126: ... actiNAS Manager System 126 8 Select search tab for search options 9 Click the logout link to logout ...
Страница 155: ...155 File Manager actiNAS Manager Admin is logged in Local user testuser is logged in ...


