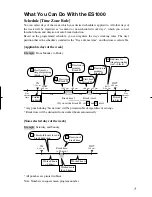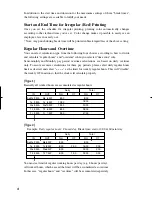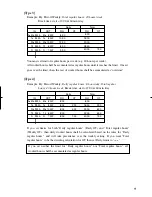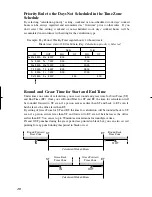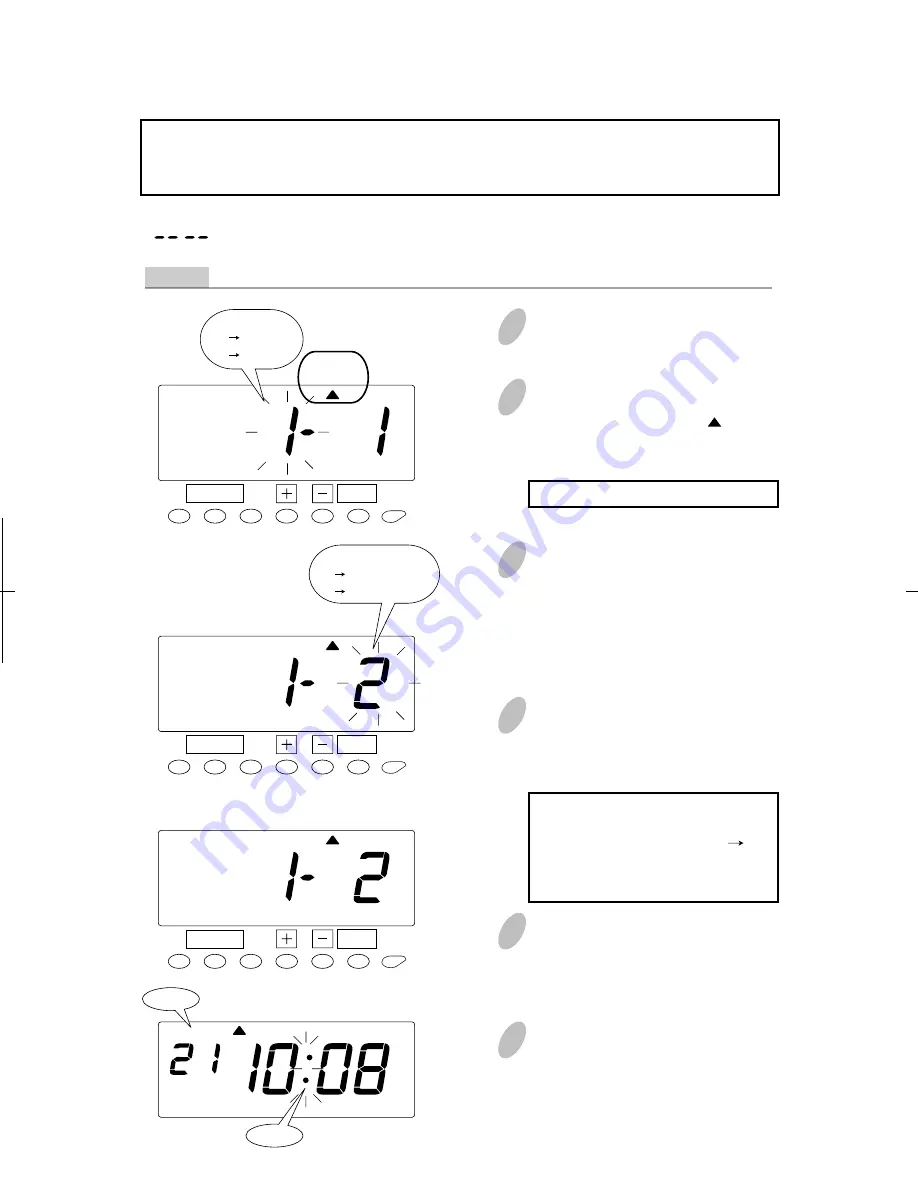
Selecting the Print Format
1
Push the [FUNCTION] button for 2
seconds.
3
In case of the example, push the [+]
or [-] button to set the left-side
number at "1" to select "AM/PM"
format and then push the [SET]
button. At that moment, flashing of
the display will change to the right-
side number.
4
Push the [+] or [-] button to set the
desired minute type. In case of the
1/100 min., set the right-side
number of the display at "2".
Even if you select "2", only
calculation result is printed in the
hundredths (1/100) min. IN
and OUT punches are always
printed in regular (1/60) min.
6
Push the [SETTING START/END]
button to get out of setting mode.
Make sure "date" and "time" are
indicated on the display and the
colon is flashing. Then replace the
cover and lock.
5
Push the [SET] button to finish the
setting. At that moment, the display
will change from flashing to steady,
and the setting is now completed.
2
Once a number on the display starts
flashing, position the " " mark
under the "PRINT FORMAT" mark
by pressing [FUNCTION] button.
A flashing number can be changed.
27
21
SET
AM
Date
Colon
FORMAT
SET
FORMAT
SET
FORMAT
[HOURS]
1 AM/PM
2 24Hour
[MINUTES]
1 Regular
2 Hundredths
FUNCTION
FUNCTION
FUNCTION
You will not be allowed to change minute print format while in a current pay period.
Error message E-49 will be displayed. You may change a current minute print format
after you reset all time cards. Please refer to "Card Resetting" section of this manual.
Push the [SETTING START/END] button before you start setting. At that moment,
" " is indicated on a display and you go into setting mode.
Example Change the print format of the hour to "AM/PM" and the minute to "1/100" min.
Содержание ES1000
Страница 1: ...USER S MANUAL ...

