


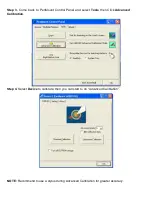

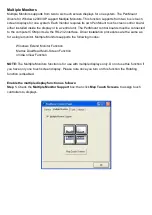


the system understands where the displays are.
4. If you more monitor mapping one touch screen,
Please press „S‟ to skip mapping step.
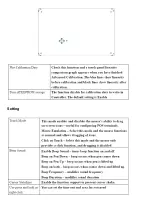
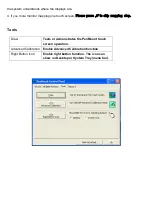
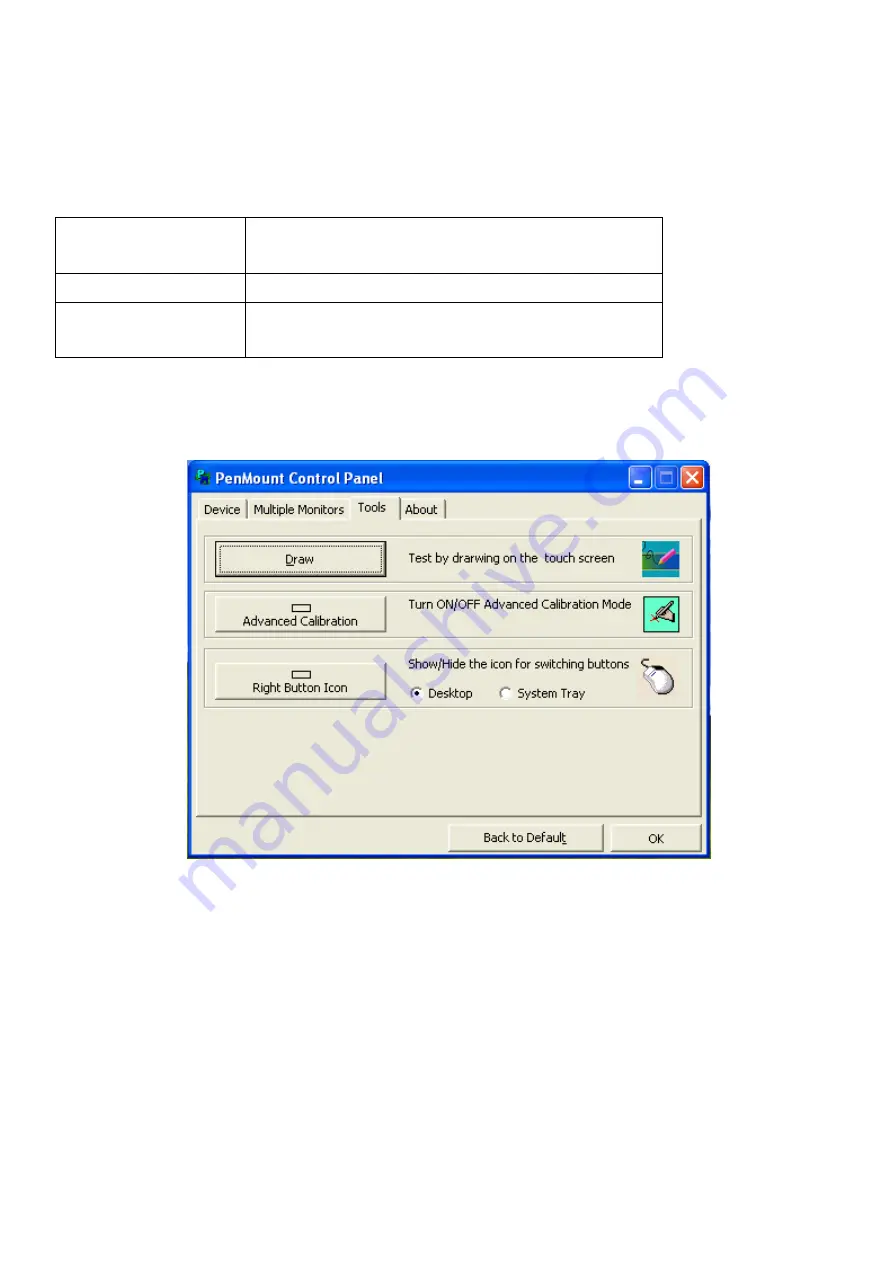
Tools
Draw
Tests or demonstrates the PenMount touch
screen operation.
Advanced Calibration
Enable Advanced Calibration function
Right Button Icon
Enable right button function. The icon can
show on Desktop or System Tray (menu bar).
Содержание PCH3582
Страница 8: ...1 2 Dimensions Figure 1 1 Dimensions of PCH3582...
Страница 9: ...Figure 1 2 Dimensions of PCH3782...
Страница 10: ...Figure 1 3 Dimensions of PCH3982...
Страница 13: ...Figure 2 3 Jumpers and Connectors Location TOP Figure 2 4 Jumpers and Connectors Location Bottom...
Страница 33: ...1 4...
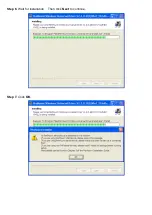
Страница 64: ...Step 5 Click Next Step 6 Click Next to continue...
Страница 68: ...Step 5 Click Install to begin the installation Step 6 Click Finish to compete the installation...
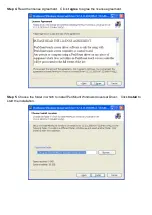
Страница 70: ...Step 3 Click Yes to continue the installation Step 4 Wait for installation...
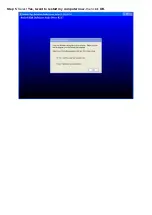
Страница 71: ...Step 5 Select Yes I want to restart my computer now then click OK...
Страница 75: ...Step 6 Wait for installation Then click Next to continue Step 7 Click OK...
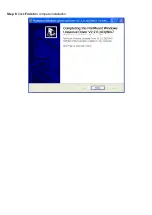
Страница 76: ...Step 8 Click Finish to compete installation...
Страница 81: ...Setting...
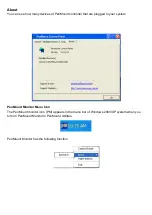
Страница 82: ...About This panel displays information about the PenMount controller and driver version...


