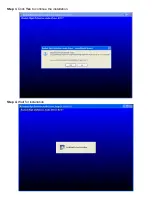


Step 2.
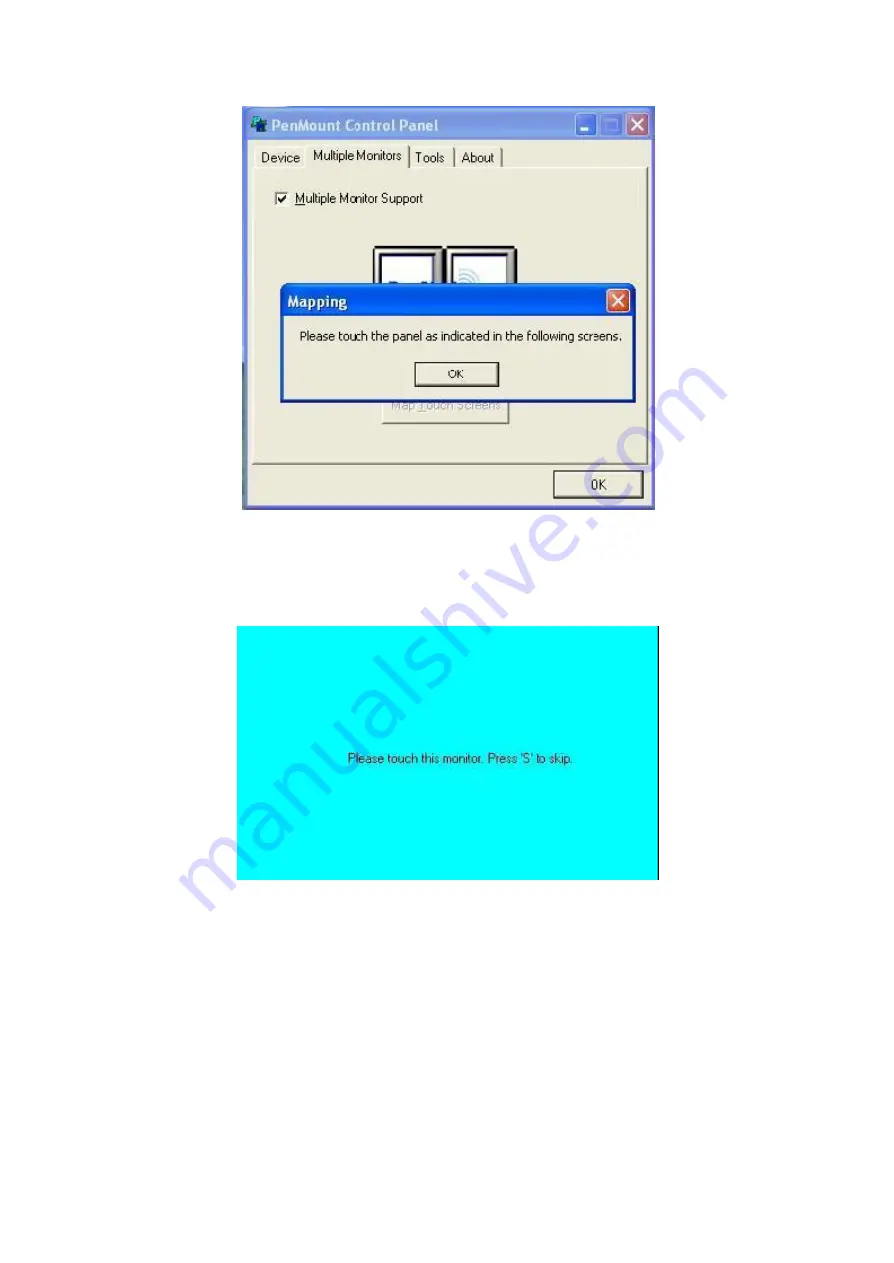
When the mapping screen message appears, click
OK.
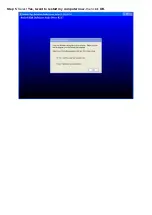
Step 3.
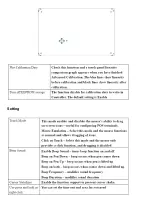
Touch each screen as it displays
Please touch this monitor. Press „S‟ to skip
Following this
sequence and touching each screen is called
mapping the touch screens
.
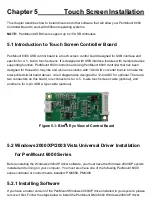
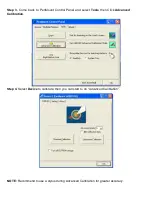
Step 4.
After the setting procedure is finished, maybe you need to calibrate for each panel and
controller
NOTES:
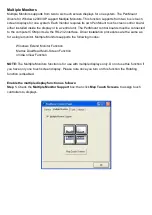
1. If you used a single VGA output for multiple monitors, please do not use the
Multiple Monitors
function. Just follow the regular procedure for calibration on each of your desktop monitors.
2. The Rotating function is disabled if you use the Multiple Monitors function.
3. If you change the resolution of display or screen address, you have to redo
Map Touch Screens
so
Содержание PCH3582
Страница 8: ...1 2 Dimensions Figure 1 1 Dimensions of PCH3582...
Страница 9: ...Figure 1 2 Dimensions of PCH3782...
Страница 10: ...Figure 1 3 Dimensions of PCH3982...
Страница 13: ...Figure 2 3 Jumpers and Connectors Location TOP Figure 2 4 Jumpers and Connectors Location Bottom...
Страница 33: ...1 4...
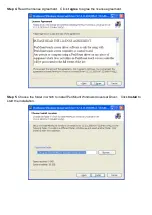
Страница 64: ...Step 5 Click Next Step 6 Click Next to continue...
Страница 68: ...Step 5 Click Install to begin the installation Step 6 Click Finish to compete the installation...
Страница 70: ...Step 3 Click Yes to continue the installation Step 4 Wait for installation...
Страница 71: ...Step 5 Select Yes I want to restart my computer now then click OK...
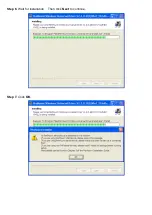
Страница 75: ...Step 6 Wait for installation Then click Next to continue Step 7 Click OK...
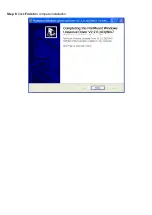
Страница 76: ...Step 8 Click Finish to compete installation...
Страница 81: ...Setting...
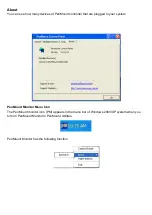
Страница 82: ...About This panel displays information about the PenMount controller and driver version...


