


//Start the super I/O chip programming
ENTERPRG
//Select the logical device 9, GP2
SELETDEV(9)
//Read GPIO Value
outportb(INDEXP, 0xE5);
cGP2 = inportb(DATAP);
cGP2 = cGP2 & 0xF;
//Exit the super I/O chip programming
EXITPRG
return cGP2;
}
//Write GPIO Port6
int WriteGP6(unsigned char cGP6) {
//Start the super I/O chip programming
ENTERPRG
//Select the logical device 8, GP6
SELETDEV(8)
//Write GP1 value
WRITEREG(0xE5, cGP6)
//Exit the super I/O chip programming
EXITPRG
return 0;
}
int main() {
unsigned char cGP;
//Initialize the GPIO port
InitGP2();
Содержание PCH3582
Страница 8: ...1 2 Dimensions Figure 1 1 Dimensions of PCH3582...
Страница 9: ...Figure 1 2 Dimensions of PCH3782...
Страница 10: ...Figure 1 3 Dimensions of PCH3982...
Страница 13: ...Figure 2 3 Jumpers and Connectors Location TOP Figure 2 4 Jumpers and Connectors Location Bottom...
Страница 33: ...1 4...
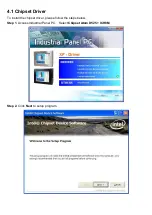
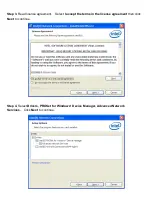
Страница 64: ...Step 5 Click Next Step 6 Click Next to continue...
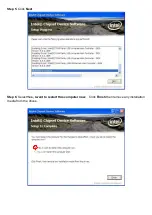
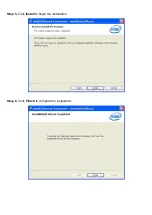
Страница 68: ...Step 5 Click Install to begin the installation Step 6 Click Finish to compete the installation...
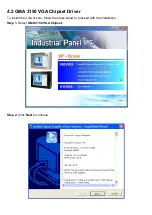
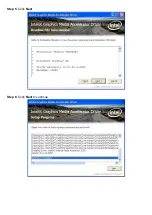
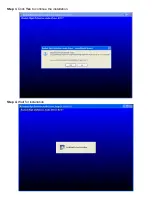
Страница 70: ...Step 3 Click Yes to continue the installation Step 4 Wait for installation...
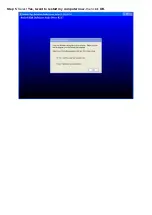
Страница 71: ...Step 5 Select Yes I want to restart my computer now then click OK...
Страница 75: ...Step 6 Wait for installation Then click Next to continue Step 7 Click OK...
Страница 76: ...Step 8 Click Finish to compete installation...
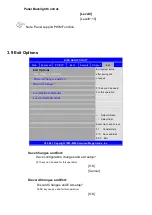
Страница 81: ...Setting...
Страница 82: ...About This panel displays information about the PenMount controller and driver version...


