LINESET CONNECTIONS
Locate the refrigerant lineset provided with the outdoor unit. On a flat, level
surface, carefully unroll the lineset to prepare and install at the factory connections
for the indoor unit just passed through the wall.
On the factory piping connections that were passed through the wall, remove the
gray and blue caps so you can prepare to install the lineset. On one end of the
lineset, also remove the gray and blue caps. Leave the other ends capped that will
be connected to the outdoor condenser.
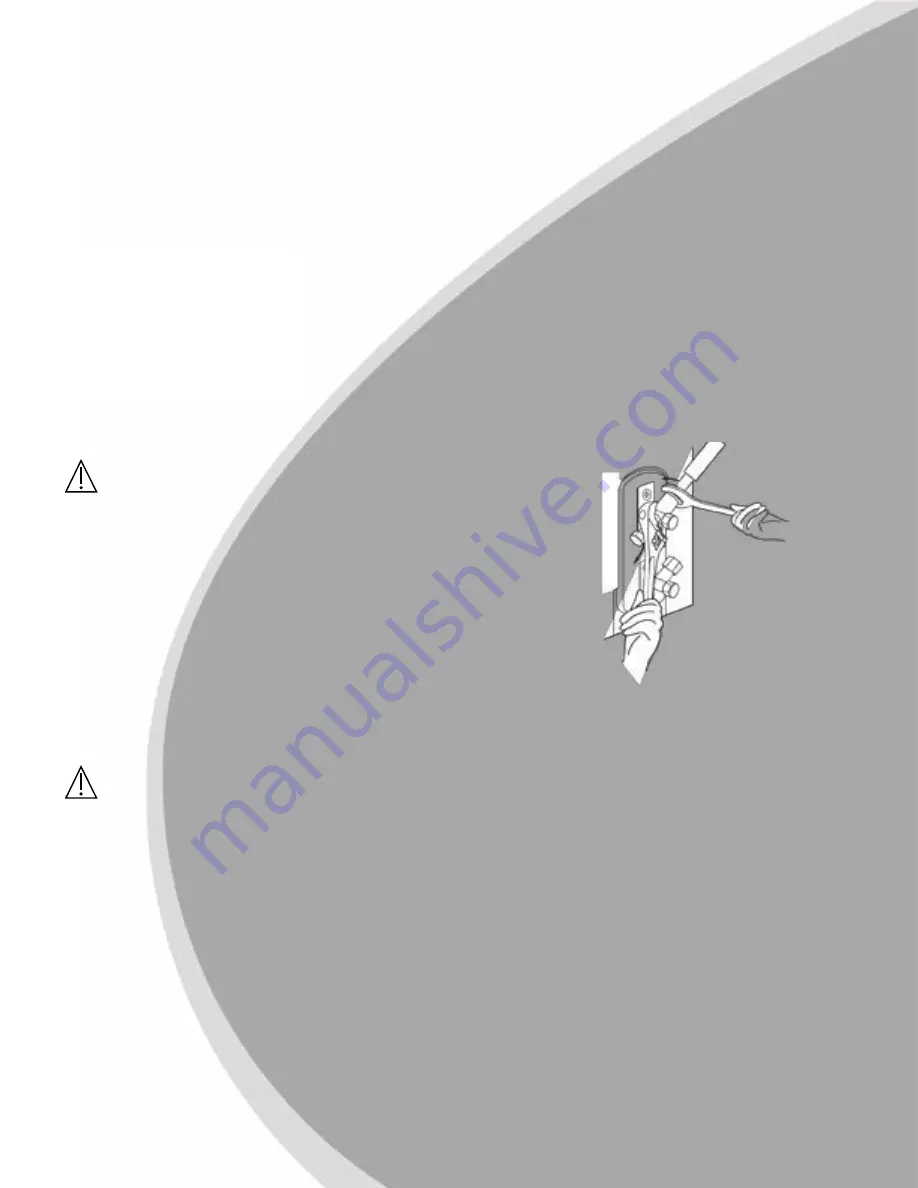
Line up the factory connections to the lineset fittings. Hand tighten the first few
threads and use the adjustable wrenches to tighten down the rest. Tighten unit all
the threads can't be seen, and the fittings are bottomed out together.
IMPORTANT
- Be sure to use two wrenches when
tightening the fittings, one to back up the factory
connection, and one to screw the lineset side
together. this will prevent the copper from twisting
and breaking during installation.
Set the outdoor condenser in place. pick a location that has no airflow obstructions
for the outdoor unit. make sure no combustible materials will be within proximity of
the unit.
IMPORTANT
-makes sure if the unit is being mounted to a wall
bracket, it has 6'' of clearance from the back of the unit to the wall,
12'' around each side, and 80'' from the front discharge fan to ensure
proper operation.
If mounting the outdoor to a unit to a ground pad, make sure the
surface is flat and level. on ground level installs, make sure the
unit has 12'' of clearance from the back of the unit to the wall, 12''
around each side, and 80'' from the front discharge fan to ensure
proper operation.
Remove the gray and blue caps on the other end of the refrigerant lineset not
installed yet. also remove the gray and blue caps at the connection ports for the
outdoor condenser.
16.
17.
18.
19.
20.
Содержание ACIQ-12W-EZ115
Страница 4: ......
Страница 5: ......
Страница 6: ......
Страница 17: ...DIAGRAM FOR PREVIOUS PAGE ...


