4 Configuring the system
50
Upgrading the CPU
This section includes instructions for removing and installing a CPU.
Important!
Always observe the ESD precautions when installing
or removing a system component. Refer to page 40.
Removing a CPU
1
Remove the system cover. See “To remove the top panel” on page
43.
2
Locate the CPU/heatsink/air-baffle assembly on the mainboard. See
“Mainboard layout” on page 9.
Warning! The heatsink may be very hot. After opening the
system, allow the heatsink to cool for several minutes if
the system was operating before you removed the cover.
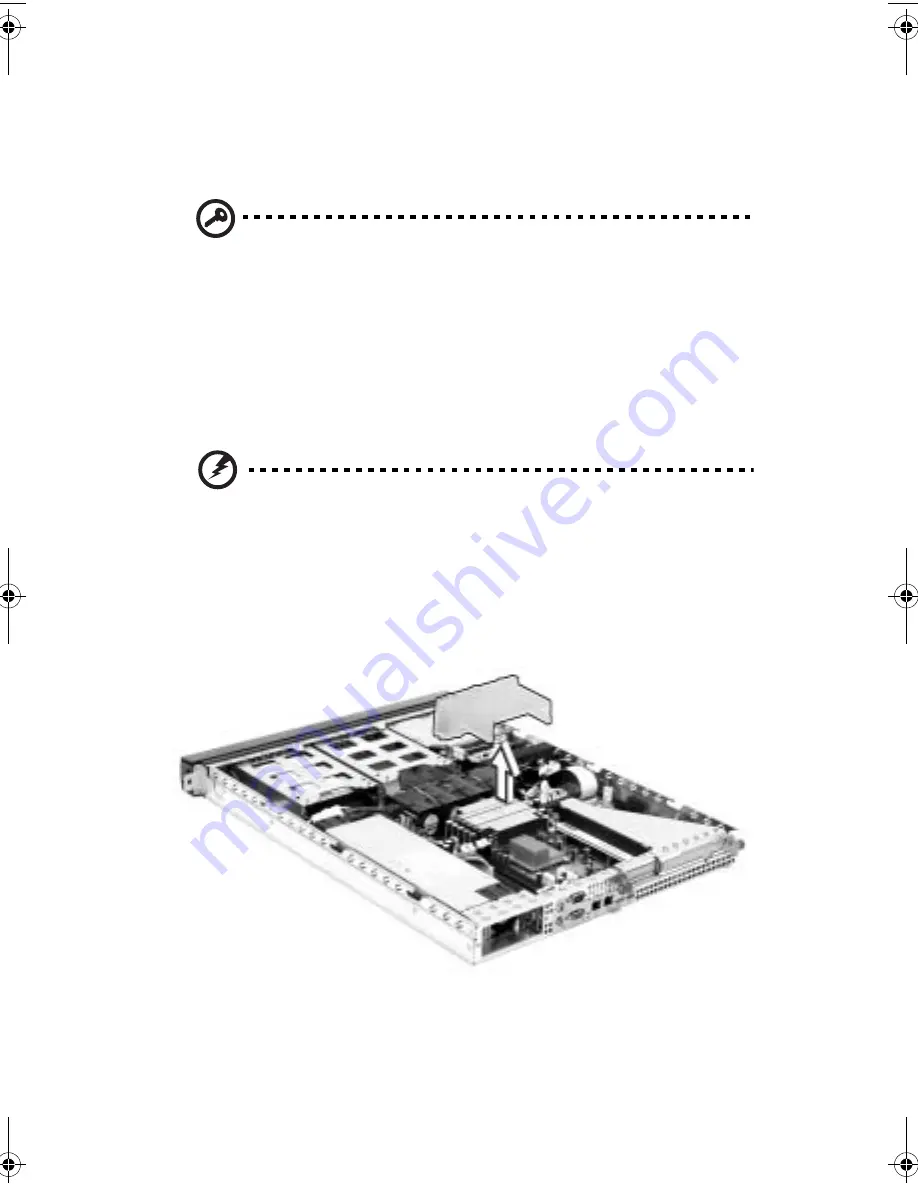
3
Remove the air-baffle from the heatsink, as shown below.
BB!S421!.!FO/cppl!!Qbhf!61!!Gsjebz-!Nbsdi!23-!3115!!5;1:!QN
Содержание R310-U-P3200 - Altos - R310
Страница 1: ...Acer Altos R310 User s Guide ...
Страница 10: ...Contents x ...
Страница 11: ...1 System information ...
Страница 17: ...2 System tour ...
Страница 18: ...This chapter provides locations of various components and ports and instructions on how to set up the system ...
Страница 25: ...15 12 ID ID indicator 12 SVGA monitor port 13 PS 2 keyboard port No Icon Description ...
Страница 27: ...3 Getting Started ...
Страница 28: ...This chapter gives information on setting up and starting to use your system ...
Страница 46: ...3 Getting Started 36 ...
Страница 47: ...4 Configuring the system ...
Страница 67: ...5 BIOS setup ...
Страница 90: ...5 BIOS setup 80 ...
Страница 91: ...Appendix A Management software installation ...
Страница 92: ...This appendix shows you how to install the ASM and EasyBUILDTM software packages ...
Страница 96: ...Appendix A Management software installation 86 ...
Страница 97: ...Appendix B Rack installation ...
Страница 107: ...Appendix C SATA RAID configuration utility ...
Страница 108: ...This appendix provides instructions for using the SATA RAID configuration utility ...
Страница 122: ...Appendix C SATA RAID configuration utility 112 ...


