7-57
Activation/Deactivation
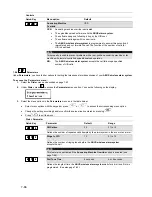
If the switch output follows more than one area or zone, you can use different patterns for activating and deactivating the switch output.
ALL
or
ANY.
All:
ALL areas (or zones) programmed for this switch output must be triggered in order to activate the output. On the other hand, all
areas or zones must be inactive in order to deactivate the output. The latter applies only to the outputs
Latch N/O
and
Latch N/C
.
The outputs
Pulse N/O
and
Pulse N/C
return to inactive automatically after the period defined by you.
Any:
Only ONE area (or zone) programmed for this output has to be triggered in order to activate the output. If one of the areas (or
zones) returns to inactive, the output is also deactivated. The latter applies only to the outputs
Latch N/O
and
Latch N/C
. The
outputs
Pulse N/O
and
Pulse N/C
return to inactive automatically after the period defined by you.
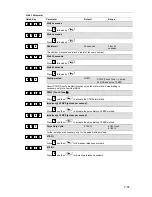
Output label
Define a name for each output, for example lighting control or strobe, describing the function of the output.
7.4.2
33
22
Output A
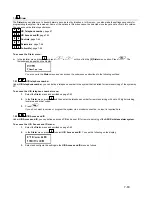
Under
Output A/B
, you can define the outputs to be activated with the button function
[4]/ [6]
of the
ABUS wireless alarm
system
.
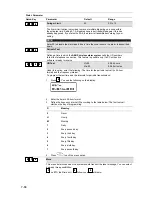
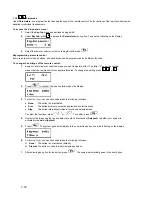
To access the Ausgang A menu:
1.
Select the
Output
menu as described on page 7-52.
2.
In the
Output
menu, press
22
to access the
Output A
menu option.
3.
Enter the two-digit number of the switch output you want to define as output A, and press
.
7.4.3
33
33
Output B
To access the Output B menu:
1.
Select the
Output
menu as described on page 7-52.
2.
In the
Output
menu, press
33
to access the
Output B
menu option.
3.
Enter the two-digit number of the switch output you want to define as output B, and press
.
Содержание WIRELESS ALARM SYSTEM
Страница 5: ...Chapter 11 Example of an installation plan 11 96 Appendix A Event Log Messages 11 98...
Страница 101: ...11 101...


