Copyright © 2012 - 2017 ABI Electronics Ltd
Page 18
Enter a suitable
Description
for the adapter. You have now completed adding a new Adapter. Click
File/Save
from
the menu and enter a suitable name for the adapter.
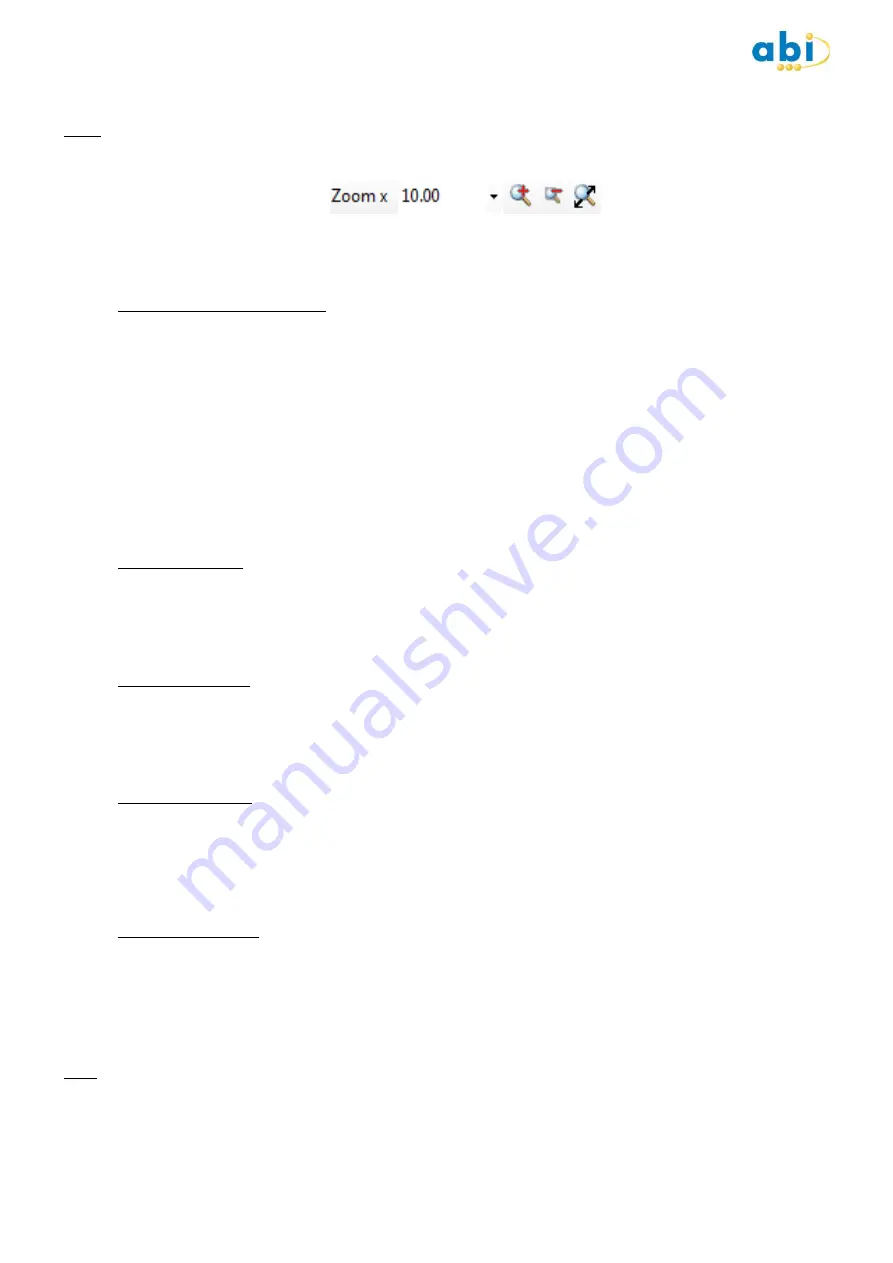
Note : The zoom toolbar allows you to zoom in and out of the
Adapter
you are designing in a variety of ways. You can select
a preset zoom level from the drop down list, or click the + and – buttons to zoom in and out as required. You can also zoom to
fit the entire available design area. In addition, you can enter a zoom level as numeric text in the zoom control.
The
Page Up
,
Page Down
and
Home
keys can also be used to zoom in, zoom out and zoom to fit respectively. In addition,
the mouse wheel (if available) can also be used to zoom in and out.
b) Tips on adapter editor shortcuts
Designing a package with a large pin count can take a considerable time, so there are a number of short cuts built in to the
software to help and cut down the amount of time required: -
Channel number auto increment: Click on a pin and set its corresponding channel number by typing in the property
grid. With the pin selected, double
left
click on the pin which you want to be the next channel number up in the
sequence. The channel number for the pin will be set to the next number up from the previous one. Continue double
clicking on all pins on all packages in the order you want to allocate channel numbers for the entire
Adapter
.
Channel number auto decrement: Click on a pin and set its corresponding channel number by typing in the property
grid. With the pin selected, double
right
click on the pin which you want to be the next channel number
down
in the
sequence. The channel number for the pin will be set to the next number down from the previous one. Continue
double right clicking on all pins on all packages in the order you want to allocate channel numbers for the entire
Adapter
.
c) Editing an adapter
Note the
Edit
button is only visible if the
Adapter
is eligible for editing.
If you want to change any of the information or design for an
Adapter
, select it from the list and click the
Edit
button. You
can then change the information or design using the
Adapter Editor
.
d) Viewing an adapter
Note the
View
button is only visible if the
Adapter
is not eligible for editing
If you want to view any of the information or design for an
Adapter
, select it from the list and click the
View
button. You can
then view the information or design using the
Adapter Editor
.
e) Deleting an adapter
To delete an
Adapter
, select it from the list and click the
Delete
button. You will see a warning message before you finally
commit to deleting the
Adapter
. Note the
Adapter
file is permanently deleted and NOT moved to the recycle bin.
To delete multiple adapters, hold the CONTROL key down on the keyboard and select the required adapters. Alternatively, use
the C SHIFT keys to select a complete list of adapters. Click on the
Delete
button.
f) Importing an adapter
To import an
Adapter
, click the
Import
button and browse to the .FIX file for the
Adapter
you wish to import. Click
Open
to
import the
Adapter
. If an
Adapter
with this name already exists in the library, you will be prompted to enter a new name.
The
Adapter
will then be added to the library.
To import multiple adapters, click on
Import
and browse to the location of the adapters on your computer. Hold the CONTROL
key down on the keyboard and select the required adapters. Alternatively, use the C SHIFT keys to select a complete
list of adapters. Click OK.
Note: If some imported adapters have the same name as existing adapters in the library, a window will appear asking for these
devices to be renamed.


