Copyright © 2012 - 2017 ABI Electronics Ltd
Page 24
8.4 Calibration
The SENTRY hardware uses precision electronics components and is designed to minimise the natural effects of component
drifting. It is however possible to re-calibrate the unit at any time and without returning the unit back to the manufacturer. In
order to calibrate the SENTRY unit you will need :
To login as a user with the Calibrate permission. See section 8.3 a) for more information.
A calibrated instrument capable or measuring voltage to three or more decimal places.
A SENTRY calibration kit available from ABI.
Click the
Calibrate
button. Note the Calibrate button is only visible to user with the correct permission. If you cannot see the
button in the SENTRY diagnostics you will need to modify your permissions or login as a user who has the calibration
permission. This will load the SENTRY calibration facilities, click the
Settings
tab and enter the values using the information
supplied with your calibration kit. Click
Save
to store these settings for future use. Note if in future you use a different
calibration kit you will need to update these settings.
Now click back to the
Automatic
tab, follow the onscreen instructions, and then click the
Next
button to begin the calibration
process. The calibration process is automatic and only requires the user to enter a few voltage readings in the initial stages.
Continue to follow the on screen instructions until calibration is complete. When calibration is completed click
Next
to save the
calibration to the SENTRY unit at this point the SENTRY is automatically reset and should be ready for use immediately. If you
experience problems after calibration, power down the SENTRY, wait 5 seconds and power up again, after which normal
operation should resume.
After a calibration it is possible to save a log file which contains all the calibration information. To do this, click
Save Log
and
navigate to your desired destination. The file is saved as an .RTF file and can be viewed at a later date using most text editors.
8.5 Compensation
With the introduction of the Automatic scan profile (which is a combination of the High Sensitivity and High Speed profiles),
hardware compensation is required to cope with the different electrical settings.
This process does not require any additional hardware and should be completed as often as calibration is required. To
compensate your hardware, click on the
Compensate
button in the hardware section.
Note: If your hardware is not compensated, a message will appear every time the software it started. It is strongly recommended
to compensate your hardware.
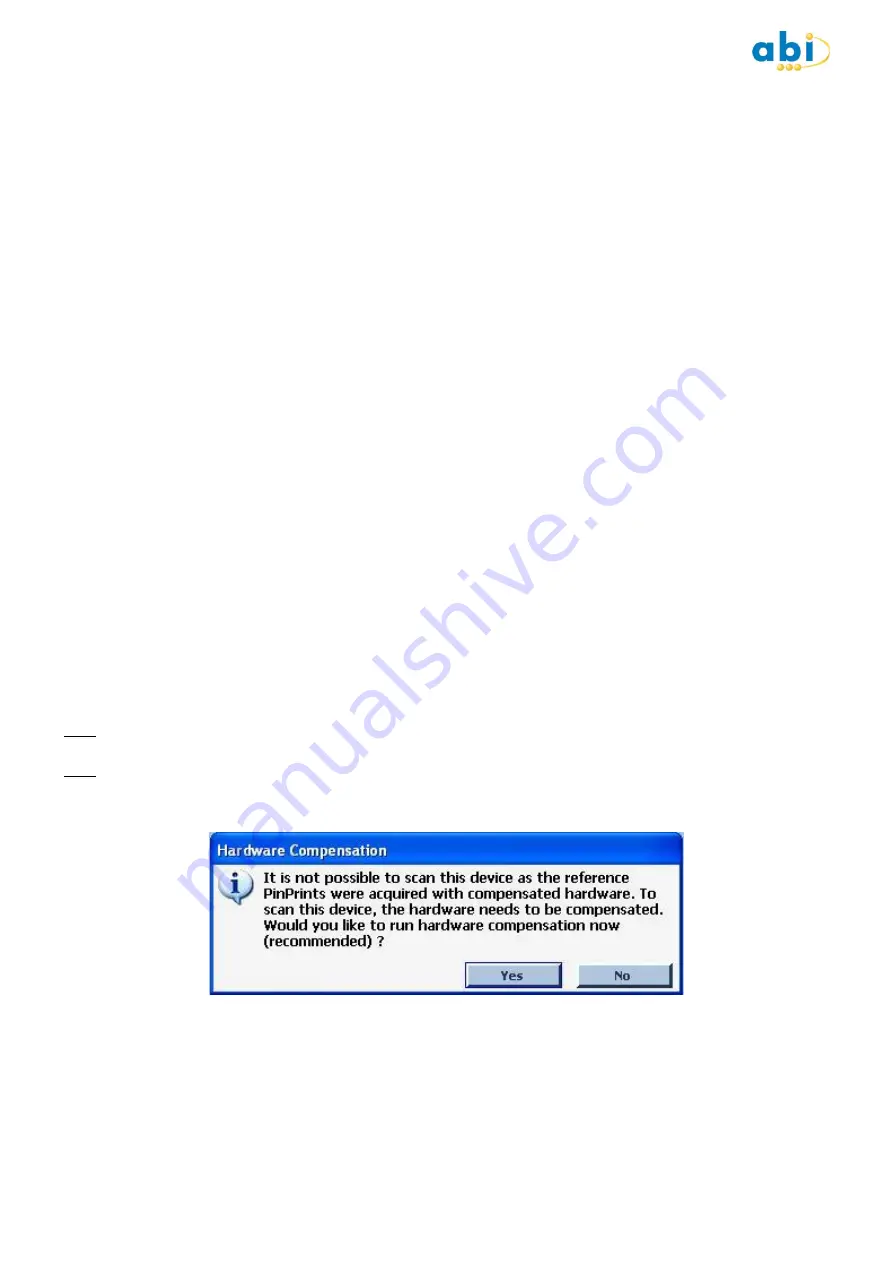
Note: If a device has reference PinPrints that were acquired with compensated hardware, it will not be possible to test this same
device on uncompensated hardware. A warning message will appear to warn the user:


