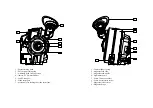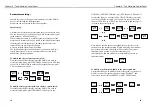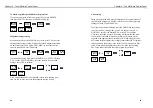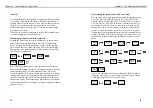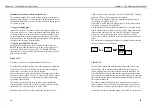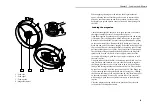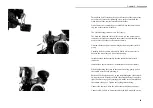
When engaging the mag onto the camera, the magazine shutter
opens, allowing the two flexible spools to come in contact and be
driven by the camera take-up and feed sprockets. In this position,
both spools are spread apart to ensure a clean and silent passage for
the film.
Loading the magazine
Check that the magazine shutter is in its open position, if not, move
the trigger towards the rear of the magazine to open it.
Open the magazine by pushing on the spring loaded lock and turning
it clockwise. Place the magazine with the take up side to your right..
Release both, feed and take-up spool locking mechanisms by pulling
on the semi-circular lever. Remove the fully loaded spool from the
black bag and peel of the sticker, keeping it attached to the end of the
film as you will need it to attach the film to the take-up spool. Gently
pull approximately one foot of film, being careful not to spread apart
the two flexible flanges. Install the loaded spool onto the mag feed
spindle with its wind clockwise. Press evenly on each side of the
core and, while doing so, push the semi-circular lever down to lock
the spool in place.
Using the sticker, attach the film to the take-up spool. Wind on a few
turn, clockwise and emulsion out. (you should not need to separate
the flanges from the core, but if you wish to do so, hold one flange
firmly while turning the other one counter-clockwise). Place the take
up spool on top of the feed side spool and flip it 180° (the flange pre-
viously touching the feed spool should now be facing you). Guiding
the film into the throat of the magazine take-up side, install the spool
on the take-up spindle. Press evenly on each side of the core and,
while doing so, push the semi-circular lever down to lock the spool
in place.
Close the magazine, being careful not to pinch the film, close the
lock and close the magazine shutter.
Chapter 3 - Loading the A-Minima
37
4
1
3
2
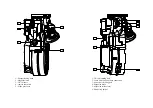
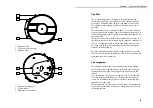
1 - Feed side
2 - Feed spool
3 - Take-up side
4 - Magazine shutter
Содержание A-Minima
Страница 1: ...u s e r s g u i d e...
Страница 2: ...1 presentation...
Страница 7: ...2 control panel...
Страница 17: ...3 magazine...
Страница 22: ...4 connectors...
Страница 24: ...5 accessories...

