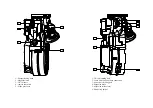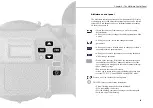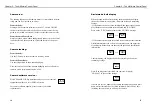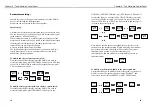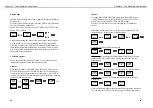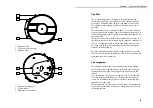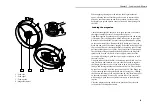
Installing the loaded magazine and threading the A-minima.
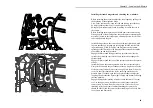
Before installing the magazine, adjust the loop length by pulling it to
the beginning of the magazine hinge.
Also, on the camera body, open the feed and take-up sprocket door
by simply pushing them away from the sprockets (fig 1).
Swing the gate pressure plate open by pulling it toward the rear of
the camera.
Before installing the magazine, you should power the camera body.
When powered without a magazine, the camera motor automatically
moves half a turn, in the test position, clearing the claw for the film
to be installed onto the gate.
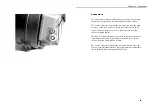
Install the magazine on the camera body with your right hand, mak-
ing sure that the two locating pin are engaged into the camera lock-
ing mechanisms. While "dropping" the magazine on the camera,
spread apart the film loop at the magazine throat around the outside
of both take-up and feed sprockets.
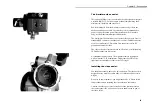
Engage the film around the upper take up sprocket and close the
sprocket door, making sure that the film's perforations engage the
sprocket teeth.
Engage the film around the lower feed sprocket and close the sprock-
et door.
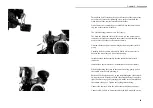
Install the film on the camera gate and close the rear pressure plate.
Navigate the film into the gate channel with two fingers on each side
of the pressure plate until you ear this one pop into place. When cor-
rectly set, the film should move freely, not being pinched by the
pressure plate. If needed, open the feed sprocket door to adjust the
loop length and center the figure eight loop top and bottom following
the loop marking.
Engage the magazine, pushing it firmly toward the front of the cam-
era. Use the upper arrow located on the control panel to inch the
camera frame by frame. Run the camera a few feet to check your
threading (after you become familiar threading the camera, you
should be able to load the camera without running a few feet of film
to save time and film stock)
Chapter 3 - Loading the A-Minima
39
Содержание A-Minima
Страница 1: ...u s e r s g u i d e...
Страница 2: ...1 presentation...
Страница 7: ...2 control panel...
Страница 17: ...3 magazine...
Страница 22: ...4 connectors...
Страница 24: ...5 accessories...

