USB CONNECTION
Connection to a host is not necassary to print, if you want more control on the machine use a host software to send Gcodes.
From March 2014 ATLAS don’t require drivers. The new firmware supports USB communication (as HID device) and internal SD drive
natively, without any necessary files.
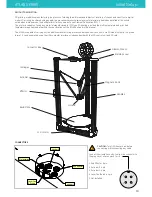
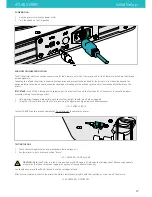
1. Just plug USB cable, and wait until all devices are discovered by your system.
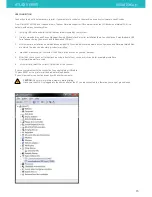
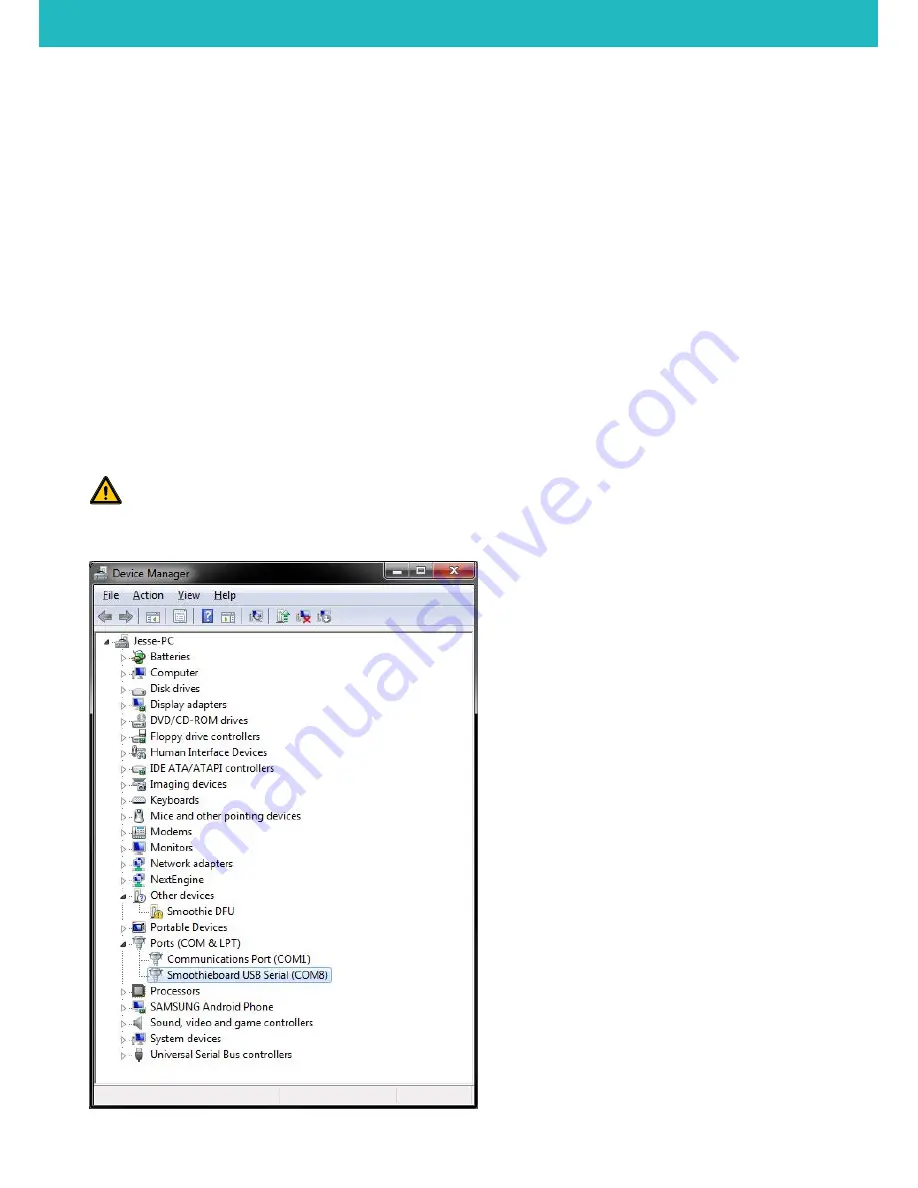
2. It is recommended to open Device Manager (if using Windows), and monitor installation there. You should see ‘Smoothieboard USB
Serial’ appear during the process and the assigned COM port.
3.
After automatic installation a new disk drive named ATLAS should be discovered, where all configuration and firmware related files
are stored. The disk can also store g-codes for printing.
4. Important: please copy all contents of the SD card drive as soon as you can (backup).
5. After that, you can connect to the machine using a host of your choice, which can be for example pronterface
http://www.pronterface.com/
6. In Pronterface, select the correct COM port and click Connect.
If you have problems with the connection, then unplug/plug USB cable.
Or press RESET on the printer, wait and repeat all steps above.
If you still encounter connection issues try with another computer.
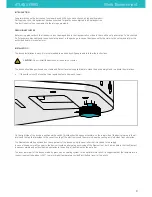
CAUTION:
Do not write to internal memory while printing.
Make sure the ATLAS is plugged into the same outlet as the PC you are connected to, otherwise you can get ground loops.
ATLAS SERIES
Initial Setup
13

