Chapter 35 Maintenance
XS1930 Series User’s Guide
285
Click
Management
>
Maintenance
>
Firmware Upgrade
to view the screen as shown next.
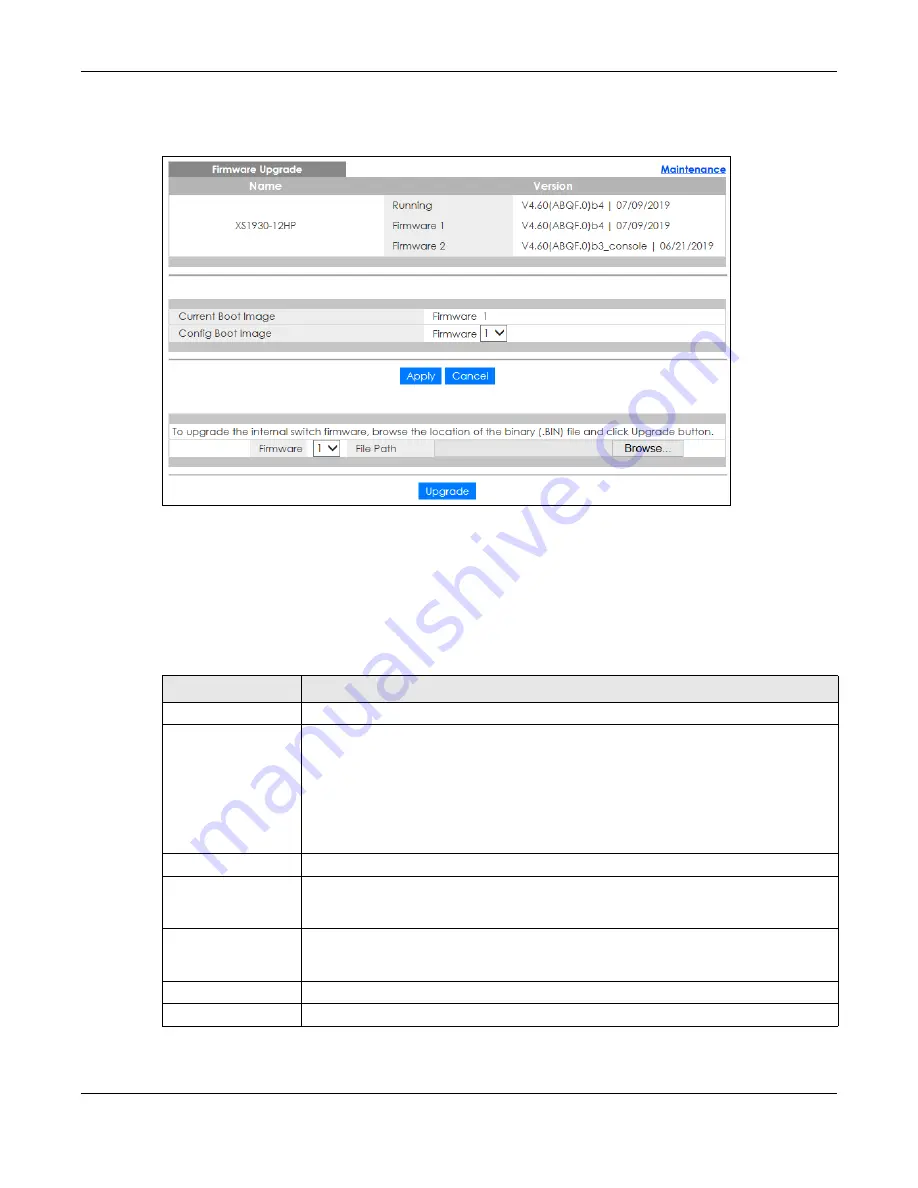
Figure 206
Management > Maintenance > Firmware Upgrade
The top of firmware upgrade screen shows which firmware version is currently running on the Switch.
Type the path and file name of the firmware file you wish to upload to the Switch in the
File Path
text box
or click
Choose File
or
Browse
to locate it (Firmware upgrades are only applied after a reboot). Click
Upgrade
to load the new firmware.
After the firmware upgrade process is complete, see the
System Info
screen to verify your current
firmware version number.
Table 146 Management > Maintenance > Firmware Upgrade
LABEL
DESCRIPTION
Name
This is the name of the Switch that you’re configuring.
Version
The Switch has two firmware sets,
Firmware 1
and
Firmware 2
, residing in flash.
•
Running
shows the version number (and model code) and MM/DD/YYYY creation date
of the firmware currently in use on the Switch (
Firmware 1
or
Firmware 2
). The firmware
information is also displayed at System Information in Basic Settings.
•
Firmware 1
shows its version number (and model code) and MM/DD/YYYY creation
date.
•
Firmware 2
shows its version number (and model code) and MM/DD/YYYY creation
date.
Current Boot Image
This displays which firmware is currently in use on the Switch (
Firmware 1
or
Firmware 2
).
Config Boot Image
Select which firmware (
Firmware 1
or
Firmware 2
)
should load, click
Apply
and reboot the
Switch to see changes, you will also see changes in the
Current Boot Image
field above as
well.
Apply
Click
Apply
to save your changes to the Switch’s run-time memory. The Switch loses these
changes if it is turned off or loses power, so use the
Save
link on the top navigation panel to
save your changes to the non-volatile memory when you are done configuring.
Cancel
Click
Cancel
to begin configuring this screen afresh.
Firmware
Choose to upload the new firmware to (Firmware)
1
or (Firmware)
2
.


