Chapter 6 Wireless LAN
NBG-418N v2 User’s Guide
71
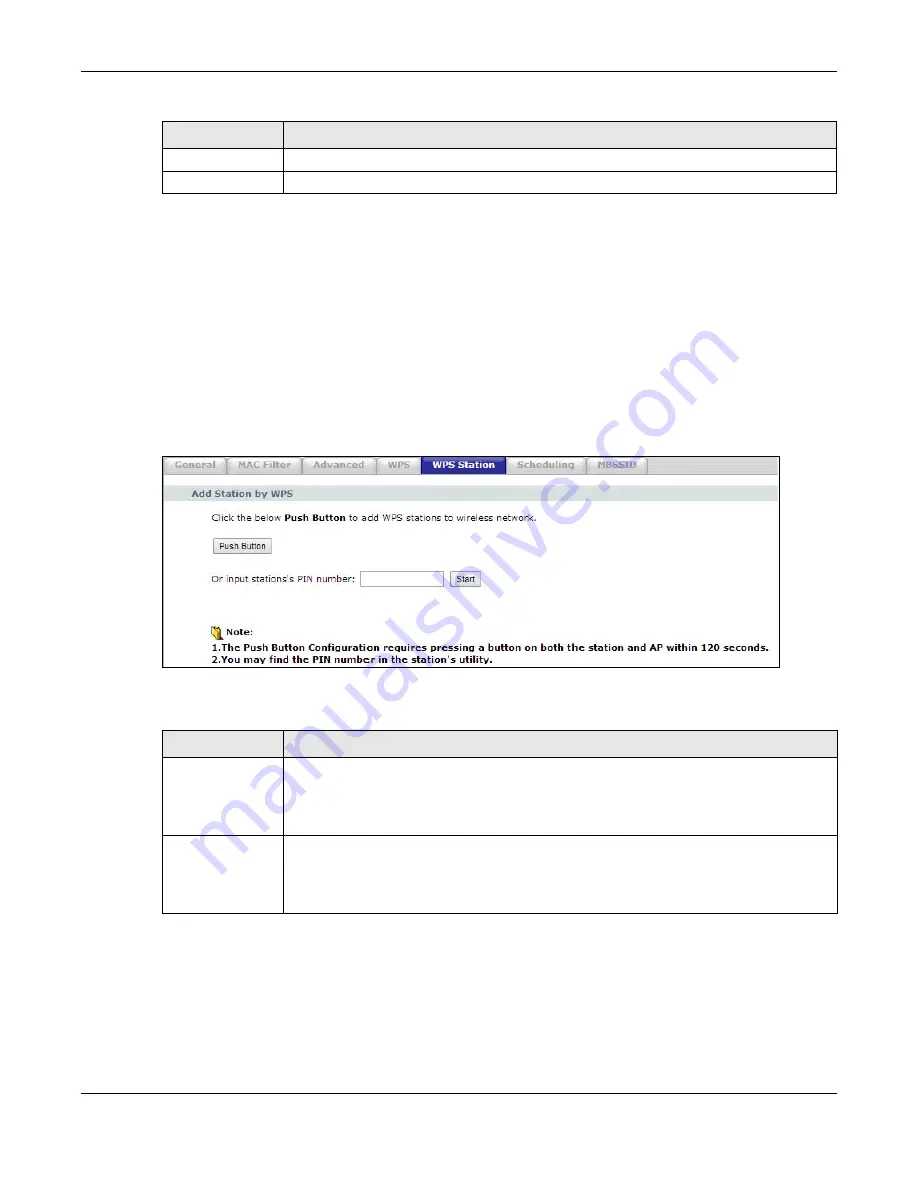
6.8 WPS Station Screen
Use this screen when you want to add a wireless station using WPS. To open this screen, click
Network
>
Wireless LAN
>
WPS Station
tab.
Note: Note: After you click
Push Button
on this screen, you have to press a similar
button in the wireless station utility within 2 minutes. To add the second wireless
station, you have to press these buttons on both device and the wireless station
again after the first 2 minutes.
Figure 49
Network > Wireless LAN > WPS Station
The following table describes the labels in this screen.
6.9 Scheduling Screen
Use this screen to set the times your wireless LAN is turned on and off. Wireless LAN scheduling is
disabled by default. The wireless LAN can be scheduled to turn on or off on certain days and at
certain times. To open this screen, click
Network
>
Wireless LAN
>
Scheduling
tab.
Apply
Click
Apply
to save your changes back to the NBG-418N v2.
Refresh
Click
Refresh
to get this screen information afresh.
Table 23
Network > Wireless LAN > WPS (continued)
LABEL
DESCRIPTION
Table 24
Network > Wireless LAN > WPS Station
LABEL
DESCRIPTION
Push Button
Use this button when you use the PBC (Push Button Configuration) method to configure
wireless stations’s wireless settings. See
Click this to start WPS-aware wireless station scanning and the wireless security
information synchronization.
Or input station’s
PIN number
Use this button when you use the PIN Configuration method to configure wireless station’s
wireless settings. See
Type the same PIN number generated in the wireless station’s utility. Then click
Start
to
associate to each other and perform the wireless security information synchronization.
Summary of Contents for NBG-418N v2
Page 10: ...10 PART I User s Guide ...
Page 11: ...11 ...
Page 58: ...58 PART II Technical Reference ...
Page 59: ...59 ...


