43
44
Web Configuration
4.
Click
OK
. An error message appears if the masks configured exceed 8%
of the total image area.
6.11 Network Service
Network Service contains the following sub-menus:
• DDNS
• PPPoE (Not supported)
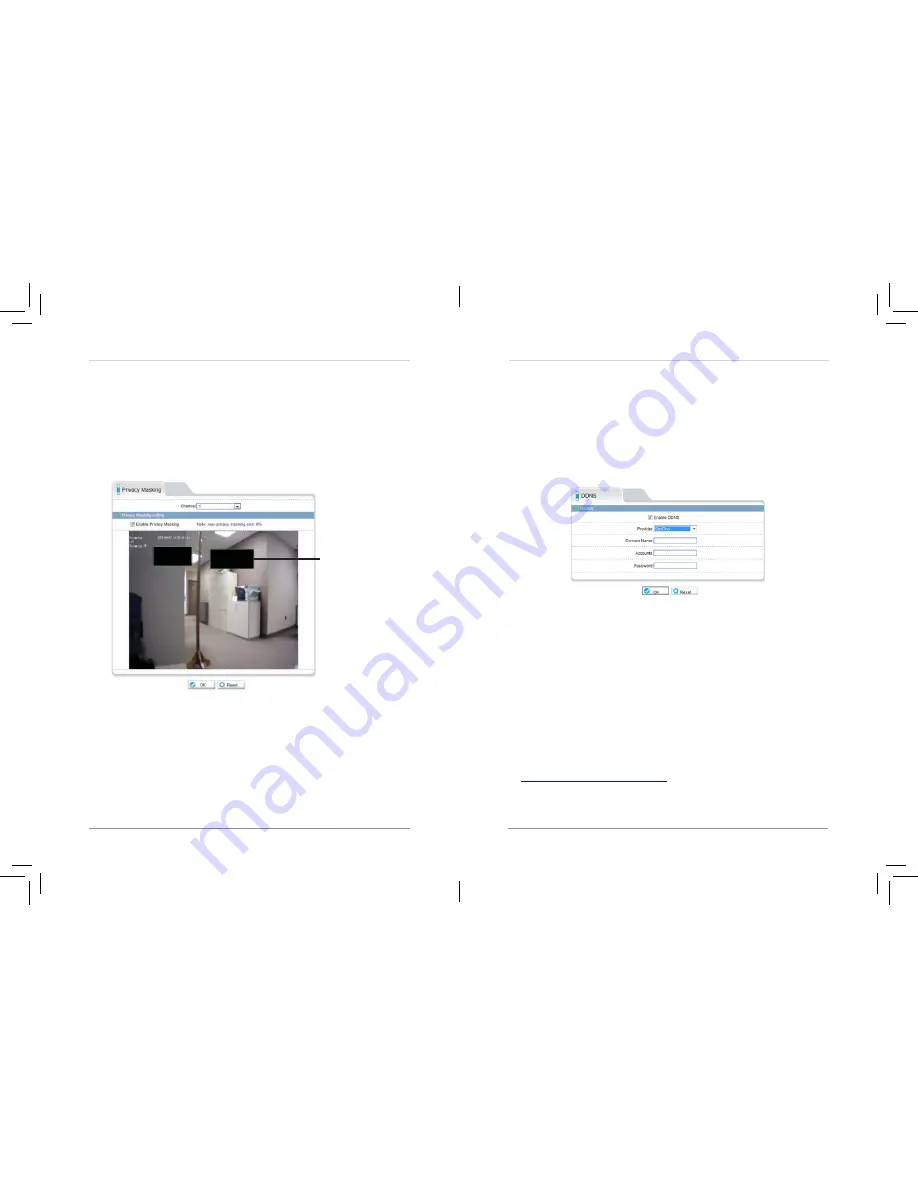
6.11.1 DDNS
The DDNS sub-menu allows you to configure DDNS settings. Before
configuring DDNS settings, you must register the camera for a free
DDNS account (see “5. Configuring Remote Connection” on page 12).
To configure DDNS settings:
1.
Click
Network Service>DDNS
.
2.
Check
Enable DDNS
.
3.
Configure the following:
•
Provider:
Select
DunDNS or 3322 ddns services as required
.
•
Domain Name:
Enter the
Domain Name
for your registered account
with either service. This forms part of the prefix name on the domain.
NOTE:
Connect to your camera using a web browser by entering
http://
,
the
Domain Name
,
colon
, and then the
HTTP port
. For example, if the
Domain Name is mycamera.dyndns.org, use the address
http://mycamera.dyndns.org:80.
•
User Name:
Enter your
User Name
you registered as.
Web Configuration
number of days and enter the
Number of Days
desired. Note that you
must have sufficient storage space to save the number of days entered.
8.
Click
OK
to save changes.
NOTE:
To view video from the SD/microSD card, FTP, or NAS, use NVMS’s
playback features, see the NVMS manual on the CD for details. You can
access video saved to FTP or NAS by manually accessing your FTP server
or NAS device.
6.10 Privacy Masking
Privacy area
The Privacy Masking menu allows you to create up to 5 privacy areas that will
not appear in recordings. You can cover up to 8% of the total image area.
To configure privacy areas:
1.
Click
Privacy Masking
.
2.
Check
Enable Privacy Masking
.
3.
Click and drag inside the video area to configure privacy areas. Privacy
areas will be shown as green rectangles. Right-click to delete the last
created area.


