27
28
Web Configuration
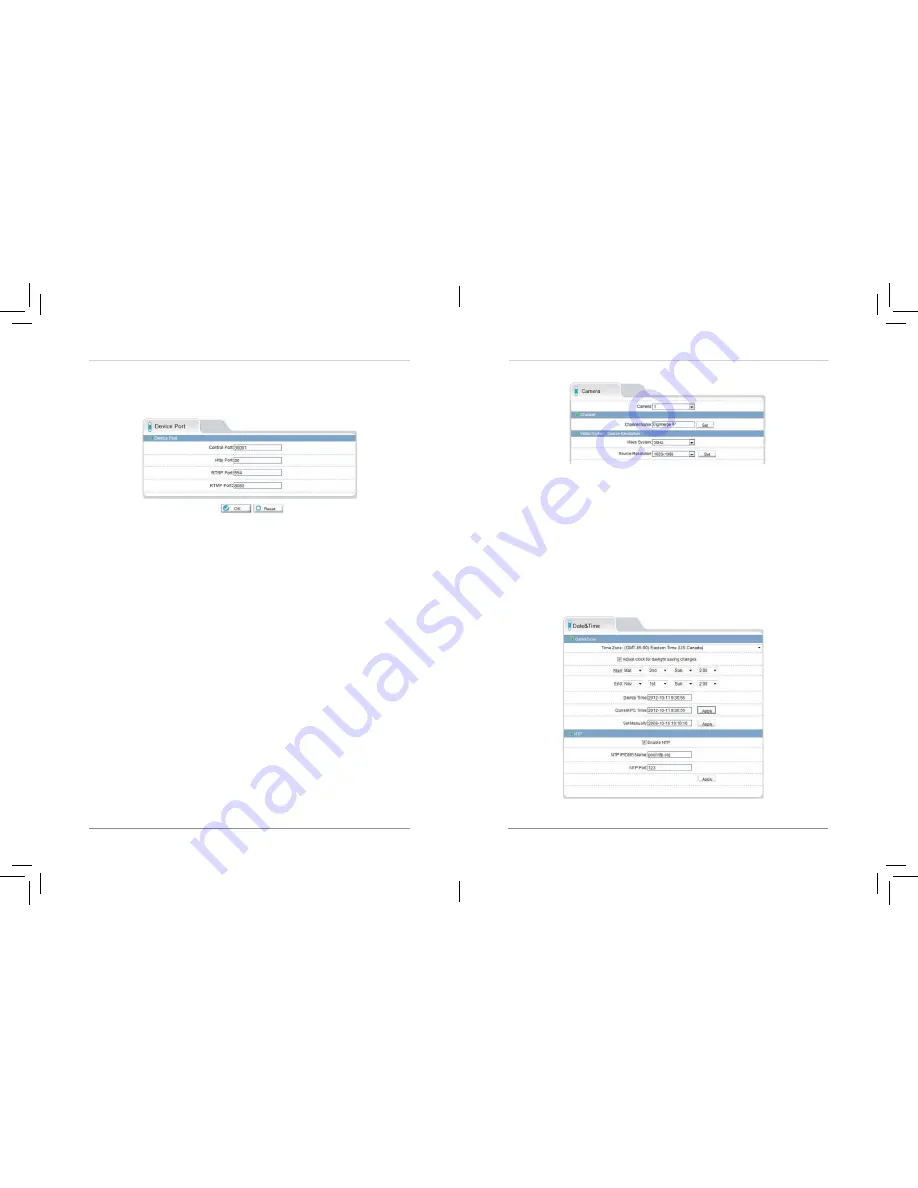
6.7.3 Camera
The Camera page (
Device Configuration>Camera
) allows you to configure
the Channel Name, which appears on the camera OSD and the video system
frequency.
To change the Channel Name:
• Configure the
Channel Name
as needed and then click the
Set
button
next to Channel Name.
To change the video system frequency:
• Select the desired setting under
Video System
and then click the
Set
button next to Source Resolution.
6.7.4 Date & Time
The Date & Time page allows you to configure the camera’s date and time.
Web Configuration
4.
Click
OK
to save changes. The camera will restart with the new IP
address.
6.7.2 Device Port
The Device Port page (
Device Configuration>Device Port
) allows you to
configure the camera’s port configuration. The camera has the following
ports:
•
Control port:
The default is 30001. Enables video streaming.
•
HTTP Port:
The default is 80. Enables web access. Please note that if the
HTTP is port is anything other than 80, you must enter http:// before the
camera’s IP address and colon (:) and the HTTP port after the IP address
when connecting using an Internet browser (e.g. if the HTTP port is 85,
enter http://192.168.x.x:85).
•
RTSP Port:
Default is 554. Only used for special applications requiring
RTSP streaming, such as VLC player or quicktime movie.
•
RTMP Port:
Default is 8080. Only used for special applications.
NOTE:
If you are configuring multiple IP cameras for individual remote
access (without an NVR or server), you must change all the ports for each
camera. Two cameras cannot use the same port number.
To change camera ports:
1.
Configure the camera ports as required and then click
OK
.
2.
Click
Device Configuration>Device Port
.


