background image


CAUTION

RISK OF ELECTRIC SHOCK 

DO NOT OPEN

CAUTION:  TO REDUCE THE RISK OF ELECTRIC  SHOCK DO NOT 

REMOVE COVER. NO USER SERVICABLE  PARTS INSIDE.
REFER SERVICING TO QUALIFIED  SERVICE PERSONNEL.

The lightning flash with arrowhead symbol, within an 

equilateral  triangle, is intended to alert  the user to the 

presence of un-insulated "dangerous voltage" within the 

product’s enclosure that may be of sufficient magnitude to 

constitute a risk of electric  shock.
The exclamation point within an equilateral  triangle  is 

intended to alert the user to the presence of important 

operating and maintenance (servicing) instructions  in the 

literature  accompanying the appliance.


WARNING:  TO PREVENT FIRE OR SHOCK HAZARD, DO NOT

EXPOSE THIS UNIT TO RAIN OR MOISTURE.


CAUTION: TO PREVENT ELECTRIC SHOCK, MATCH WIDE BLADE 

OF THE PLUG TO THE WIDE SLOT AND FULLY INSERT.

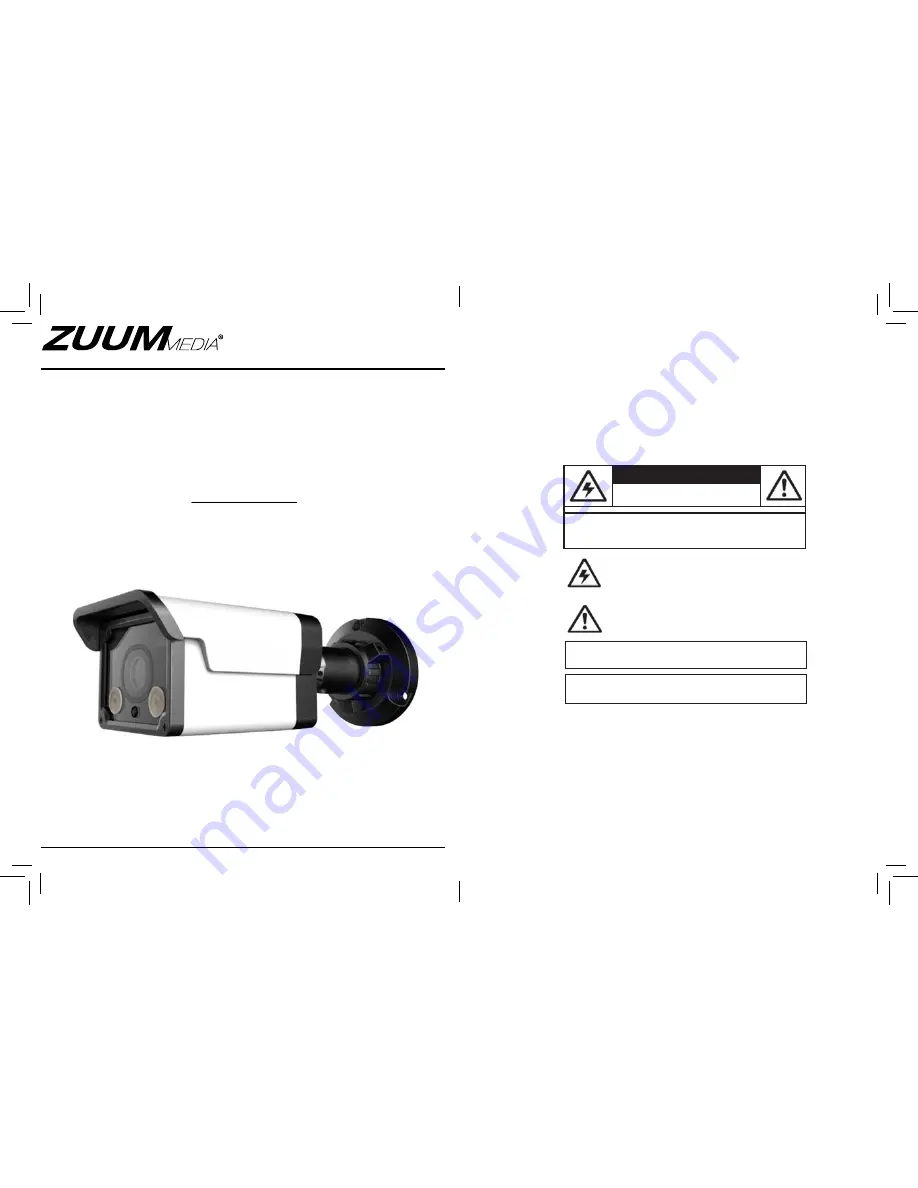
White Weather Resistant

Bullet Color IP Camera

Model: B720P-3.6MM-IR10-WH

8805 Jones. Rd Ste C104, Houston Texas 77065 * 1-888-861-7351 * www.zuummedia.com

User Manual

Summary of Contents for B720P-3.6MM-IR10-WH

Page 1: ... magnitude to constitute a risk of electric shock The exclamation point within an equilateral triangle is intended to alert the user to the presence of important operating and maintenance servicing instructions in the literature accompanying the appliance WARNING TO PREVENT FIRE OR SHOCK HAZARD DO NOT EXPOSE THIS UNIT TO RAIN OR MOISTURE CAUTION TO PREVENT ELECTRIC SHOCK MATCH WIDE BLADE OF THE PL...

Page 2: ... should be read before the video product is operated Follow all operating instructions 2 Retain Instructions The safety and operating instructions should be retained for future reference 3 Heed Warnings Comply with all warnings on the video product and in the operating instructions 4 Polarization Do not defeat the safety purpose of the polarized or grounding type plug A polarized plug has two blad...

Page 3: ...pply antenna and cables to protect the unit from electrical surge FCC CLASS A NOTICE NOTE This equipment has been tested and found to comply with the limits for a Class A digital device pursuant to Part 15 of the FCC Rules These limits are designed to provide reasonable protection against harmful interference when the equipment is operated in a commercial environment This equipment generates uses ...

Page 4: ...TENTS 1 Getting Started 1 1 1 Default Camera Username Password and Ports 1 1 2 Camera Interior Overview 2 1 2 1 Functions of Status LED s 2 1 3 ONVIF Compatibility and Included Software Overview 3 1 3 2 NVMS 3 1 3 3 CD Contents 3 2 Connection 4 3 Camera Installation 5 4 Finding the Camera s IP Address 8 4 1 Finding the Camera s IP Address Using NVMS 9 4 2 Finding the Camera s IP Address using UPnP...

Page 5: ...word admin Ports 80 HTTP 30001 Control Streaming 8080 RTMP 554 RTSP IP Address DHCP Enabled by Default Router will automatically assign IP address NOTE Once you have completed the basic setup of the camera it is recommended to configure a static IPaddress This will preventthecamera IP address changing in the event of a power failure For details see 6 7 1 Local Network on page 26 Getting Started 1 ...

Page 6: ...S NVMS is a client only solution that supports up to 36 IP cameras NVMS is a free software provided on the CD NVMS supports all the features of the camera It can access micro SD SD card recordings and camera setup over a local network NVMS manual is provided on the CD 1 3 2 CD Tools CD contents Folders IP Search Search find IP Cameras and set IP address and gateway NTP Service Tool Time Sync Appli...

Page 7: ...TE Ceiling mount take note of the notch on the brackets position To allow a 90degree angle of the camera position Lock the bracket with clock wise turn of the locking thread Connection 3 CAMERA INSTALLATION Make sure to follow the correct polarity if connecting the camera to DC power Polarity is center pint as the 1 Unpack the camera from box checking for any missing parts 2 Loosen the adjustment ...

Page 8: ... Click Login 3 NVMS opens and scans the local network for connected cameras Detected camera IP addresses on the LAN appear in the Device List on the left side of the screen with a icon Found camera IP address Camera Installation 5 Camera position walls ceiling pre plan your position of installation for successful install Again as with ceiling the notch position is for the adjustment angle to be mo...

Page 9: ...rowser and click the Bookmarks button Finding the Camera s IP Address 4 Click on a camera IP address in Device List to login 5 Under User Name enter the user name for the camera default admin Under Password enter the password for the camera default admin Click Continue Enter Camera User Name default admin Enter Camera Password default admin Click Continue to login 6 The camera appears under the ca...

Page 10: ...rt forwarding Youcan manually port forward your router Seeyour router s user manual for details An example of a port forwarding screen is shown below HTTP 80 80 100 Control 30001 30001 100 Finding the Camera s IP Address 2 Click Bonjour The camera s IP address appears in the Bonjour Devices list 3 Double click the camera to open it in Safari Bookmarks button Bonjour Double click the camera s IP ad...

Page 11: ...ult admin and click Login Once you have logged into your system using your DDNS address you can connect to the IP camera from a remote location using a web browser NVMS Configuring Remote Connection Step 3 of 6 Locate your camera s MAC address 1 Open a web browser and enter the camera s IP address in the address bar in the following format http http 192 168 0 120 80 IP address Colon HTTP port numb...

Page 12: ...o open it Click and drag the camera to the display grid to open it NOTE For detailed instructions on using NVMS see the NVMS manual on the CD Configuring Remote Connection 5 1 Connecting to a DDNS address using NVMS NOTE Complete all the steps above before performing the following method 1 Open NVMS and click Device Manager Video Device Manager 2 Click Manager The Device Maintenance window opens E...

Page 13: ...NFIGURATION The camera includes a built in web interface that can be accessed using a web browser 6 1 Supported Browsers Google Chrome Mozilla Firefox and Apple Safari via Adobe Flash Player Microsoft Internet Explorer 7 0 or later 32 bit version via ActiveX 6 2 Chrome Firefox and Safari Setup 1 Connect the camera to your local network and find the camera s IP address See 4 Finding the Camera s IP...

Page 14: ... latest version of Flash Player to play live video Opens a link to download Flash Player from Adobe s website After completing the installation restart your browser and reconnect to the camera Select ActiveX or Flash Player Web Configuration 3 Under Download unsigned ActiveX controls click Prompt recommended or Enable Select Enable or Prompt under Download unsigned ActiveX controls Click OK 4 Clic...

Page 15: ...ub menus have a Reset button This button will reset the sub menu options to factory defaults You then have to click OK to save changes Web Configuration 6 4 Web Interface Live Video Overview Camera configuration menus Click and drag to zoom in Right click and select ZoomOut to zoom out Double click inside window for full screen Select Stream TIP Select stream2 for better performance for remote con...

Page 16: ...High Profile H 264 Main Profile or H 264 Base Profile Stream3 supports MJPEG only Audio Encode Type Select the Audio Encoding type for the stream G711_ALAW G711_ULAW or RAW_PCM Resolution Select the resolution for the stream Stream1 and stream3 can be set to 1280x720 or 640x360 Stream2 can only be set to 640x360 Stream3 can only be set to 1280x720 Web Configuration 6 5 Device Info The Device Info ...

Page 17: ...ress Enter the IP address you would like to assign to the camera Make sure the IP address is available on your network Subnet Mask Enter the subnet mask Preferred DNS Server Alternate DNS Server Enter desired DNS servers Web Configuration Frame Rate Select the frame rate for the stream up to maximum of 30FPS for stream1 or stream2 or 12FPS for stream3 NOTE Frame rate may be automatically adjusted ...

Page 18: ...mera s port configuration The camera has the following ports Control port The default is 30001 Enables video streaming HTTP Port The default is 80 Enables web access Please note that if the HTTP is port is anything other than 80 you must enter http before the camera s IP address and colon and the HTTP port after the IP address when connecting using an Internet browser e g if the HTTP port is 85 en...

Page 19: ... must set the time zone and Daylight Savings Time settings to ensure accurate time After a power failure the camera is configured to connect to an NTP server and automatically update the time when power is restored If using another method to set the camera clock time must be manually updated after a power failure To set the camera s date and time using an NTP server 1 Click Device Configuration Da...

Page 20: ... to disable and click OK 6 7 8 Language Change the language for the camera OSD display e g time and date display and email alarms Supported languages are English Polish Russian and Chinese Web Configuration Custom Createa custom OSDmessage Enter the custom OSD text under Custom OSD Device Name Channel ID Channel Name Time Custom 3 Enter the desired Row and Column for enabled OSD messages Text on r...

Page 21: ...n To change the language for the OSD and email alarms 1 Click Device Configuration Language 2 Under Language select the desired language then click OK to save changes 6 8 Alarm Configuration Alarm Configuration contains the following sub menus Disk Alarm Motion Alarm Alarm I O Not supported I O Alarm Linkage Not supported Alarm Setting Not supported 6 8 1 Disk Alarm The Disk Alarm page allows you ...

Page 22: ... on page 41 3 Under Disk Name select SD1 Web Configuration 3 Click Schedule to configure a motion detection schedule The Schedule Time Setting menu opens NOTE If the Schedule Time Setting does not open disable any popup blockers 4 Configure the weekly schedule The schedule is divided into 3 periods and motion detection will be enabled in all times during all 3 periods 5 Click Motion Area and confi...

Page 23: ...ter the amount of space in MB you would like to make available on the FTP server for recording Web Configuration 4 Click Modify The Record Disk Path menu opens Select SD1 Click Modify 5 Check Enable Check Enable Click Format 6 Under File System select SDVideo recommended or Ext3 7 Click Format A window will appear to show the status of the formatting Wait for the formatting to complete and then cl...

Page 24: ...is full Uncheck to limit the amount of space the camera can record on and enter the amount of space in MB available to the camera under Free Space 5 Click OK Web Configuration 6 Click OK 7 Set up recording using the Record Policy sub menu see 6 9 1 Record Directory on page 36 To access your recordings use NVMS or manually access your FTP server NOTE OntheRecord Directory page Status will beOKwhenF...

Page 25: ...a will record during all selected times in all 3 periods Click OK when finished configuring the recording schedule 4 To enable Motion Alarm Recording check Enable under Alarm Record Configure Pre recording and Post recording times Check Motion Alarm Channel 5 Under Stream select the stream to use for recording Stream1 is recommended if you want to record high quality video stream2 is recommended i...

Page 26: ...and then the HTTP port For example if the Domain Name is mycamera dyndns org use the address http mycamera dyndns org 80 User Name Enter your User Name you registered as Web Configuration number of days and enter the Number of Days desired Note that you must have sufficient storage space to save the number of days entered 8 Click OK to save changes NOTE To view video from the SD microSD card FTP o...

Page 27: ...cryption 4 Click OK to save your settings Click Send testmail to send a test email alert 6 13 Privilege Manager Privilege Manager allows you to configure user accounts and user groups Privilege Manager contains the following sub menus Group User Web Configuration Password Enter the Password you have set on the account 4 Click OK to save settings 6 12 Service Center Service Center contains the foll...

Page 28: ...in account is the system administrator and has full access to all functions Web Configuration 6 13 1 Group The Group page Privilege Group allows you to manage permissions for user groups Users obtain permissions from their group The Administrators group contains all permissions and cannot be deleted or edited To add a user group 1 Click Add The Add Group menu appears NOTE If the Add Group menu doe...

Page 29: ...ar disable any popup blockers 2 Enter a User Name and Password for the account and repeat the password under Confirm 3 Under Group select the desired user group for this account 4 Check Multi Login to allow the user account to log into the IP camera from multiple location simultaneously or un check to limit the account to a single location at a time 5 Click OK to save the new user account To modif...

Page 30: ...ust the camera shutter settings ShutterMode Select AutoShutter or FixedShutter Web Configuration 6 16 Default Settings Click Default Settings Click Restore then click OK to restore the camera to factory default settings The camera will reboot 6 17 Sensor Configuration The Sensor Configuration menu is used to adjust camera image settings To configure camera image settings using the Sensor Configura...

Page 31: ... 17 6 Gamma Adjust Gamma Gamma Select gamma setting Standard High Middle Low or Dynamic Web Configuration MaxShutter Sets the upper limit of the shutter speed when AutoShutter is selected FixedShutter Sets the shutter speed when FixedShutter is selected 6 17 3 Gain Mode Select gain mode and adjust gain settings Gain Mode Select AutoGain or FixedGain MaxGain dB Select the maximum gain value when Au...

Page 32: ... is recommended to turn Control Mode to OFF Working Mode Select DLO Digital Side Overflow for environments with few moving objects Select MC Motion Compensation for environments with multiple moving objects Web Configuration 6 17 7 AE Meter Mode Set the Auto Exposure Meter Mode from one of the following Multi Pattern When metering light entire image is metered symmetrically Center Weighted When me...

Page 33: ...onfiguration 6 17 10 Mirror Enable disable image mirroring Mirror Select Horizontal to mirror the image horizontally Vertical to mirror vertically or PictureFlipto mirror both horizontally andvertically Select Close to disable image mirroring 6 17 11 Noise Filter solution may not feature this setting Configure noise filter settings Noise Filter Select Auto for automatic noise filtering or Manual M...

Page 34: ...r The monitor display shows the camera s IP address A default IP address of 192 168 0 120 may mean that the camera cannot obtain an IP address from the router Check the Ethernet power connections and router configuration Camera set for static IP mode using an incorrect IP address By default the camera isset for DHCPmode whichmeans it will automatically obtain an IP address from your router Reset t...

Page 35: ...p on page 18 If using a browser other thanIE e g GoogleChrome AppleSafari Mozilla Firefox make sure latest version of Adobe Flash Player is installed Video performs poorly on browser Insufficient bandwidth available for high quality stream1 Select stream2 under Stream Stream2 provides a lower resolution to conserve bandwidth and improve performance on low bandwidth connections If using IE click th...

Reviews: