Chapter 9 IPv6 Route-Map Policy Configuration
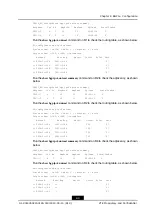
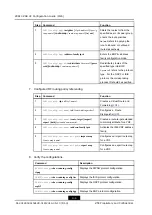
M - Multicast
* - FIB route
> - selected route, p - stale info
Time: The time of last modified!
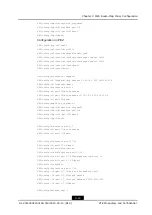
I2
1:2:3::/64 [115/20]
via fe80::221:1dff:fe1d:1100, gei-2/2, 06h06m18s
I1
192:168::/64 [115/20]
via fe80::221:1dff:fe1d:1100, gei-2/2, 01h46m35s
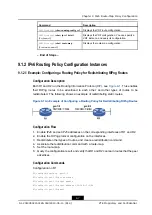
9.1.2.3 Example: Configuring an OSPFv3 Routing Policy
Configuration Description
Both R1 and R2’s interfaces are configured in OSPFv3 area 1, and an OSPFv3 neighbor
relationship (status: full) is established between them, see
. A static route is
configured on R1, and a route-map is created for OSPFv3 static route redistribution.
Figure 9-3 An Example of Configuring an OSPFv3 Routing Policy
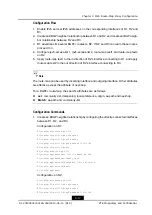
Configuration Flow
1.
Enable IPv6 and set IPv6 addresses on the corresponding interfaces of R1 and R2.
2.
Create a neighbor relationship between R1 and R2 in OSPFv3 area 1.
3.
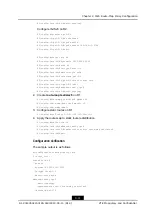
Create a route-map on R1.
4.
Configure a static route on R1.
5.
Apply the route-map to OSPFv3 route redistribution on R1.
Configuration Commands
1.
Create an OSPFv3 neighbor relationship by configuring the directly-connected
interfaces of R1 and R2 to be on the same network segment.
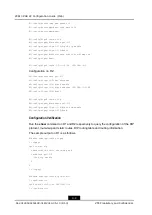
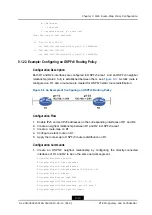
R1(config)#interface gei-1/2
R1(config-if-gei-1/2)#no shutdown
R1(config-if-gei-1/2)#ipv6 enable
R1(config-if-gei-1/2)#ipv6 address 192:168::1:1/64
R1(config-if-gei-1/2)#exit
R1(config)#ipv6 router ospf 1026
R1(config-ospfv3-1026)#router-id 11.11.11.11
R1(config-ospfv3-1026)#interface
gei-1/2 area 1
R1(config-ospfv3-1026-if-gei-1/2)#exit
9-13
SJ-20140504150128-018|2014-05-10 (R1.0)
ZTE Proprietary and Confidential

