COMMUNICATION
22
3
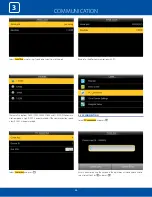
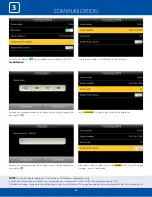
Select
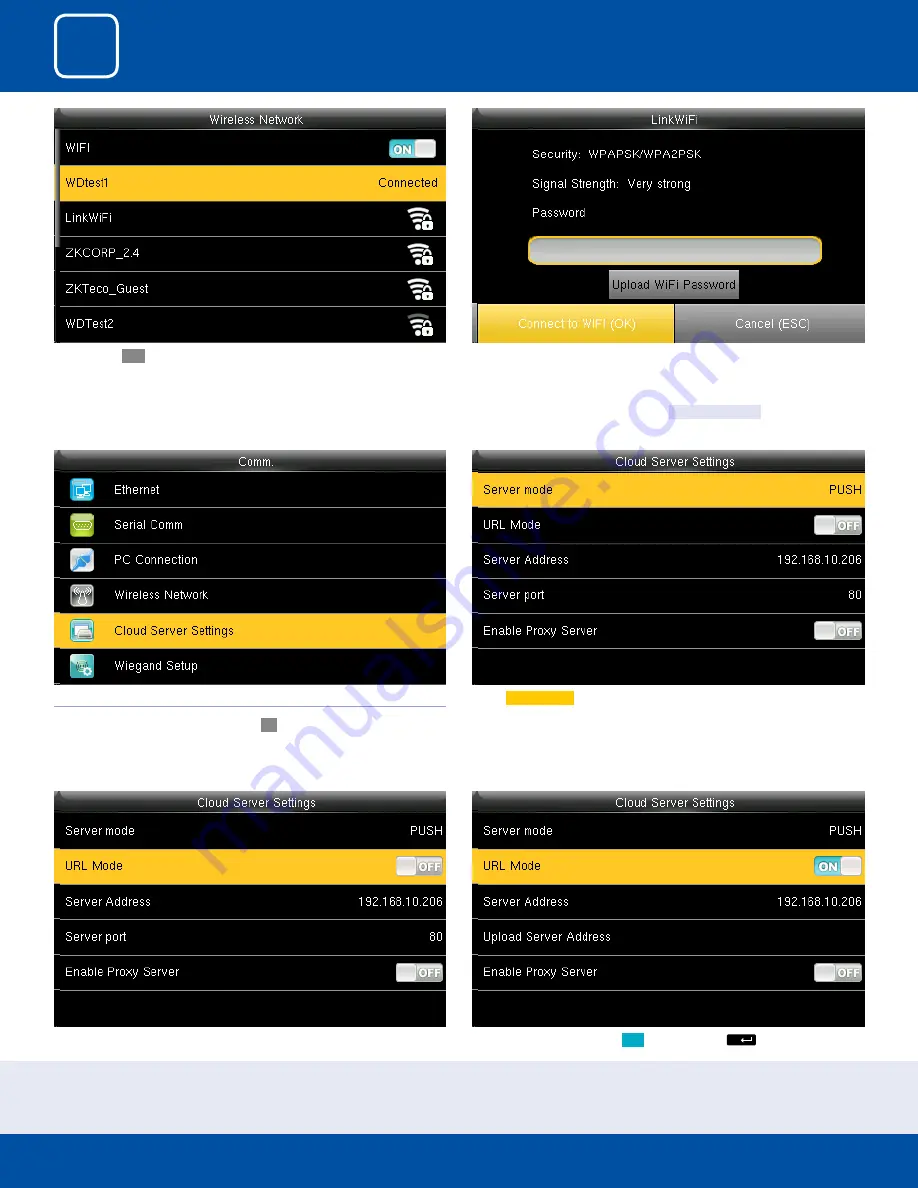
Server mode
as “PUSH” as shown above.
It refers to your push server address.
Here the “URLMode” is OFF”.
You can turn the “URLmode”
ON
by pressing the
M/
button on the clock.
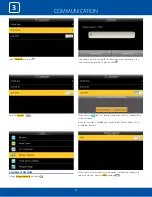
You can turn
ON
the wireless network and the networks available in the
range would be displayed as above.
You can select any wireless network you wish to connect and you can up-
load the password via “USB” or by using the keypad on the clock.
Once you upload the password you can press “Connect to WFI(OK)” and the
following network will get connected.
See NOTE below
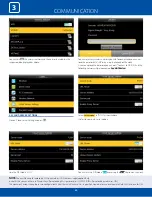
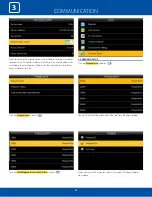
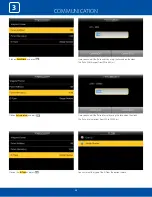
3.5 CLOUD SERVER SETTINGS
Click on “Cloud Server Setting” and press
OK
NOTE
:
The new filename for uploading Wi-Fi password or URL Webserver: updataoptions2.cfg
Inside this file you can either use: WirelessKey= [for uploading Wi-Fi password] or ICLOCKSVRURL= [for uploading webserver URL]
The clock won’t accept saving those two configurations under the same filename. Our suggestion would be to save one separate file for Wi-Fi and one for URL.
Summary of Contents for iClock 885
Page 1: ...Version 1 December 2018 USER MANUAL iClock 885...
Page 5: ...USER MANAGEMENT 1...
Page 15: ...USER MANAGEMENT 1 15 Single Line Multiple line Mixed Line...
Page 16: ...USER ROLE 2...
Page 18: ...COMMUNICATION 3...
Page 28: ...SYSTEM 4...
Page 36: ...PERSONALIZE 5...
Page 53: ...DATA MANAGEMENT 6...
Page 58: ...ACCESS CONTROL 7...
Page 72: ...USB MANAGER 8...
Page 76: ...ATTENDANCE SEARCH 9...
Page 79: ...SHORT MESSAGE 10...
Page 84: ...WORK CODE 11...
Page 88: ...JOB CODE 12...
Page 101: ...TIP CODE 13...
Page 107: ...AUTOTEST 14...
Page 111: ...SYSTEM INFORMATION 15...
Page 114: ...201 Circle Drive North Suite 116 Piscataway NJ 08854 zktechnology com...


