background image

Z406 System User Manual 

Z Corporation 

www.zcorp-users.com                                                                                                                                          

57


8.2 SYMBOLS 

USED 

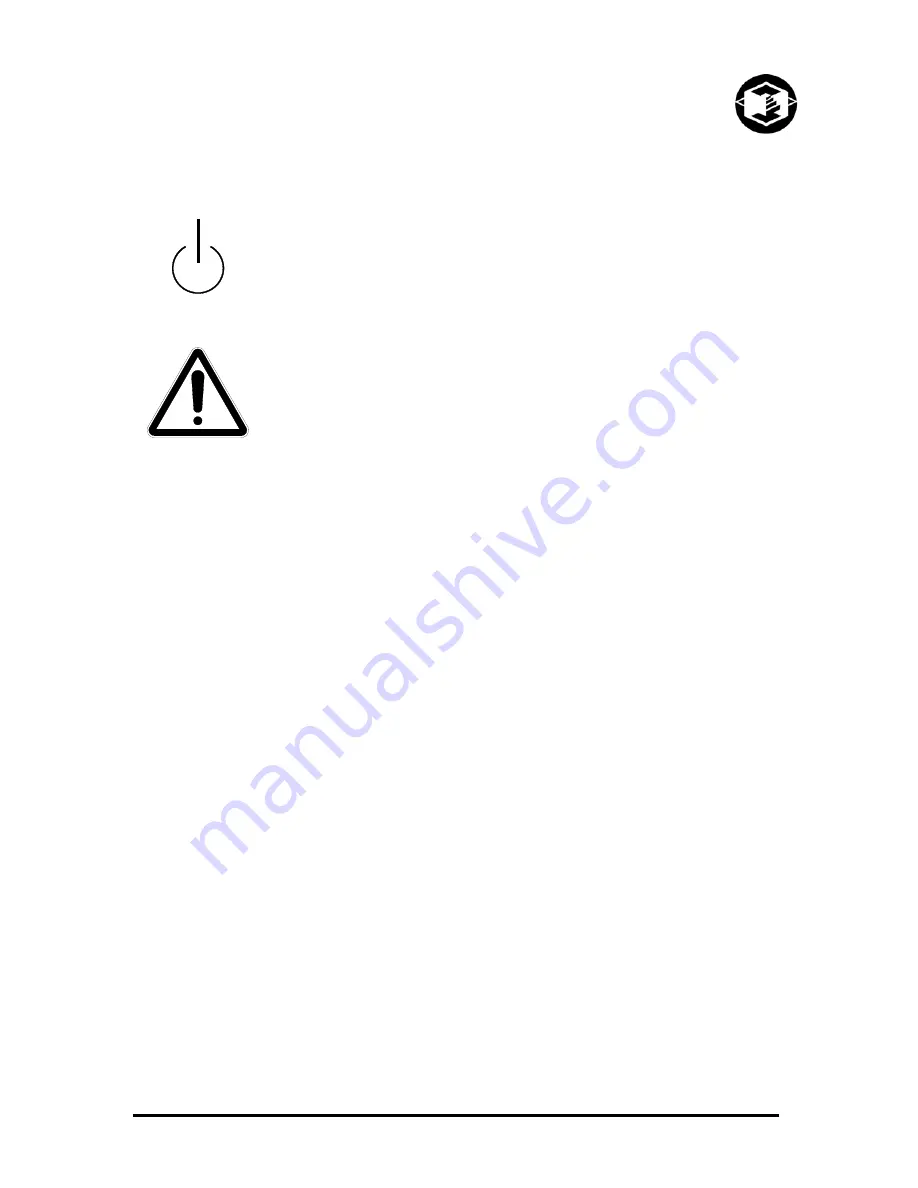
The following symbols are used on the Z406 3D Printer: 


This is the international symbol for ‘standby power’.  It is used on the Z406 3D 
Printer power switch.  The Z406 3D Printer is partially powered as soon as you 
plug it in.  The power switch is momentary contact and toggles the machine from 
idle mode to full power on mode. 


This is the international symbol for ‘warning’ or ‘caution’.  It indicates the need to 

consult your manual for further information.  This symbol is in two places on the 
Z406 3D Printer.   

1.  It is used on the rear, lower left to call your attention to the fact that only 

authorized personnel should open the Z406 3D Printer rear cover.  None of 
the normal operation and maintenance procedures described in this manual 
require you to remove this cover. 

2.  It is used on the front cover next to the handle to call your attention to the fact 

that you should be careful not to drop the cover when closing it.  Due to the 
weight of the cover and the force of the air springs, it is possible to pinch or 
strain a finger or hand if it were to get caught between the bottom of the cover 
and the front slow axis rail. 


Summary of Contents for Z 406

Page 1: ...Z406 System User Manual November 2002 Copyright 2002 Z Corporation Part Number 09504 Z 406 3D Color Printer User Manual Z Corporation Revision D...

Page 2: ...OLS 14 2 2 PREPARING THE 3D PRINTER 15 2 2 1 FILLING THE FEED BOX WITH POWDER 16 2 2 2 CLEANING THE SERVICE STATION 18 2 2 3 CHECKING FLUID LEVELS 20 2 2 4 CHECKING POWDER OVERFLOW BIN 21 2 2 5 PUTTIN...

Page 3: ...IL FOR ZCAST POWDER USERS 46 6 9 REPLACING THE SCRAPER BLADE FOR ZCAST POWDER USERS 47 6 10 CHANGING THE BINDER SUPPLY 48 6 11 CHANGING MATERIAL SYSTEM 49 7 TROUBLESHOOTING 54 7 1 THE BINDER SOLUTION...

Page 4: ...CORP Table of Figures Figure 1 The Printing Process 7 Figure 2 The Z406 System Shelling and Infrastructure Features 8 Figure 3 Illustration of Z406 System Print Orientations 9 Figure 4 The Z406 3D Pri...

Page 5: ...irectly medical or other products that may require precise dimensions or tolerances to ensure the safe and effective operation of such products You agree to indemnify defend and hold Z Corporation and...

Page 6: ...he Z406 3D Printer and preparing the system to print a part 3 Setting Up The Build This section gives you a brief overview of how to set up a build on the ZPrint Software For more information about th...

Page 7: ...and the print assembly are mounted together on the gantry which moves horizontally across the build area To begin the 3D printing process the Z406 System first spreads a layer of zp series powder in...

Page 8: ...and can print parts with complex geometries that are impossible for other systems There are several important characteristics of the Z406 System that will help you print the best parts for your intend...

Page 9: ...accuracy of the system depends on the materials you choose You can employ the anisotropic scaling feature in the software to adjust for expected shrinkage and bring your parts into true scale More inf...

Page 10: ...P 1 2 THE PARTS OF THE Z406 3D PRINTER Figure 4 The Z406 3D Printer Overflow Bin Washer Fluid WasteBottle Clear Binder Bottle Primary Color Binder Feed Box Print Heads Build Box Control Panel Overflow...

Page 11: ...Corporation www zcorp users com 11 1 3 THE PARTS ON THE PRINTER ASSEMBLY AND GANTRY Figure 5 Gantry and Printer Assembly Carriage Cover Head Clamp Cover Head Clamp Latch Print Heads Head Release Leve...

Page 12: ...rporation Z406 System User Manual 12 Z Corporation Service 781 852 5050 887 88 ZCORP 1 4 Z406 SYSTEM COMPONENTS ZD4i Depowdering Station Z406 3D Printer ZW4 Automated Waxer Figure 6 Z406 System Compon...

Page 13: ...hrome STL files before printing 1 4 2 STEP 2 PREPARING THE 3D PRINTER Carefully following the steps outlined in Chapter 2 you can prepare the 3D printer in less than ten minutes You will put powder in...

Page 14: ...allows you to spread powder over the build box Holding down this button will result in continuous spreading of powder Feed Up Down Buttons Allows user to raise or lower the piston in the Feed Box A l...

Page 15: ...u leave the machine on at all times in sleep mode the machine will exercise the print heads during periods of inactivity to prevent clogging 1 Wait for the green Online light indicating that the power...

Page 16: ...3 and 4 5 When Feed Box is filled to top take the Tamper and slowly press it onto the powder surface Be careful not to slap the Tamper into the Feed Box which will produce airborne particles About 10...

Page 17: ...inch above the Top Deck 10 Press and hold the Spread Button until a uniform bed of powder is formed in the Build Box Make sure powder is even throughout the Build Box Technical Tip Keep powder contai...

Page 18: ...ICE STATION Figure 9 Service Station Detail The Service Station cleans the array of the print heads during printing The Service Station should be cleaned after every build This should remove any depos...

Page 19: ...Manually lift up the metal plate covering the service station 4 Squirt distilled water onto the squeegee and wipe clean with the small brush provided with your Z406 3D Printer until all debris is remo...

Page 20: ...sing the Spread button 2 2 3 CHECKING FLUID LEVELS 1 Open the front cabinet doors 2 Check the binder bottles and waste bottle If the clear binder bottle and zc3 wash fluid are half full or empty refil...

Page 21: ...Overflow Bin at the right side of the machine Slide the Overflow Bin out and check the level of powder If the powder is more than half way full empty the Bin before proceeding WARNING Do not recycle...

Page 22: ...ready to print Technical Tip Keep the Machine Clean Make sure that you have enough powder to complete the build It is wise to always begin a build with a full feed box CHECK THE OVERFLOW BIN If the o...

Page 23: ...ZPrint Software has not been installed install the software Instructions are located in Section 1 1 of the ZPrint User Manual 3 1 OPEN OR IMPORT THE FILE 1 Open the ZPrint Software The open dialog bo...

Page 24: ...3 2 2 PART CONTAINING OVERHANGS Unsupported overhangs should be placed on the left hand side and as close to the build plate as possible The plaster powder being extremely fine is more fluid in the bu...

Page 25: ...s need to be changed select Override Press OK to confirm For more information on how to change the settings please refer to the ZPrint User Manual It is also strongly recommended that slice viewing an...

Page 26: ...minal value by the measured value For example if the printed part had a nominal value of 1 and had a measured value of 0 98 the scaling value would be 1 02 After calculating the anisotropic scaling va...

Page 27: ...t on the wall thickness of the part The thinner the wall thickness the higher the core saturation the thicker the wall thickness the lower the core saturation The ZPrint Software will recommend shell...

Page 28: ...to look at the computer screen and determine exactly where parts lie in the build box 8 Without raising the build piston begin vacuuming powder out of the build box Hold the end of the hose on a 20 to...

Page 29: ...owdering unit 2 Using the compressed air system included in the Depowdering Station remove any excess powder that remains in any concave surfaces Technical Tip The air pressure on your Depowdering Sta...

Page 30: ...ions on how to use the Waxer please refer to the Waxer User Manual 4 3 2 ZCAST PARTS ZCast parts need to be dried at 400o F 204o C for 2 6 hours Drying times will depend on the mass of the part s and...

Page 31: ...r label 2 Dry the part as outlined in Section 5 3 Drying the Part 3 In a well ventilated area place the part on waxed paper or on another non stick surface 4 Apply a thin coat of resin to the entire p...

Page 32: ...in that part features that lie in the x y plane will be stronger than those aligned along the z axis If a part has a particularly delicate feature especially one shaped like a thin rod you might find...

Page 33: ...osing the Change Binder Supply option under the 406 Service Menu The binder in the system should be clear If it is not clear choose the Flush Binder option under the Service menu See Section 7 4 2 The...

Page 34: ...e gantry and print heads will move into position 4 Wait for the Printer to finish moving and the front panel lights to change to slowly blinking This indicates that it is safe to remove the print head...

Page 35: ...t head from the packaging After removing plastic covering from print heads contacts clean the contacts with the alcohol swab provided Let alcohol dry before inserting print head into carriage 11 Inser...

Page 36: ...ear of the build area 3 PLEASE NOTE After every print head change you must perform the alignment procedure Technical Tips Use the Z Corporation alignment pads They are bound on two sides so that the p...

Page 37: ...t Pattern in the alignment dialog box It will take a minute to initialize the Printer send the pattern and print 7 After the alignment pattern has printed lift the Top Cover and carefully remove the t...

Page 38: ...centered for the 0 choice These reticules are for the slow axis Notice how the lines are centered for the 0 choice F1 S1 etc correspond to the entries in the dialog box These additional targets will...

Page 39: ...gned reticules Normal reticule patterns Fast axis to the left Good fast axis reticule The three short lines are interleaved with the long lines Fast axis to the right Examples of problem reticules Slo...

Page 40: ...Slow F2 Head 2 Fast S2 Head 2 Slow F3 Head 3 Fast S3 Head 3 Slow 12 Click OK The software will ask you to update the INI file Click OK to update the Printer s configurations 13 Repeat steps 2 11 on a...

Page 41: ...hen the Printer has completed the purge process 16 Press Done to dismiss the dialog box 17 Unpark the gantry to expose the Service Station 18 Clean the Service Station of any HP ink residue as describ...

Page 42: ...the print heads and changed the binder supply to color mode 2 Spread powder onto the build piston 3 Choose Color Alignment under the 406Service menu 4 Choose to print the Pattern to print two layers...

Page 43: ...x Then click OK 8 Choose Yes to update the printer s alignment The printer will restart 9 Remove the printed pieces spread powder onto the build piston and repeat the color alignment procedure until a...

Page 44: ...t to the pillow blocks located on the fast axis rail of the Printer assembly There is one located on the top rail and two located on the lower rail on the edge of the carriage This procedure should be...

Page 45: ...of the gantry due to moisture accumulation This may cause poor surface finish and dragging of powder over the build area To prevent dragging of powder over the build area it is recommended that the b...

Page 46: ...1 852 5050 887 88 ZCORP 6 Press OK on the Software dialog box to repark 6 8 OIL SLOW AXIS FRONT RAIL FOR ZCAST POWDER USERS Oil the slow axis rail before every build to prevent slow axis errors 1 Sque...

Page 47: ...stic scraper blade will eventually become worn and will need replacement Five replacement blades are included in the kit To replace the blade peel off the old blade Take a new blade remove the adhesiv...

Page 48: ...6 10 CHANGING THE BINDER SUPPLY Changing the binder supply allows you to change between monochrome and color mode To change binder supplies choose the Change Binder Supply option under the 406Service...

Page 49: ...move parts from the build envelope Please ensure that these hardware changes have been made before proceeding For information on how to design a ZCast mold read the ZCast Design Guide which can be fou...

Page 50: ...0 887 88 ZCORP 3 Remove the powder from the Overflow Bin and empty into a sealed container 4 To prevent any material contamination vacuum any remaining powder in the Overflow Bin 5 Before replacing th...

Page 51: ...hrome or monochrome to color if needed 8 If you changed binder solution flush binder for two minutes by choosing the Flush Binder option under the Service menu 9 For ZCast Powder users remove scraper...

Page 52: ...7 88 ZCORP 10 Set up the Printer as described in section 2 2 2 Filling the Feed Box with Powder Change Powder Type 11 Open or import your file into the ZPrint Software using version 6 0 or higher 12 O...

Page 53: ...Corporation www zcorp users com 53 Recommended Saturation Values 14 Override or approve shell and core saturation values and anisotropic scaling factors Review bleed compensation values 15 Then proce...

Page 54: ...If a thin planar surface of a part lies flat along the top of the build box the broad exposed area may dry unevenly and bow towards the top Reorient the part so that the thin planar surface lies perp...

Page 55: ...WEAK OR CRUMBLY Is the data file known to be without errors If the stl file is not near perfect you will have problems printing the part Open the file in the software and inspect it layer by layer to...

Page 56: ...115k baud and has the same pin out as a standard PC compatible computer The connection to the Windows computer running the software requires a 9 pin to 9 pin null modem cable also known as a laplink c...

Page 57: ...nual for further information This symbol is in two places on the Z406 3D Printer 1 It is used on the rear lower left to call your attention to the fact that only authorized personnel should open the Z...

Page 58: ...tested and found to comply with the limits for a Class A digital device pursuant to part 15 of the FCC rules These limits are designed to provide reasonable protection against harmful interference whe...

Page 59: ...Store in cool dry place away from sun Keep tightly capped Binder and Wash Fluid are NOT recyclable Print Head Store in cool dry place away from sun Keep tightly capped Infiltrants Store in cool dry p...

Page 60: ...t create events 120 1 THREAD d can t initialize window system 120 2 THREAD d can t make window 120 3 THREAD d can t begin 120 4 THREAD d can t set priority 120 5 THREAD d illegal state 120 6 THREAD d...

Page 61: ...TS monitor is using port 160 3 COM d port already in use 160 4 COM d can t create event 160 5 COM d can t create thread 160 6 COM d can t set priority 160 7 COM d bad interrupt number 160 8 COM d IRQ...

Page 62: ...ve state 170 7 STATUS can t restore state 170 8 STATUS too many held layers 180 0 PACKETS layer is too big 190 0 LAYERS spurious read event 190 1 LAYERS zlib InflateInit error d 190 2 LAYERS zlib Infl...

Page 63: ...230 1 MOVER axis d destination out of range 230 2 MOVER axis d move intersects no fly zone 230 3 MOVER axis d excessive position error 230 4 MOVER axis d timed out completing move 230 5 MOVER axis d...

Page 64: ...ad timeout 290 0 TIGER bad head index 300 0 SEQUENCER bad FIFO size 300 1 SEQUENCER can t create event 300 2 SEQUENCER can t create thread 300 3 SEQUENCER can t set priority 300 4 SEQUENCER bad interr...

Page 65: ...310 2 PRINTER unknown message d 310 3 PRINTER message queue overrun 320 0 MONITOR can t create waitable timer 320 1 MONITOR can t set waitable timer 320 2 MONITOR thread took too long 330 0 TIMER unkn...

Page 66: ...0 1 LOWLEVEL error opening FPGA file 380 2 LOWLEVEL invalid FPGA load 380 3 LOWLEVEL bad IRQ number 390 0 SOCKETS can t initialize WinSock interface 390 1 SOCKETS WinSock 1 1 not supported 400 0 TCP c...

Page 67: ...sending to socket 401 4 TCP error d setting non blocking mode 410 0 UDP error d creating socket 410 1 UDP error d setting socket mode 410 2 UDP error d setting socket option 410 3 UDP error d binding...

Page 68: ...0 0 FLUIDS object already exists 450 1 FLUIDS object not initialized 450 2 FLUIDS unsupported pump rate 460 0 CARWASH object already exists 460 1 CARWASH object not initialized 460 2 CARWASH carwash i...

Page 69: ...18 Collision Detection 25 Color Alignment 42 Control Panel 14 D Depowdering Parts 29 Drying Parts 30 ZCast Powder 30 E Error Codes 59 F File Import 23 Open 23 Filling the Feed Box with Powder 16 Flus...

Page 70: ...1 852 5050 887 88 ZCORP S Saturation Values 27 Plaster 27 Starch 27 ZCast Powder 27 Scraper Blade Replacement 47 Shelling 8 Speed 32 Strength 32 Striping of Binder Solution 54 System Specifications 58...

Reviews: