Phone Settings
37
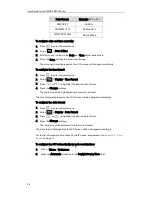
Press
or
to highlight the desired number.
Press to dial out.
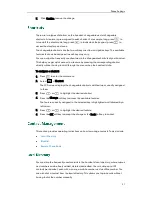
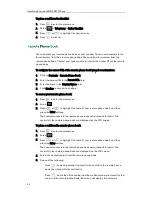
To add a contact to the local directory from the remote phone book:
1.
Press to enter the main menu.
2.
Select .
3.
Press
or
to highlight the name of your remote phone book, and then
press the Enter soft key.
The handset connects to the remote phone book and proceeds to load it. The
contacts in the remote phone book are displayed on the LCD screen.
4.
Select the desired contact from the remote phone book.
5.
Press the Options soft key, and select Add To Local->New Entry.
6.
Press the Save soft key to add the contact to the local directory.
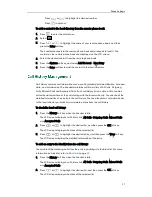
Call history contains call information such as calling/called party identification, time and
date, and call duration. The handset maintains call history lists of All Calls, Outgoing
Calls, Missed Calls and Accepted Calls. Each call history list can store a list of entries
sorted by date and time of the call, starting with the latest call entry. You can check the
detailed information of an entry in the call history. You can also dial a call, add an entry
to the local directory or blacklist, and delete entries from the call history.
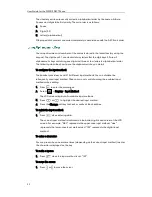
To check the local call history:
1.
Press the History soft key when the handset is idle.
The LCD screen displays 4 call history lists: All Calls, Outgoing Calls, Missed Calls
and Accepted Calls.
2.
Press or to highlight the desired list, and then press the OK soft key.
The LCD screen displays all entries of the selected list.
3.
Press or to highlight the desired entry, and then press the View soft key.
The LCD screen displays the detailed information of the entry.
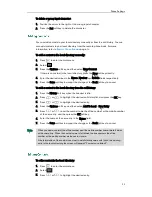
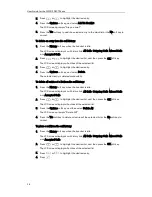
To add an entry to the blacklist from the call history:
You can block the incoming calls from the entry by adding it to the blacklist. For more
information on blacklist, refer to
Blacklist
on page
35
.
1.
Press the History soft key when the handset is idle.
The LCD screen displays 4 call history lists: All Calls, Outgoing Calls, Missed Calls
and Accepted Calls.
2.
Press or to highlight the desired list, and then press the OK soft key.
The LCD screen displays all entries of the selected list.
Summary of Contents for Telkom W52P
Page 1: ......
Page 10: ...User Guide for the W52P IP DECT Phone x ...
Page 14: ...User Guide for the W52P IP DECT Phone xiv ...
Page 21: ...Getting Started 7 25 Charged 10 Charged Almost Flat ...
Page 22: ...User Guide for the W52P IP DECT Phone 8 ...
Page 28: ...User Guide for the W52P IP DECT Phone 14 ...
Page 80: ...User Guide for the W52P IP DECT Phone 66 ...

