Getting Started
19
You can create multiple dial-now rules using the supplied template dial-now file. After
creating the dial-now rules, save the dial-now file to the root directory of the
provisioning server and specify the access URL in the configuration files.
When editing a dial-now file, remember the following:
<DialNow> indicates the start of a template and </DialNow> indicates the end of
a template (applicable to SIP-T2xP/T3xG IP phones).
<dialnow> indicates the start of a template and </dialnow> indicates the end of
a template (applicable to VP530 IP phones).
Create dial-now rules between <DialNow> (<dialnow >) and </DialNow>
(</dialnow>).
When specifying the desired line(s) for the dial-now rule, the valid values are 0 and
line ID. 0 stands for all lines, multiple line IDs are separated by comma.
Do not modify the file name.
Refer to the phone-specific user guide for the basic expression syntax of the
dial-now rule.
To customize a dial-now file:
1.
Open the template file using an ASCII editor.
2.
For each dial-now rule you wish to add, add the following string to the file, each
starting on a separate line:
<Data DialNowRule="" LineID=""/>
#(For T2xP/T3xG IP phones)
<data rule="" lines=""/>
#(For VP530 IP phones)
Where:
DialNowRule=""/ rule="" specifies the dial-now rule.
LineID=""/ lines="" specifies the desired line(s) for this rule. When leaving it blank,
this rule will apply to all lines.
3.
Specify the values within double quotes.
4.
Save the change.
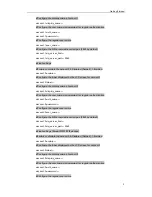
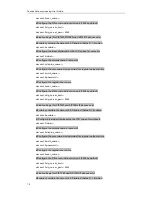
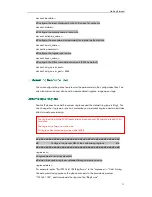
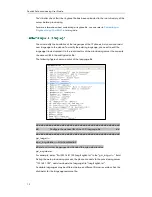
The following is an example of a dial-now file used for SIP-T2xP and SIP-T3xG IP phones:
<DialNow>
<Data DialNowRule="1234" LineID="1"/>
<Data DialNowRule="52[0-6]" LineID="1"/>
<Data DialNowRule="xxxxxx" LineID=""/>
</DialNow>
Summary of Contents for SIP-T2XP
Page 1: ...Table of Contents i...
Page 2: ......
Page 6: ...Yealink Auto provisioning User Guide vi...
Page 8: ...Yealink Auto provisioning User Guide 2...
Page 34: ...Yealink Auto provisioning User Guide 28...

