Yealink Auto provisioning User Guide
16
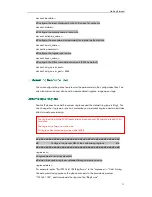
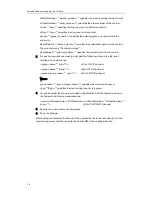
sMobilNumber=””/mobile_number=”” specifies the mobile number of the contact.
sOtherNumber=””/other_number=”” specifies the other number of the contact.
sLine=””/line=”” specifies the line you want to add this contact to.
sRing=””/ring=”” specifies the ring tone for this contact.
group=””/group_id_name="" specifies the existing group you want to add the
contact to.
photoDefault=””/default_photo=”” specifies the customized photo for the contact.
The value format is “Config:name.png”.
photoSelect=””/selected_photo=”” specifies the system photo for the contact.
3.
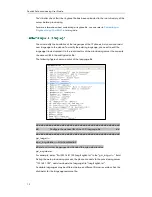
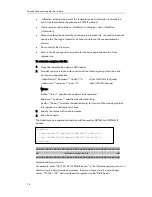
For each group that you want to add, add the following string to the file, each
starting on a separate line:
<group name=”” ring=””/>
#(For T2xP IP phones)
<group name=”” Ring=””/>
#(For T3xG IP phones)
<group display name=”” ring=””/>
#(For VP530 IP phones)
Where:
group name=””/group display name=”” specifies the name of the group.
ring=””/Ring=”” specifies the desired ring tone for this group.
4.
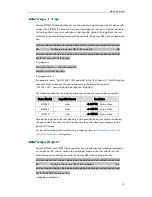
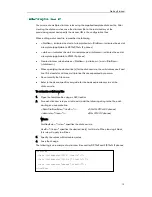
For each contact that you want to add to the blacklist, add the following string to
the file, each starting on a separate line:
<contact sDisplayName="" sOfficeNumber="" sMobilNumber="" sOtherNumber=""
sLine=""/>
#(For T2xP/T3xG IP phones)
5.
Specify the values within double quotes.
6.
Save the change.
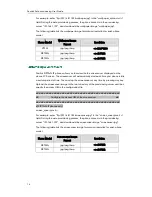
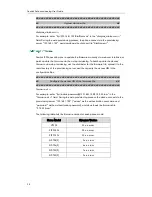
After editing the template local contact file, upload the file to the root directory of the
provisioning server and then specify the access URL in the configuration file.
Summary of Contents for SIP-T2XP
Page 1: ...Table of Contents i...
Page 2: ......
Page 6: ...Yealink Auto provisioning User Guide vi...
Page 8: ...Yealink Auto provisioning User Guide 2...
Page 34: ...Yealink Auto provisioning User Guide 28...


