


Customizing Your Phone
49
instead of long pressing .
Directory
You can use this key feature to easily access frequently used lists. For more information,
refer to
Directory
on page
31
.
Dependencies:
Type (Directory)
Usage: Press the programmable key to immediately access frequently used lists.
Note
You can register one account on the CP860 IP conference phone.
To register an account via phone user interface:
1.
Press Menu->Settings->Advanced Settings (Default password: admin) ->Account
2.
Press the Enter soft key.
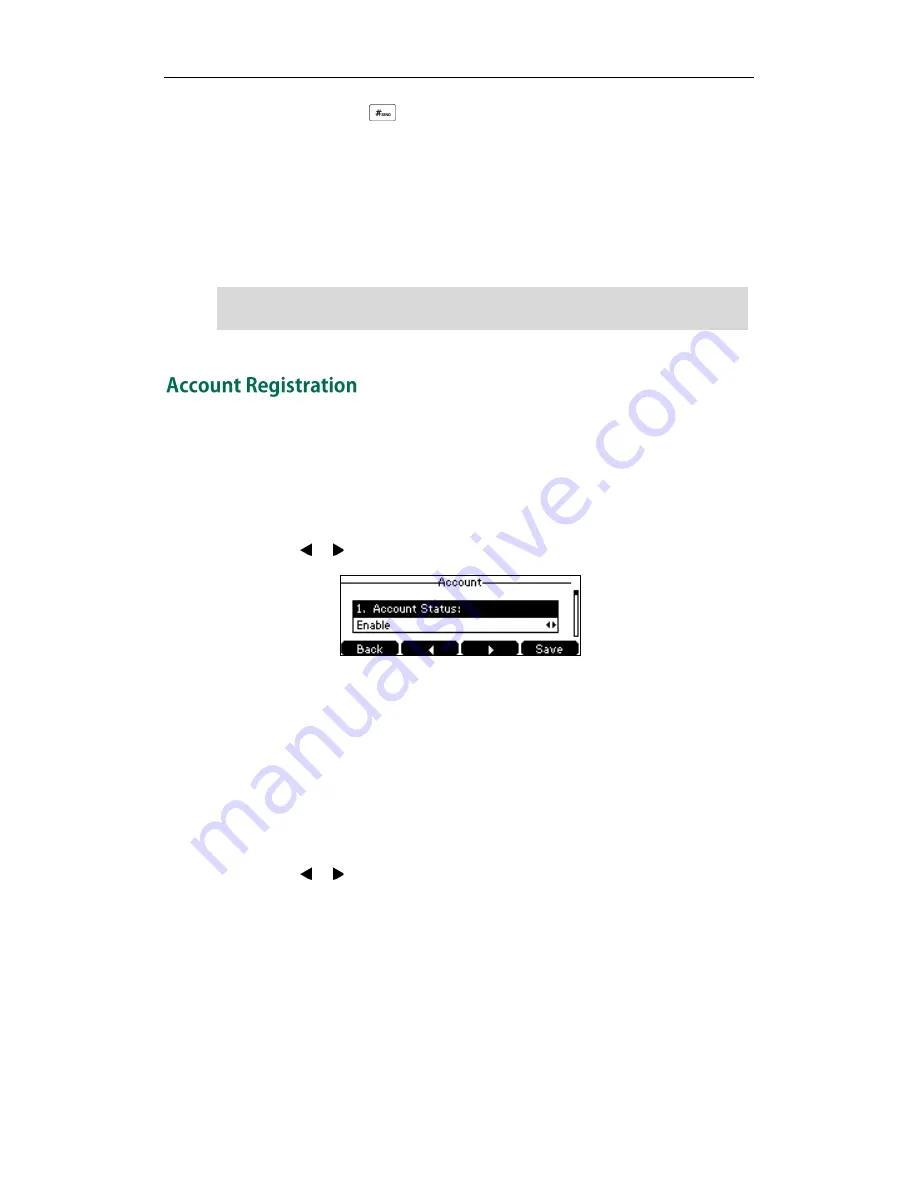
3.
Press the or soft key to select Enable from the Account Status field.
4.
Enter the desired values in Label, Display Name, Register Name, User Name,
Password and SIP Server1/2 fields respectively. Contact your system administrator
for more information.
5.
Press the Save soft key to accept the change or the Back soft key to cancel.
To disable an account via phone user interface:
1.
Press Menu->Settings->Advanced Settings (Default password: admin) ->Account
2.
Press the Enter soft key.
3.
Press the or soft key to select Disable from the Account Status field.
4.
Press the Save soft key to accept the change or the Back soft key to cancel.
Registering an account is configurable via web user interface at the path
Account->Register.
The programmable key performs the same function as the Directory soft key when the
phone is idle.


