


ENGINE
Cylinder Head
5-24
BY Service Manual
© 2009 Yanmar Marine International
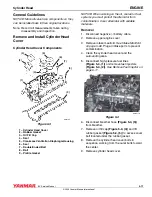
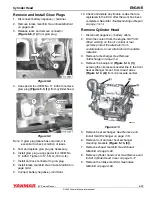
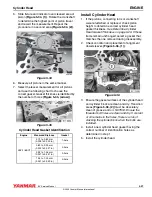
Clean Cylinder Head Components
Thoroughly clean all components using a
non-metallic brush and an appropriate solvent.
Each part must be free of carbon, metal filings and
other debris.
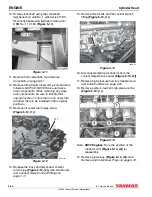
Pressure Test the Cylinder Head
1. Remove and disassemble cylinder head. See
Disassemble Cylinder Head on page 5-22.
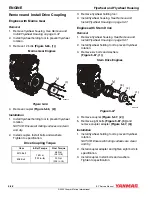
Figure 5-26
Figure 5-26
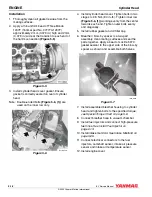
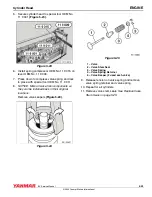
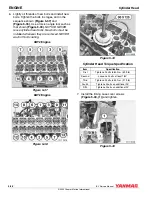
Note: Special tool OEM No. 11 6 407 consists
of twelve screws for mounting special
tools OEM No. 11 6 401 to the cylinder
head. If OEM No. 11 6 407 is not
available, use the old cylinder head bolts
to secure special tool OEM No. 11 6 401.
2. Seal off all coolant openings using special tool
OEM No. 11 6 400.
Note: OEM No. 11 6 400 consists of 11 6 401,
11 6 406, 11 6 407 and 11 6 408.
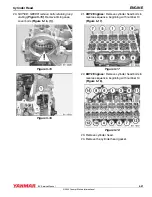
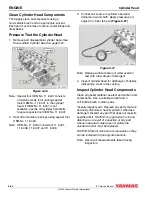
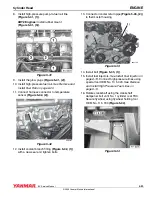
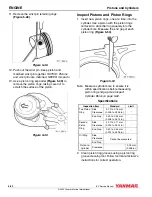
3. Connect air source to cylinder head and
immerse in water bath. Apply pressure and
adjust to 4.5 bar (65 psi) (Figure 5-27).
Figure 5-27
Figure 5-27
Note: Reduce surface tension of water used for
test with a few drops of detergent.
4. Inspect cylinder head for discharge of bubbles
indicating a crack in the casting.
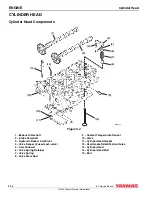
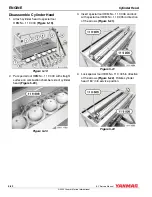
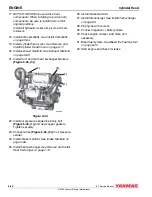
Inspect Cylinder Head Components
Clean all gasket material, sealant and carbon from
components. Use a suitable solvent and a
soft-bristle brush to clean parts.
Visually inspect parts. Replace any parts that are
obviously discolored, heavily pitted or otherwise
damaged. Discard any part that does not meet its
specified limit. NOTICE: Any part which is found
defective as a result of inspection or any part
whose measured value does not satisfy the
standard or limit must be replaced.
NOTICE: Mark all valve train components so they
can be installed in their original locations.
Note: Record all measurements taken during
inspection.