67
,,,,,,,,,,,,,,,,,,
,,,,,,,,,,,,,,,,,,
QQQQQQQQQQQQQQQQQQ
QQQQQQQQQQQQQQQQQQ
¢¢¢¢¢¢¢¢¢¢¢¢¢¢¢¢¢¢
¢¢¢¢¢¢¢¢¢¢¢¢¢¢¢¢¢¢
cleared. If any data remains in any section “
All sections
must be cleared to set beat. Clear all sections?
”
will appear. A new time signature can be selected after pressing
the
YES
LCD button.
Use the
TEMPO
LCD dials to set the default tempo for the
new style.
■
PART COPY
.......................................................................................................................................................................................
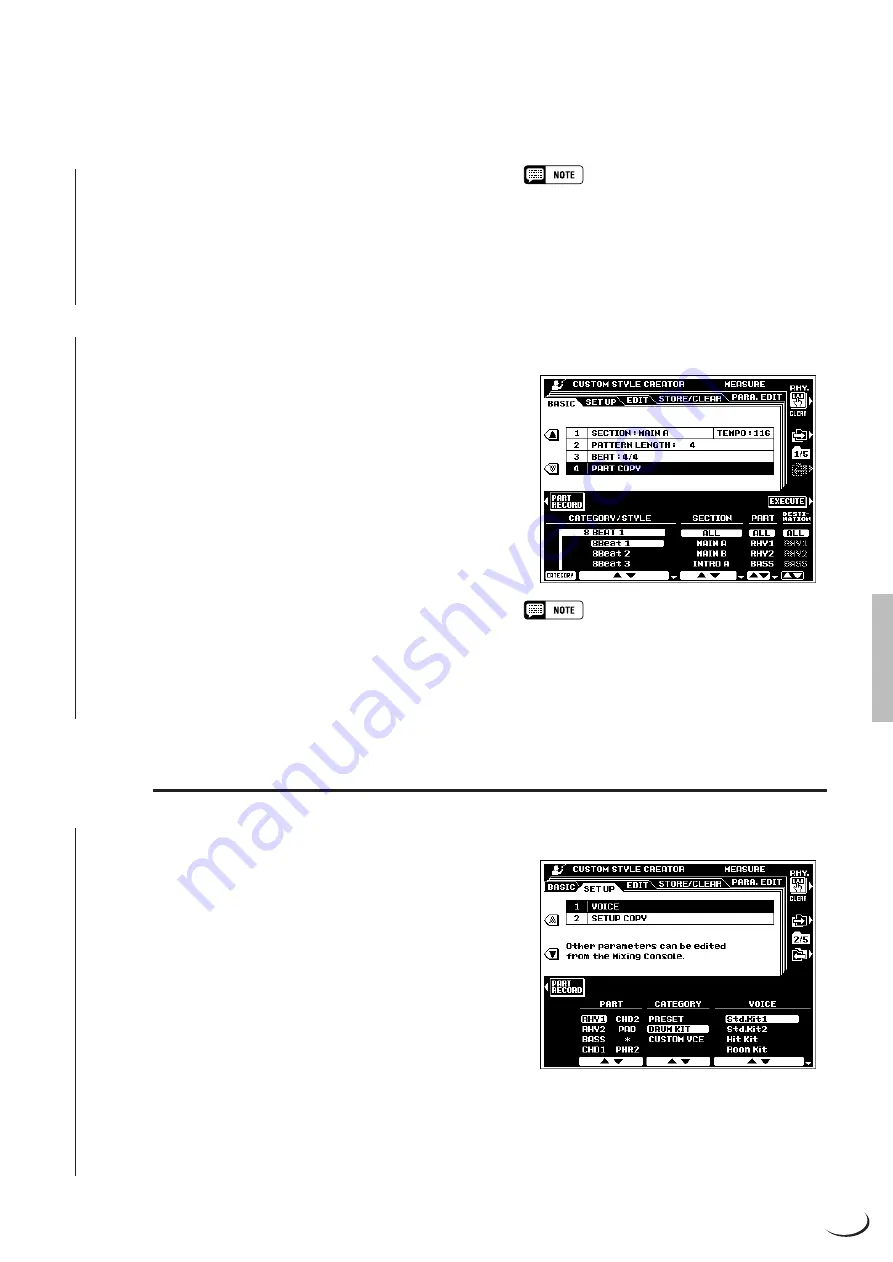
Instead of starting with all the sections and/or parts from the
selected original style, you can copy specific parts from other
sections/parts of the same style, or from other styles as required.
Use the
▼
LCD button to the left of the display to select the
PART COPY parameters. Then use the
CATEGORY/STYLE
LCD dials to select the style from which you want to copy a part,
the
SECTION
LCD dials to select the section you want to copy
from, the
PART
LCD dials to select the part you want to copy
(“ALL” to copy all parts of the selected section at once), and the
DESTINATION
LCD dials to select the part in the currently
selected section to which you want to copy the selected part
(only “ALL” will be available when the PART parameters is set
to “ALL”). Once the source part(s) and destination have been
specified, press the
EXECUTE
LCD button to actually copy the
part(s).
• In addition to the SECTION LCD dials, the current
section can be switched via the panel section buttons
— INTRO A/B, MAIN/AUTO FILL, ENDING/rit. This
applies to all other CUSTOM STYLE displays, so it is
not necessary to return to this display page whenever
you want to switch sections.
• Parts can not always be copied from styles which have
a different time signature. Also, in some cases it may
not be possible to copy from other parts. In such a
case the EXECUTE LCD button will appear in gray
and will not be available.
SETUP
■
VOICE
.......................................................................................................................................................................................................
These parameters assign voices to the parts available in the
currently selected section.
Use the
PART
LCD dials to select a part you want to assign
a different voice to. “
*
” will appear for parts which contain no
data and cannot be selected.
Use the
CATEGORY
LCD dials to select a voice category,
and the
VOICE
dials to select the specific voice to be assigned
to the selected PART. Voices which cannot be used will not be
displayed.
●
Editing Other SETUP Parameters
Other SETUP parameters (volume, effects, etc.) can be edited
via the FULL
MIXING CONSOLE [ACMP PART]
displays
(page 40).
The Custom Style Creator


