16
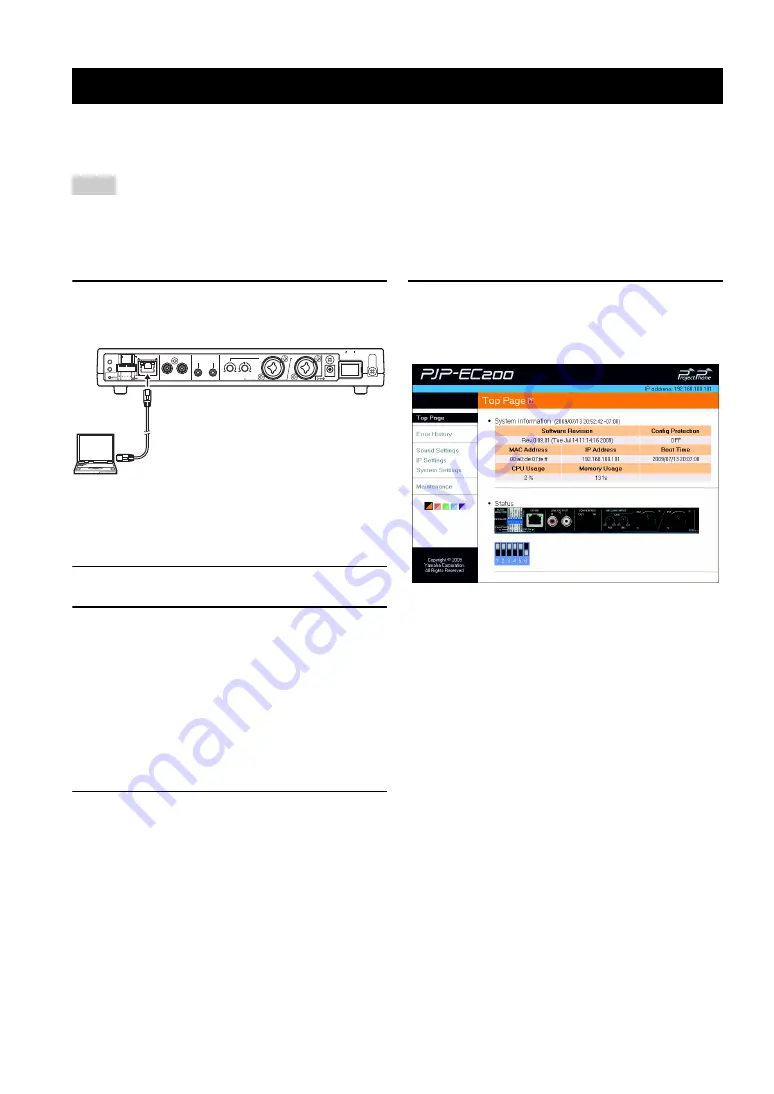
By using the web menu, you can configure this unit's settings in more detail. The web menu is accessible from the PC
connected to this unit. To configure this unit's settings from the web menu, set the DIP switch (DIP SW) to ETHER.
•
If you set DIP SW to ETHER, the web menu settings are prioritized. The settings items you have configured using the DIP switch
should be reconfigured on the web menu. If you set the DIP switch to DIP SW after configuring the settings on the web menu, setting
items that are not available by the DIP switch are decided by the web menu settings.
•
To access the web menu, Internet Explorer 6.0 (or later version) for Windows is required.
1
Connect this unit and your PC using the
LAN cable.
y
Since this unit automatically detects the type of a LAN
cable (straight or crossover), you can use a straight LAN
cable to directly connect this unit to a PC.
2
Turn on this unit and your PC.
3
Change the IP address of your PC as
follows.
IP address: 192.168.100.2
Subnet mask: 255.255.255.0
y
You can use an IP address within the range of
"192.168.100.1" to "192.168.100.254" (except
"192.168.100.101"). In this procedure, "192.168.100.2" is
used as an example.
4
On your PC, run the web browser and
then select "Open" from the "File" menu.
5
Enter "http://192.168.100.101" and then
click "OK".
The web menu is displayed.
Using the Web Menu
Notes
R
L
LINE OUTPUT
OUT
IN
CONFERENCE
MIC/LINE INPUT
MIN
MAX
IN2
IN2
IN1
DC IN 12V
S
TANDBY ON
ETHER
DIP
S
W
AUTO
ANALYZER
INITIALIZE
PHANTOM
ACTIVE
ACTIVE
OFF
ON
LINE
MIC
MIN
MAX
IN1
ETHER
LINE
MIC
1
2
OFF
ON
PHANTOM
IN1 & 2
CONF.OUT
EC TYPE
MIX & F
S
DIP
S
W
S
ETTING
GAIN


