MENU DESCRIPTION
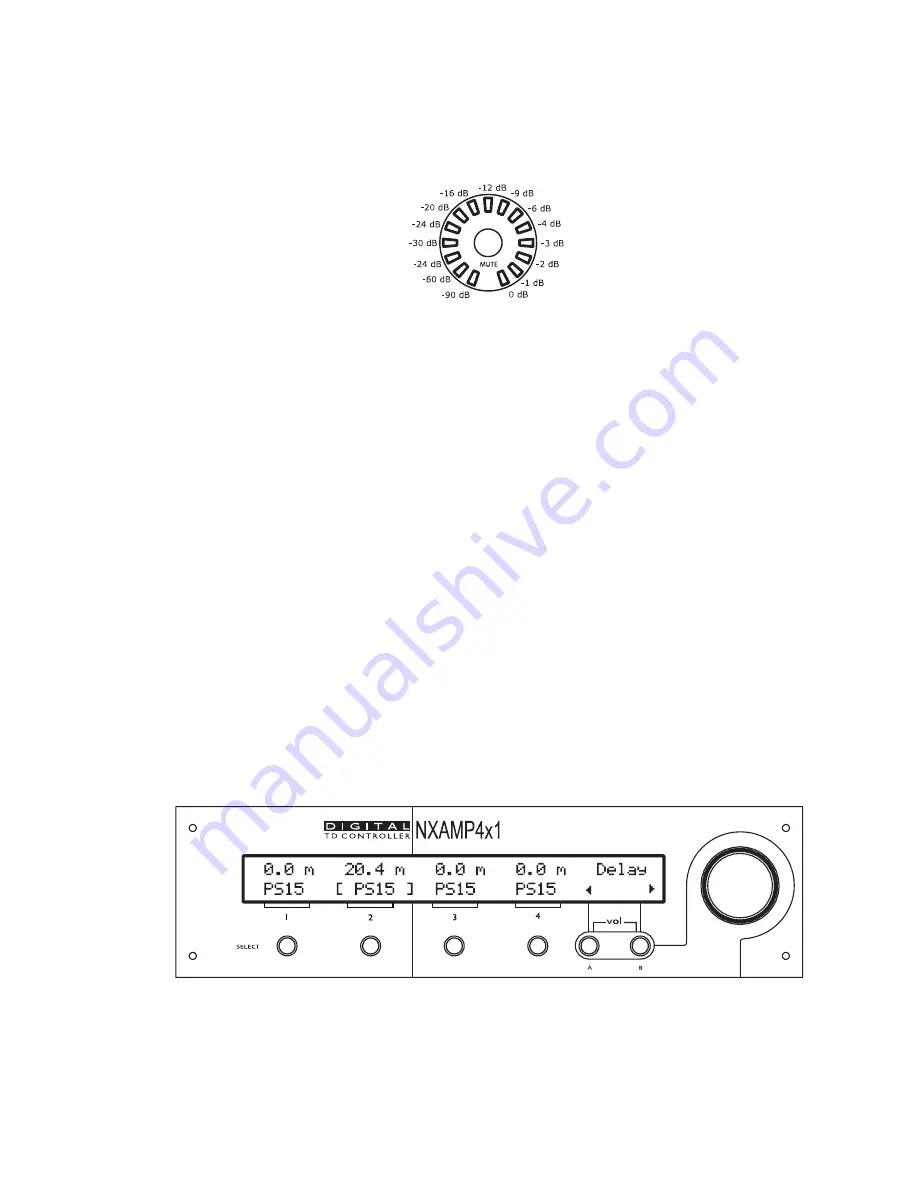
The volume setting for each channel can always be clearly seen from the front panel
surrounding LED (white/blue) around each mute button. The position of the LED gives the
value of the volume, like it would be for a traditional analog volume pot. The picture bellow
gives the attenuation value for each LED.
The attenuation value can also be read on the LCD screen. To change the attenuation for a
given channel, select the channel first by pressing the corresponding “select” button. The
channel name on screen will then be put between bracket (see on the picture above,
channel 2 is selected). Then turn the wheel to change the volume setting.
You can select multiple channels by pressing several “select” buttons at the same time.
When a selected channel reaches the maximum value, it will cease to increase by
continuing to turn the wheel, but other selected channels may still increase the setting: be
careful not to change a gap between two channel settings when selecting multiple channels
at the same time.
Please note that all the LEDS for volume indication are white except the last one
(corresponding to 0 dB attenuation) which is Blue. That allows to quickly checking that all
volumes are correctly set on a NXAMP powered TDcontroller.
NB: You can adjust small differences of gain between channels with the gain menu (see
further). There is basically no difference between volume setting and gain setting for a
channel, this distinction is only done by analogy with traditional amplifiers. The CPU will
always take care of gain and volume settings and decide what the best combination is
between analog or digital gain to optimize dynamic range of the system.
Adjusting Delay
The delay of each channel can be adjusted from the Delay menu. Bellow is a picture of this
menu.
The delay value can be read on the top of the LCD screen for each channel (unit is meters).
To change the delay for a given channel, select the channel first by pressing the
PAGE 40 OF 91


