TRIGGER
Ref
erence
KIT
MIDI
V
OICE
UTILITY
WA
V
E
PA
TTERN
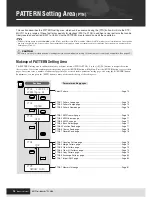
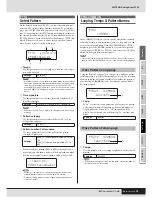
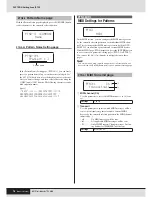
WAVE Setting Area (WAVE)
Owner’s Manual
71
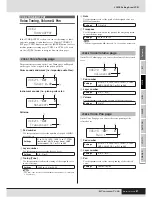
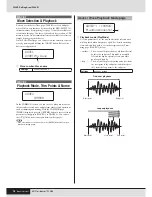
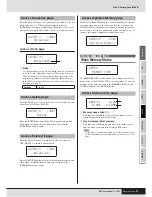
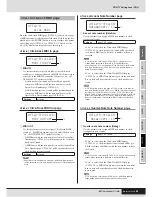
From the Trimming page, you can edit the currently selected
wave’s start, end, and loop points. With the Trimming page
(WAVE2-2) displayed, press the [ENTER] button to open the
Trimming Settings page.
WAVE2-2-1
Trimming Settings page
1
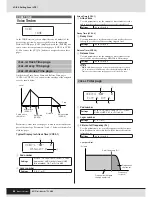
Trim point
Use this parameter to select the trim point to be set. As shown
in the diagram below, three different types of trim point can
be selected – start, loop, and end.
• Start ........ This is the position at which playback will start.
In other words, no data in front of this point (i.e.,
with a smaller position value) will be played.
• Loop ....... This is the position at which looping will start. If
“loop” has been selected on the Wave Playback
Mode page (WAVE2-1), playback will loop con-
tinuously between this point and the end point.
• End ......... This is the position at which playback will end. In
other words, no data behind this point (i.e., with a
larger position value) will be played.
B
Point
Use this parameter to specify a five-digit position value for
the selected trim point. The [
B
]/[
C
] buttons can be used to
move the cursor between digits, and the [-/DEC] and [+/INC]
buttons can be used to change the corresponding value.
• To audition your wave with the current settings, press the [WAVE] but-
ton with the Trimming Settings page displayed.
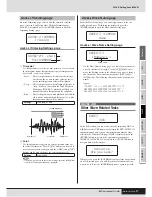
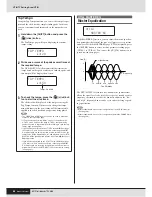
From the Wave Name page, you can assign a name to the cur-
rently selected wave. With this page displayed, press the
[ENTER] button to open the Wave Name Setting page.
WAVE2-3-1
Wave Name Setting page
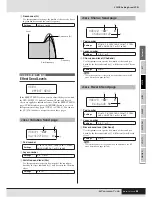
On the Wave Name Setting page, you can set a wave name of
up to 10 characters in length. Use the [
B
]/[
C
] buttons to
move the flashing cursor to the character you want to change,
and then select a new character using the [-/DEC] and [+/
INC] buttons. The following characters can be used in wave
names.
[space]
Other Wave-Related Tasks
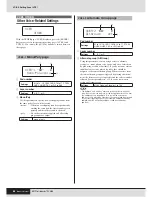
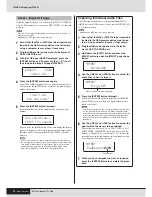
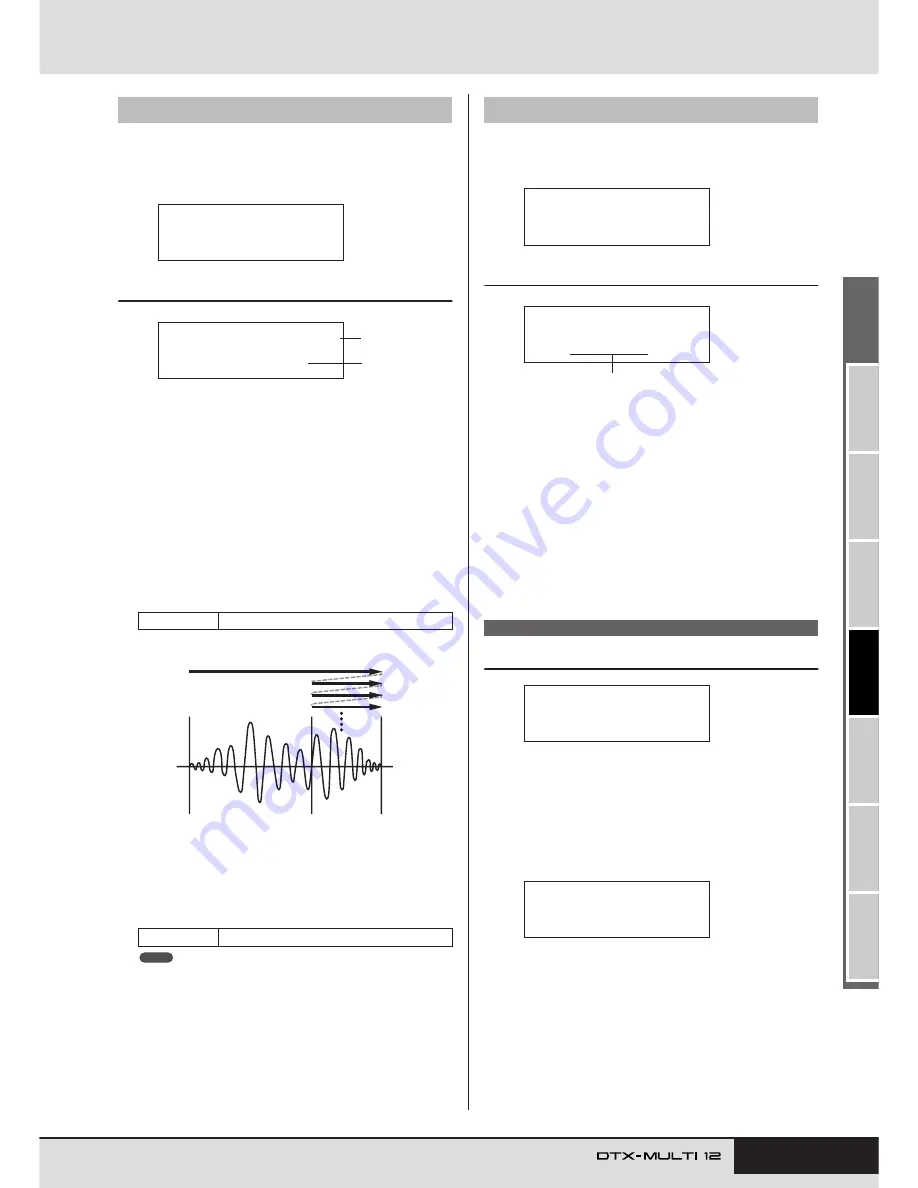
In the JOB section, you can create waves by importing WAV or
AIFF files from a USB memory device into the DTX-MULTI 12’s
internal memory, and you can also perform a number of other
related tasks. With the JOB page (WAVE3) displayed, press the
[ENTER] button to access its five parameter-setting pages
(WAVE3-1 to WAVE3-5). You can use the [
B
]/[
C
] buttons to
navigate between these pages.
Whenever you press the [ENTER] button to perform an operation
on a JOB section page, you will be asked to reconfirm that you
want to do so. Press the [ENTER] button once again to proceed.
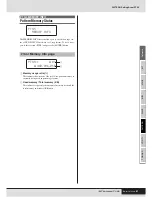
WAVE2-2
Trimming page
Settings
start, loop, or end
Settings
From 00000
WAVE2-2≥<COMMON>
≥≥≥≥Trimming
WAVE2-2-1≥≥start
≥≥Point=05000
1
2
Start point
End point
Looped playback
Loop point
NOTE
WAVE2-3
Wave Name page
WAVE3 JOB
WAVE2-3≥<COMMON>
≥≥≥≥≥≥Name
WAVE2-3-1
≥≥[MyWave≥1≥]
Wave name
!"#$%&'()*+,-./0123456789:;<=>?@
ABCDEFGHIJKLMNOPQRSTUVWXYZ[\]^_`
abcdefghijklmnopqrstuvwxyz{|}ßå
WAVE3
≥≥≥≥≥≥JOB
≥≥≥Normalize
≥Are≥you≥sure?
Summary of Contents for DTX-MULTI
Page 1: ...Owner s Manual EN ...
Page 114: ...114 Owner s Manual MEMO ...

