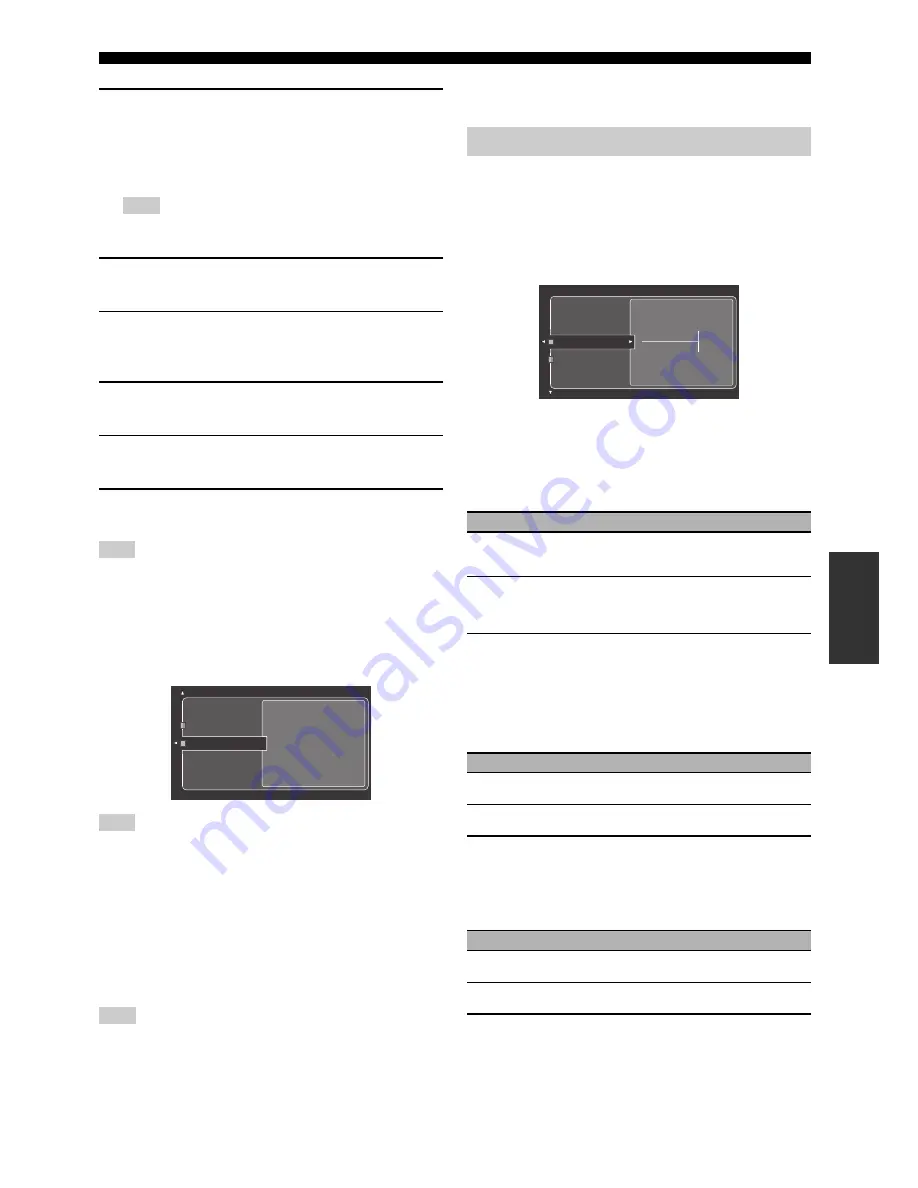
Graphical user interface (GUI) menu
93
En
Ad
v
a
nce
d
Op
eratio
n
3
Press
9
k
/
n
to select “On” or “Off” and then
9
ENTER
to confirm.
• If you select “On”, you do not have to set other network parameters.
Refer to step 5 and finish the configuration.
• If you select “Off”, you need to set other network parameters. Refer
to steps 4 through 6 to set the parameters.
When “DHCP” is set to “On”, you cannot select and adjust any other network
settings. To specify the other parameters, you need to first set “DHCP” to “Off”.
4
Press
9
k
/
n
to select the desired parameter and
then
9
h
.
5
Press
9
l
/
h
repeatedly to select the digit to
change and then press
9
k
/
n
repeatedly to change
the number.
6
Press
9
ENTER
to confirm the setting of the
parameter.
7
Repeat steps 4 through 6 to configure each network
parameter.
8
Press
9
n
repeatedly to select “Setup” and then
9
ENTER
to finish configuration.
In case you have changed your network configuration, you may need to reconfigure the
network settings again.
y
You can reset the network settings of this unit to the initial factory settings by using
“NETWORK” of “INITIALIZE” in the advanced setup menu (see page 120).
■
Information (Network information)
Use this feature to display the network system information.
The above display is an example.
MAC Address
(MAC (Media Access Control) address)
This information displays the MAC address that is assigned to this
unit.
Status (Network status)
This information displays the current link status of the network.
Display status: 10BASE-T, 100BASE-TX, No Link,
Full Duplex, Half Duplex
“No Link” appears when network connection is not made.
System (System ID)
This information displays the system ID that is assigned to this unit.
This menu adjusts the optional system settings.
■
Front Panel Disp.
(Front panel display setting)
Dimmer (Dimmer)
Use this feature to adjust the brightness of the front panel display.
Control range: – 4 to
0
Scroll (Front panel display message scroll)
Use this feature to set whether to display the information (such as
song title or channel name) in the front panel display in a
continuous manner or by the first 14 alphanumeric characters after
scrolling all characters once when “DOCK”, or “NET/USB” is
selected as the input source.
■
iPod (iPod settings)
Standby Charge
(iPod charge on the standby mode)
Use this feature to select whether this unit charges the battery of the
stationed iPod or not when this unit is in the standby mode (see
page 64).
■
Audio Select
(Default audio input jack select)
Use this feature to designate the default audio input jack select
setting (see page 81) for the input sources connected to the
DIGITAL INPUT jacks when you turn on the power of this unit.
Note
Note
Note
Note
Configuration
Information
MAC Address
00:00:00:00:00:00
Status
100BASE-TX
Full Duplex
System
ABCDE123
Manual Setup (Option)
Choice
Functions
Continue
Continuous mode.
Select this to display the operation status in the front
panel display in a continuous manner.
Once
Scroll-once mode.
Select this to display the operation status in the front
panel display by the first 14 alphanumeric characters
after scrolling all characters once.
Choice
Functions
Auto
Charges the battery of the stationed iPod when this unit is
turned on and in the standby mode.
Off
Charges the battery of the stationed iPod only when this
unit is turned on.
Choice
Functions
Auto
Automatically detects the type of audio input signals and
selects the appropriate audio input jack select setting.
Last
Automatically selects the last audio input jack select
setting used for the connected input source.
0
Dimmer
Scroll


