36
DRIVE TRAIN
Check the drive shafts, wheel axles and differential pulleys for wear.
Excessive wear may cause these transmission joints to lock-up and affect
the suspension movement. Also check the middle layshaft and belts and all
gears. Remove any debris (dirt, pebbles, carpet fibres) which may have
become embedded between the teeth.
We recommend putting a little grease on the plastic blades at the end of
the drive shafts and onto the drive shaft coupling.
D
Drriivve
e T
Trra
aiin
n B
Biin
nd
diin
ng
g
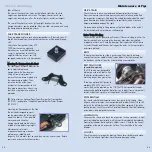
Disconnect the pinion gear and pull the belt. If there is binding in either the
front or rear belt, one or more of the bearings may either be installed
improperly or worn out. Check the bearings that support the diff outdrives
(in the bulkheads) and the ones that support the axles (in the rear uprights
and steering blocks).
BELTS
The belts should not be taut like a guitar string. They should be loose
enough that you can wobble the belt up and down, but tight enough that
the belt does not slip off a pulley under braking or acceleration.
BELT TENSIONER
(available option)
The T1R chassis was designed to
eliminate any fore/aft chassis flex.
The Kevlar-reinforced belts resist
stretching longer than most others.
There is an optional belt tensioner
available (#30 3070), but it will
mostly likely not be required on the T1R. The T1R has special bulkheads
and eccentric ball-bearing hubs that allow you to adjust front and rear belt
tension without having to use an the optional front belt tensioner.
DIFFERENTIALS
You should rebuild the differentials when they get a "gritty" feeling. Clean
all parts with motor spray, then reassemble and re-adjust them. If they still
feel gritty, the diff washers and steel balls should be replaced. If the gritty
feeling remains, check the small 3x8 axial ball-bearing (thrust ball-bearing)
and washers, and replace as necessary.
SUSPENSION
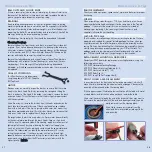
Disconnect the shocks and check the suspension for free movement. A tight
arm may indicate a bent pivot pin, which should immediately be replaced.
Excess play indicates that a pivot pin holder is worn. Check for the correct
orientation of the plastic suspension holders. They should be in the same
direction.
SHOCKS
Check the shocks for proper functioning. Check for air bubbles and make
sure that the left and right sides have the same damping setting.
Maintenance & Tips
35
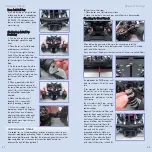
Rear of Chassis
The rear of the chassis has holes on the left and right sides to which
weights can be attached with screws. The larger, heavier round rear
weights can be used, as well as the smaller, lighter round front weights.
The rear of the chassis also has left and right locations to which the
transponder mount can be attached. When possible, we recommend using
the transponder to balance the chassis.
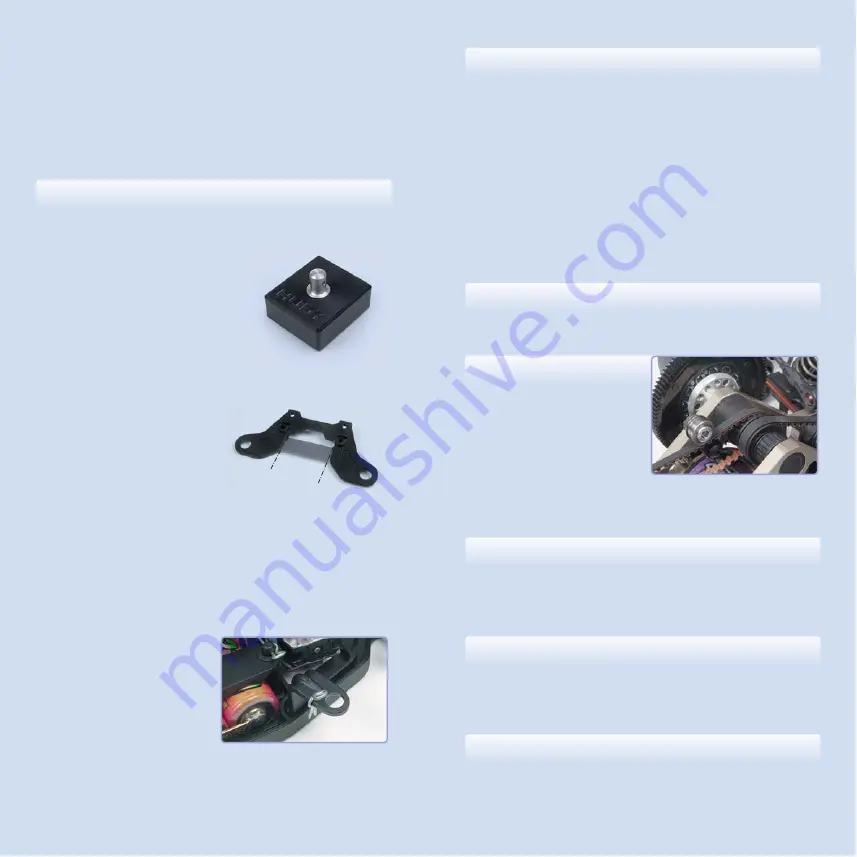
FAKE TRANSPONDER
If you are preparing for a race where transponders will be used, you will
benefit from practicing with weight distribution you will be actually racing
with.
Hudy's Fake Transponder (Hudy #10
7890) has the same weight and
dimensions as a real transponder, and
using it is a great way to check the
weight distribution on your car, fully
equipped, ready-to-run with transponder.
M
Moouunnttiinngg tthhee TTrraannssppoonnddeerr iinn tthhee FFrroonntt
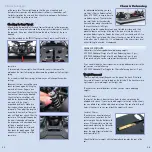
The front upper bumper holder can be
easily modified to place a
transponder in the front bumper.
Using a Dremel moto-tool to
remove the cross-brace molded into
the upper bumper holder. Then,
remove a section of the foam
bumper for the transponder to sit in.
Take proper precautions when using
tools, and use proper eye and hand
protection.
XRAY also offers an optional Precut Foam Bumper For Transponder
(#30 1221) and optional Graphite Upper Holder For Precut Bumper
(#30 1214).
Mounting the Transponder on the Side
The included transponder mount
can be mounted on the left or right
side of the chassis. When possible,
we recommend using the
transponder to balance the chassis
instead of using balancing weights.
Maintenance is of utmost
importance to achieve maximum
performance, reliability, and
longevity. First, maintain your car, and then work on chassis setup. Before
every race, examine the following items:
Chassis Balancing
CUT
CUT
Summary of Contents for T1R Raycer
Page 1: ......


