2
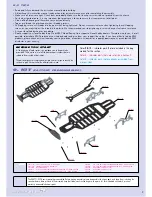
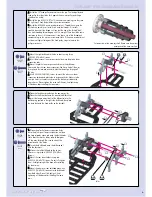
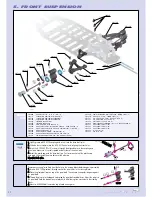
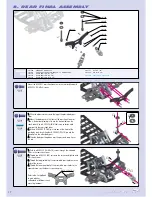
301180
303015
301110
302025
309343
303025
309344
302015
301200
309393
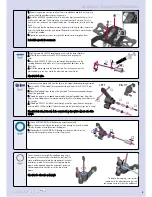
30 1110
6-CELL CHASSIS 2.5 MM - GRAPHITE
30 1180
FLEXIBLE TOP DECK - GRAPHITE
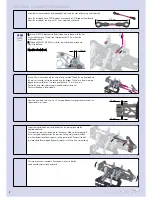
30 1200
NYLON BUMPER
30 2015
ALU SUSP. ADJUSTABLE BULKHEAD FRONT RIGHT - HARD COATED
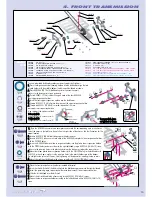
30 2025
ALU SUSP. ADJUSTABLE BULKHEAD FRONT LEFT - HARD COATED
30 3015
ALU SUSP. ADJUSTABLE BULKHEAD REAR RIGHT - HARD COATED
30 3025
ALU SUSP. ADJUSTABLE BULKHEAD REAR LEFT - HARD COATED
30 9343
HEX SCREW SFH M3x6 (10)
30 9344
HEX SCREW SFH M3x8 (10)
30 9393
NUT M3 (10)
0. KIT
(FACTORY PREASSEMBLED)
KIT
R/C TIPS
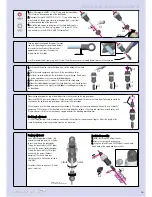
• Read and fully understand the instruction manual before building.
• Always keep this instruction manual ready at hand for quick reference, even after completing the assembly.
• Make sure all screws are tight. Check them periodically. Make sure that the chassis screws do not protrude from the chassis.
• For the best performance, it is very important that great care is taken to ensure the free movement of all parts.
• Clean all ball-bearings so they move very easily and freely.
• Tap or pre-thread the plastic parts when threading screws.
• Self-tapping screws cut threads into the parts when being tightened. Do not use excessive force when tightening the self-tapping
screws, or you may strip out the thread in the plastic. We recommended you stop tightening a screw when you feel some resistance.
• Ask your local hobby shop for any advice.
• Please support your local hobby shop. We at XRAY Model Racing Cars support all local hobby dealers. Therefore we ask you, if at all
possible, to purchase XRAY products at your hobby dealer and give them your support like we do. If you have difficulty finding XRAY
products, please check out www.teamxray.com to get advice, or contact us via email at [email protected], or contact the XRAY
distributor in your country.
The XRAY T1 EVO2 comes partially preassembled. Before starting assembly, please disassemble the chassis parts, and keep them, including the
screw hardware, close at hand. In the assembly steps that follow, each section begins with a parts list. Parts indicated with color A are from
previously disassembled chassis parts.
BEFORE YOU START
At the beginning of each section is an exploded view of the parts to be
assembled. There is also a list of all the parts and part numbers that are
related to the assembly of that section.
The part descriptions are color-coded to make it easier for you to identify the
source of a part. Here are what the different colors mean:
Color BLACK -- indicates parts that are included in the bag
marked for the section.
Color A -- indicates parts that were set aside in Section 0.
Color B -- incidates parts that are already assembled from
previous steps.
Summary of Contents for T1 EVO2
Page 1: ......


