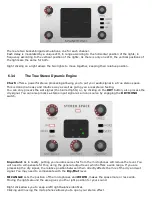
4.3 Adjusting the Chor'X parameters
On
Chor'X
, the sound parameters are controlled using knobs, switches or Pad 2D.
To use a mouse to adjust the parameters of
Chor'X
which are controlled by knobs, click inside the knob and
move the mouse up or right to increase the value, down or left to decrease it.
If you right-click on a parameter, or if you hold-shift while clicking, you can adjust the parameter with fine
precision.
To use a mouse to adjust the parameters of
Chor'X
which are controlled by a switch, just click inside it.
To use a mouse to adjust the parameters of
Chor'X
which are controlled by Pad 2D, locate the dot you want to
move, click on it and drag it around the PAD. By right-clicking, you can move several dots at the same time.
Keyboard shortcuts:
In addition, we have provided some soft key combinations to perform several very useful tasks:
Windows
:
•
CTRL+left click: resets parameter to its default value.
•
CTRL+right click or CTRL+Shift+left click: initializes the default value of the parameter.
•
Win+Alt+CTRL + click: opens the MIDI Control panel, with the parameter already selected.
OSX
:
•
Apple+left click: resets parameter to its default value.
•
Apple+Shift+left click: initialises the default value of the parameter
•
Apple+Alt+CTRL + click: opens the MIDI Control panel, with the parameter already selected.
When a parameter is chosen via a drop-down menu, just click on the button or label and select the item.
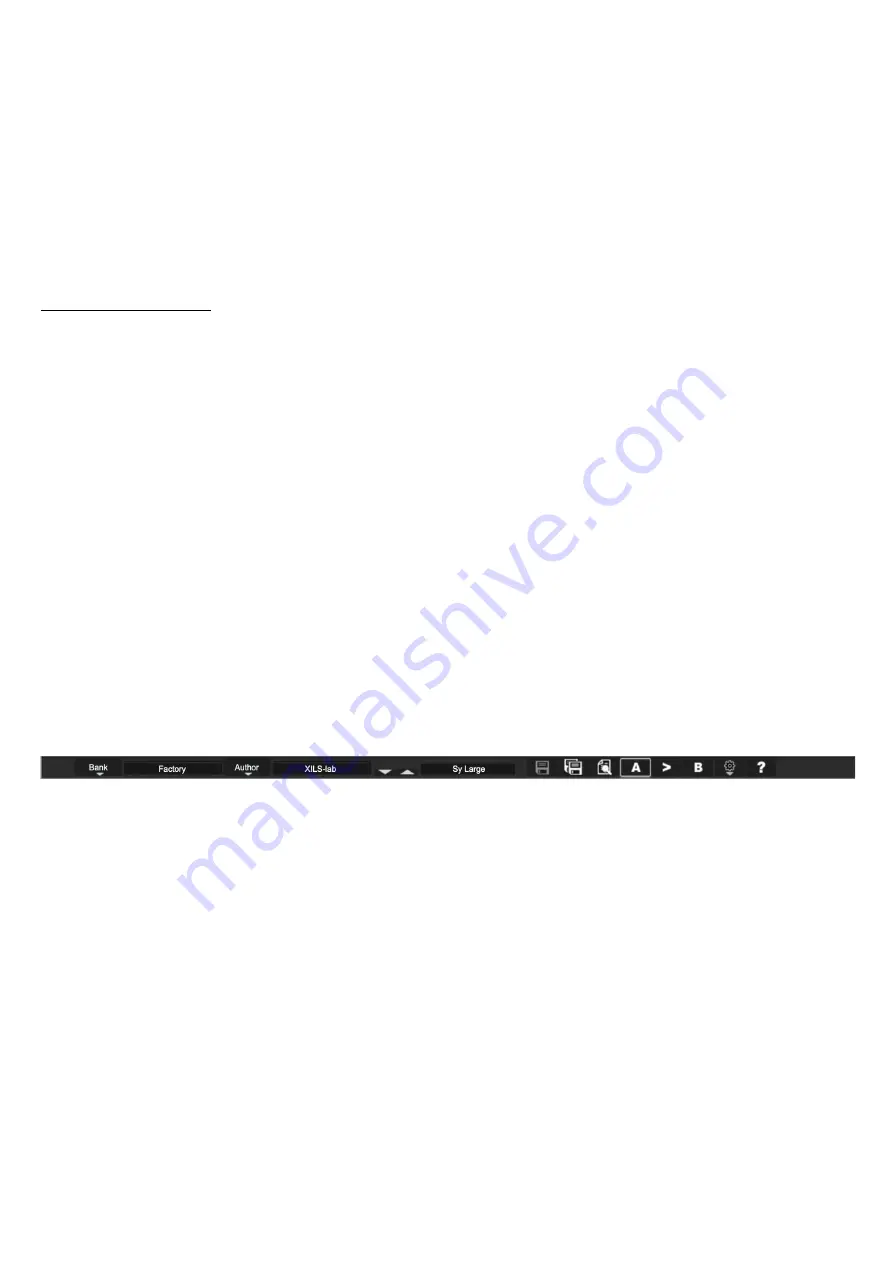
The help button (
?
) on the toolbar displays a panel summarizing these shortcuts.
5 Preset Management
5.1 Main Toolbar
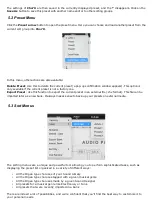
In the toolbar you can find two buttons, displaying the category name (Bank, Author, Type, Style, Feeling or
Project), which open the
sort
management menus.
The first two text fields show the current sorting group and the third shows the current preset.
Clicking the arrow on the left of the category or preset names opens the corresponding menus.
Note: When a parameter is modified, the name of the preset is followed by a
*
, indicating that the current
settings of
Chor'X
no longer match the stored preset.
When you want to save a modified preset, click on the
Save or Save As
button.
In order to prevent you from erasing them, the Factory presets cannot be modified. When you edit a Factory
preset, the
Save
button will be grayed out, and you will have to use the
Save As
function to save it in another
bank.
If you edit any preset, other than a Factory one, the
Save
and
Save As
function will both be available.
The main difference is that the
Save
function will save the preset under its current name, and with its current
tags, overwriting the previous incarnation of the preset, while the
Save As
function will open a dialog box where
you can modify the name of the preset, the bank in which it will be stored, and all its tags.

