


3 Loading Paper
48
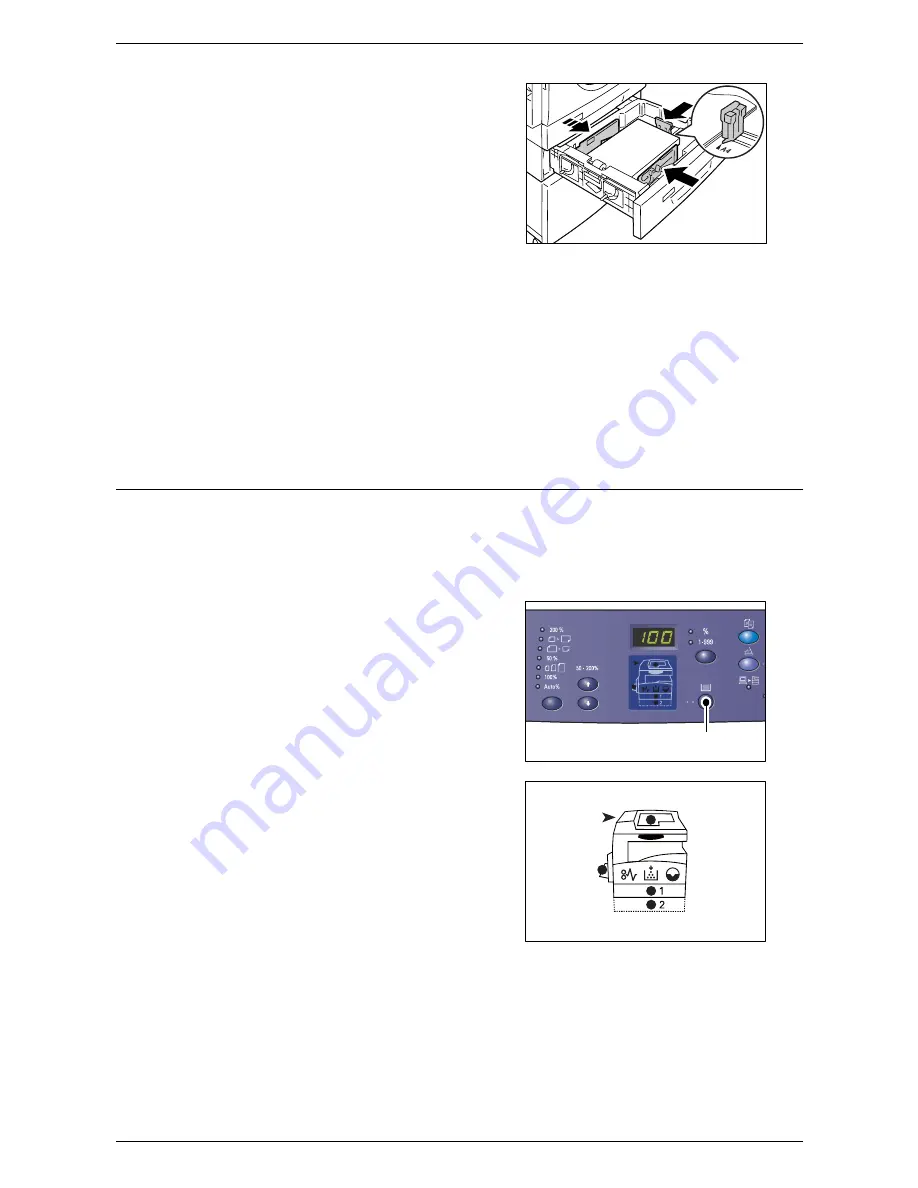
6.
Adjust the paper guides to just touch
the edges of the paper, and align the
arrow on the right paper guide with the
appropriate paper size marking on the
label.
NOTE:
If you do not adjust the paper
guides correctly, it may result in a paper
jam.
NOTE:
If loading a relatively thin stack of
paper in the tray, when tightly adjusting the right paper guide up against the edge of
the paper, the stack of paper can become warped. This will not result in a paper jam
as long as the paper guide arrow is correctly aligned with the appropriate paper size
marking on the label.
7.
Push Tray 2 gently back into position.
8.
Specify the paper size and orientation on the Control Panel.
For information on how to specify the paper size and paper orientation, refer to
Specifying the Size and Orientation of Paper Loaded in the Trays on page 48
.
Specifying the Size and Orientation of Paper Loaded in the Trays
After loading paper in the trays, you must manually specify the size and orientation of
the paper.
The following procedure describes how to specify on the Control Panel the size and
orientation of the paper.
1.
Hold down the <Paper Supply> button
for four seconds.
The machine enters the Paper Setting
Mode.
2.
Press the <Paper Supply> button
repeatedly until the desired tray
indicator lights up on the Machine
Diagram (mimic).
NOTE:
When pressing the <Paper Supply>
button, the size and orientation of paper in
the selected tray appears in the Display.
<Paper Supply>
button
Summary of Contents for WorkCentre 5020DN
Page 1: ...User Guide www xerox com support WorkCentre 5020 DN XE3026EN0 1...
Page 6: ...6...
Page 38: ...2 Product Overview 38...
Page 86: ...6 Printing 86...
Page 92: ...7 Glossary 92...
Page 96: ...Index 96...


