June 2014
4-13
Xerox® Phaser® 3020 Printer Service Manual
REP 1.10
Repairs
REP 1.10 LSU
Parts List on PL 3.6
Removal
WARNING
Use extreme care when replacing the Raster Output Scanner / LSU (ROS) or touching
the high vol
e lead. Discharge the laser assembly by touching the high voltage lead to the machine
frame. The ROS utilizes a laser assembly that stores a high voltage charge after the
power has been removed and represents a shock hazard that could cause serious per-
sonal injury if not discharged.
DANGER: Faire très attention lors du changement du générateur de balayage / LSU
(ROS) ou lors de la manipulation du câble de haute tension. Décharger le système laser
en touchant le câble HT au bâti machine: le ROS utilise un système laser qui retient une
haute tension après la coupure de l'alimentation, représentant un risque de choc et de
graves blessures.
AVVERTENZA: Fare estrema attenzione nel sostituire il Raster Output Scanner / LSU
(ROS) o nel toccare il cavo di alta tensione. Scaricare il complessivo laser collegando il
cavo di alta tensione col telaio della macchina. Il ROS utilizza un complessivo laser che
ritiene una carica di alta tensione dopo il taglio dell'alimentazione con conseguente
grave pericolo di scossa elettrica e serie ferite.
VORSICHT: Beim Ersetzen der Lasereinheit / LSU (ROS) und beim Umgang mit Hoch-
spannungsleitern ist äußerste Vorsicht geboten. Die Lasereinheit muss durch Berühren
des Hochspannungsleiters mit dem Gehäuse des Geräts entladen werden. Nach Betrieb
der Lasereinheit (ROS) bleibt immer eine Hochspannungsladung zurück, welche ein
hohes Elektroschockrisiko darstellt. Äußerste Vorsicht ist geboten.
AVISO: Use extrema precaución para sustituir el Escáner de salida ráster / LSU (ROS) o
tocar el cable de alto voltaje. Descargue el sistema láser tocando el cable de alto voltaje
del bastidor de la máquina. El ROS utiliza un sistema láser que retiene carga de alto
voltaje después de interrumpir la alimentación de energía y representa un grave peligro
que puede ocasionar daños personales graves si no se descarga.
1.
Switch Off the Printer and unplug the Power Cord.
2.
Remove the Print Cartridge.
3.
Remove the following covers:
a.
Left and Right Side Covers (
REP 1.2
).
b.
Rear Cover (
REP 1.3
).
c.
Front Cover (
REP 1.1
).
d.
Top Cover (
REP 1.4
).
4.
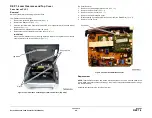
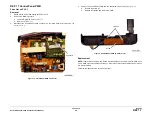
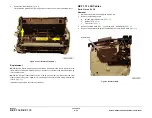
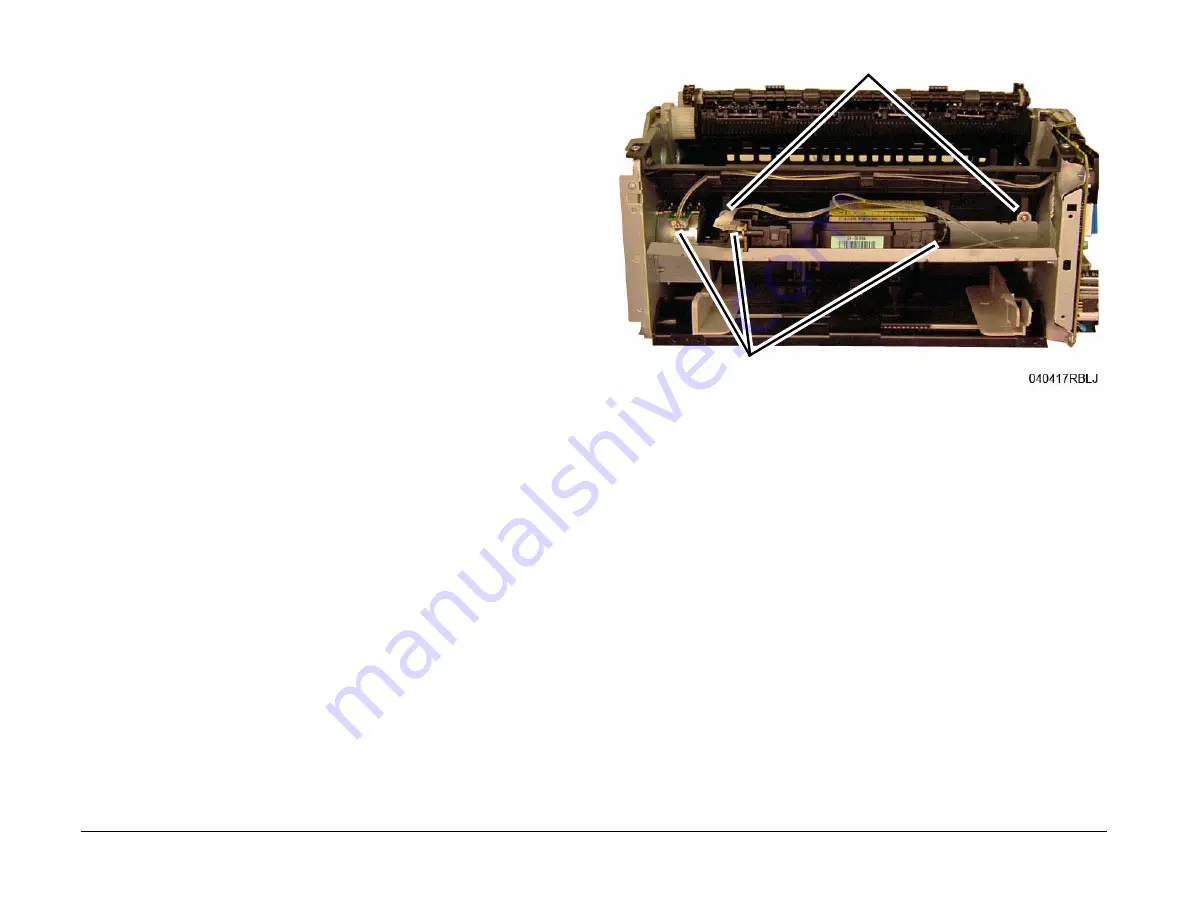
Perform the following (
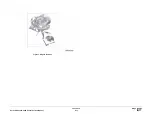
Figure 1
):
a.
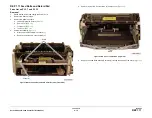
Disconnect the Drive Motor connector (1).
b.
Disconnect the LSU Flat Cable connectors (2).
NOTE: The Flat Cable may be adhered to the LSU. Detach it from the LSU and rein-
stall it on the new LSU in the same location.
c.
Remove the inside LSU cover screws (2).
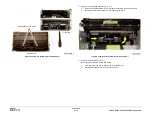
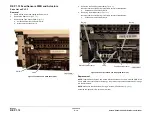
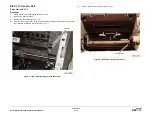
Figure 1 LSU Connectors and Screws (Front View)
Screws
Connector
Summary of Contents for Phaser 3020
Page 1: ...Xerox Phaser 3020 Service Manual 702P02829 June 2014 Initial Issue ...
Page 2: ......
Page 4: ...June 2014 2 Xerox Phaser 3020 Printer Service Manual Initial Issue ...
Page 6: ...June 2014 ii Xerox Phaser 3020 Printer Service Manual Introduction ...
Page 18: ...June 2014 1 2 Xerox Phaser 3020 Printer Service Manual Service Call Procedures ...
Page 24: ...June 2014 2 2 Xerox Phaser 3020 Printer Service Manual Status Indicator RAPs ...
Page 36: ...June 2014 3 2 Xerox Phaser 3020 Printer Service Manual Image Quality ...
Page 46: ...June 2014 3 12 Xerox Phaser 3020 Printer Service Manual IQ11 Image Quality ...
Page 48: ...June 2014 4 2 Xerox Phaser 3020 Printer Service Manual Repairs ...
Page 74: ...June 2014 4 28 Xerox Phaser 3020 Printer Service Manual REP 1 18 Repairs ...
Page 76: ...June 2014 5 2 Xerox Phaser 3020 Printer Service Manual Parts List ...
Page 88: ...June 2014 6 2 Xerox Phaser 3020 Printer Service Manual General Procedures and Information ...
Page 108: ...Xerox Phaser 3020 Printer Service Manual June 2014 BSDs THIS PAGE INTENTIONALLY BLANK ...

