Feeder trays
1-6
Guide to Performing Routine Maintenance
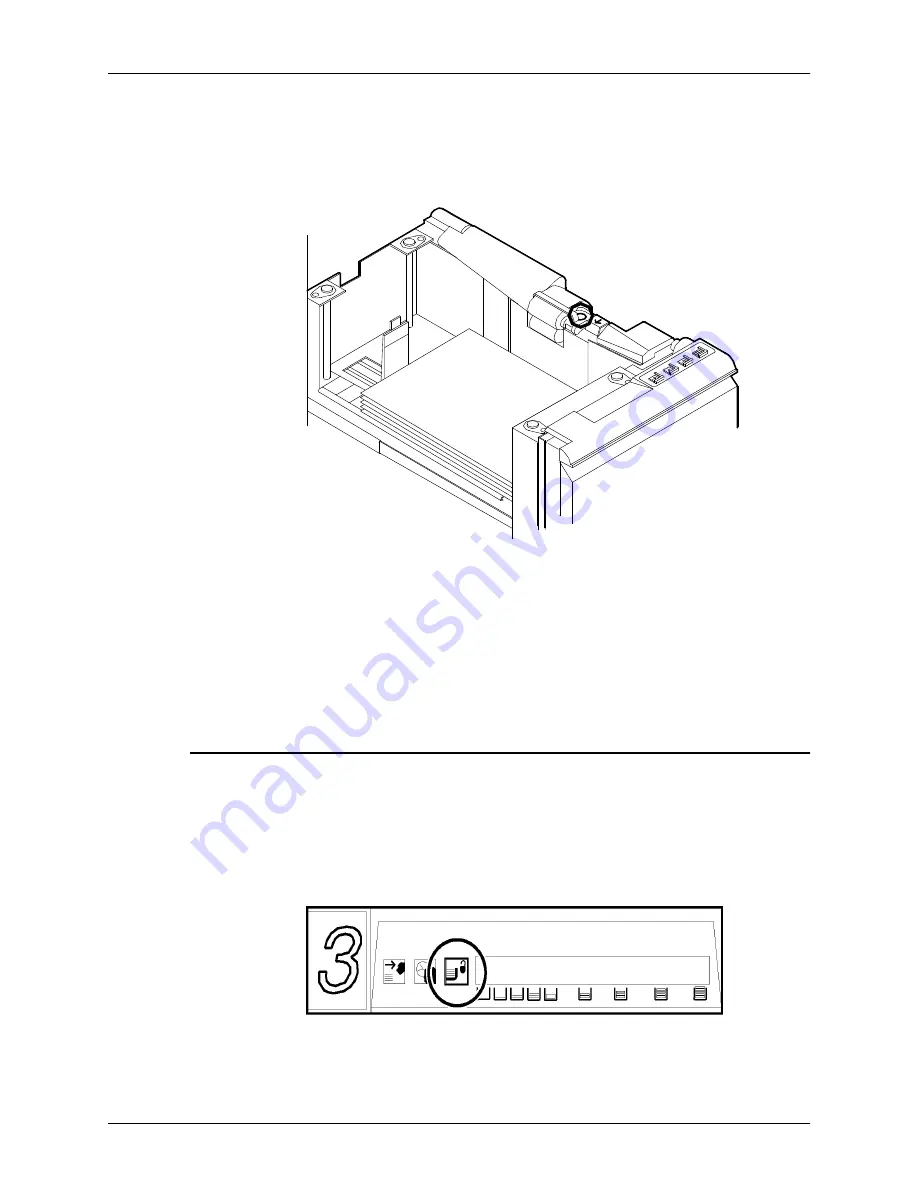
9. Latch the paper feeder assembly by pressing the green dot
next to the green release lever until the assembly clicks into
position.
10. Push the tray in slowly but firmly until it latches. Do not slam
the tray closed. This can cause improper latching or machine
damage.
11. If the printer stopped due to a low paper condition, press the
Continue button on the printer control console to resume
printing.
Loading trays 3, 4, 5, and 6
Follow these steps to load feeder trays 3,4,5, and 6:
1. Select the tray you want to load by pressing the Tray Unlock
button on the door of the paper tray or by touching the
appropriate unlock icon on the printer console.
NOTE: If the printer has stopped due to a low paper
condition, you do not need to press the Tray Unlock button.
Summary of Contents for DocuPrint 180
Page 12: ...Safety xii Guide to Performing Routine Maintenance...
Page 26: ...Feeder trays 1 10 Guide to Performing Routine Maintenance...
Page 30: ...Output trays and bins 2 4 Guide to Performing Routine Maintenance...
Page 36: ...Fuser agent 3 6 Guide to Performing Routine Maintenance...
Page 44: ...Replacing the dry ink waste container 5 4 Guide to Performing Routine Maintenance...
Page 50: ...Cleaning 6 6 Guide to Performing Routine Maintenance 4 Close the printer doors...
Page 58: ...Maintenance and support services 7 4 Guide to Performing Routine Maintenance...


