


Xerox Document Centre System Administration Guide
Page 4 - 3
4.
Ce
nt
re
War
e
D
evi
ce
A
d
m
in
W
iza
rd
4.
C
e
n
tr
e
W
a
re
D
evi
ce
A
d
mi
n Wiz
a
rd
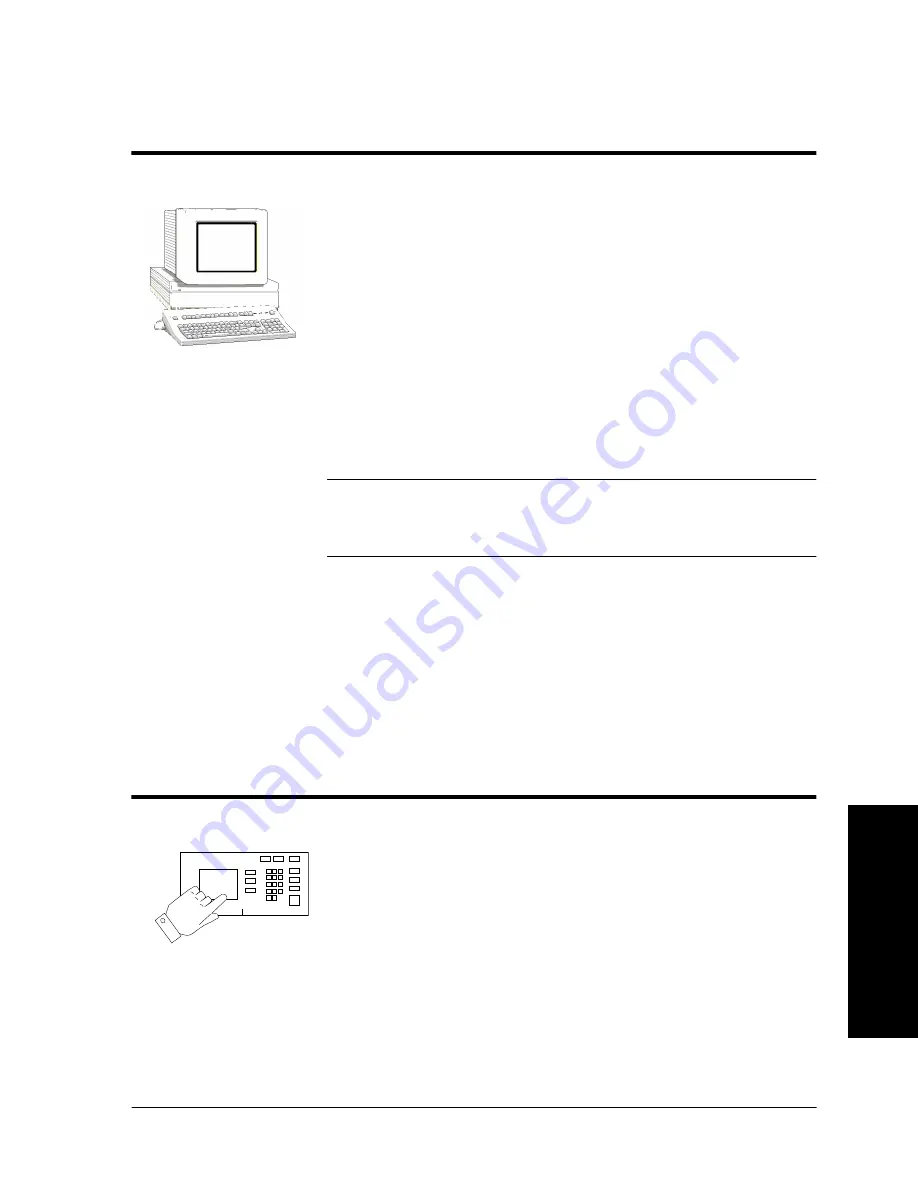
Go to the workstation and...
1.
From the desktop click the Start button on the Task Bar.
2.
Select the Programs entry in the menu.
3.
From the cascade menu select the Xerox CentreWare entry.
4.
On the next cascade menu select the Device Admin Wizard.
5.
The Device Admin Wizard will start.
6.
Follow the instructions on each Device Admin Wizard
Screen to setup the Document Centre on your network.
Context sensitive help is available for each step.
NOTE
You will be asked for a password, enter “1111” (or the current
Admin password for your printer that you would enter from the
keypad), then click OK.
7.
The Device Admin Wizard will complete the installation by
writing the settings to the Document Centre and the Novell
Server.
Go to the Document Centre and...
1.
Power off and power on the Document Centre so the setup
selections will take effect.
2.
Wait a MINIMUM of 7 minutes for the printer to reset.
Summary of Contents for 490ST - Document Centre B/W Laser Printer
Page 10: ...x Xerox Document Centre System Administration Guide ...
Page 28: ...Page 2 6 Xerox Document Centre System Administration Guide ...
Page 42: ...Page 3 14 Xerox Document Centre System Administration Guide ...
Page 52: ...Page 5 6 Xerox Document Centre System Administration Guide ...
Page 62: ...Page 7 4 Xerox Document Centre System Administration Guide ...
Page 84: ...Page 11 6 Xerox Document Centre System Administration Guide ...
Page 88: ...Page 12 4 Xerox Document Centre System Administration Guide ...
Page 96: ...Page 13 8 Xerox Document Centre System Administration Guide ...
Page 106: ...Page 15 6 Xerox Document Centre System Administration Guide ...
Page 218: ...Page 16 112 Xerox Document Centre System Administration Guide ...
Page 250: ...Page 19 10 Xerox Document Centre System Administration Guide ...


