Service Guide
117
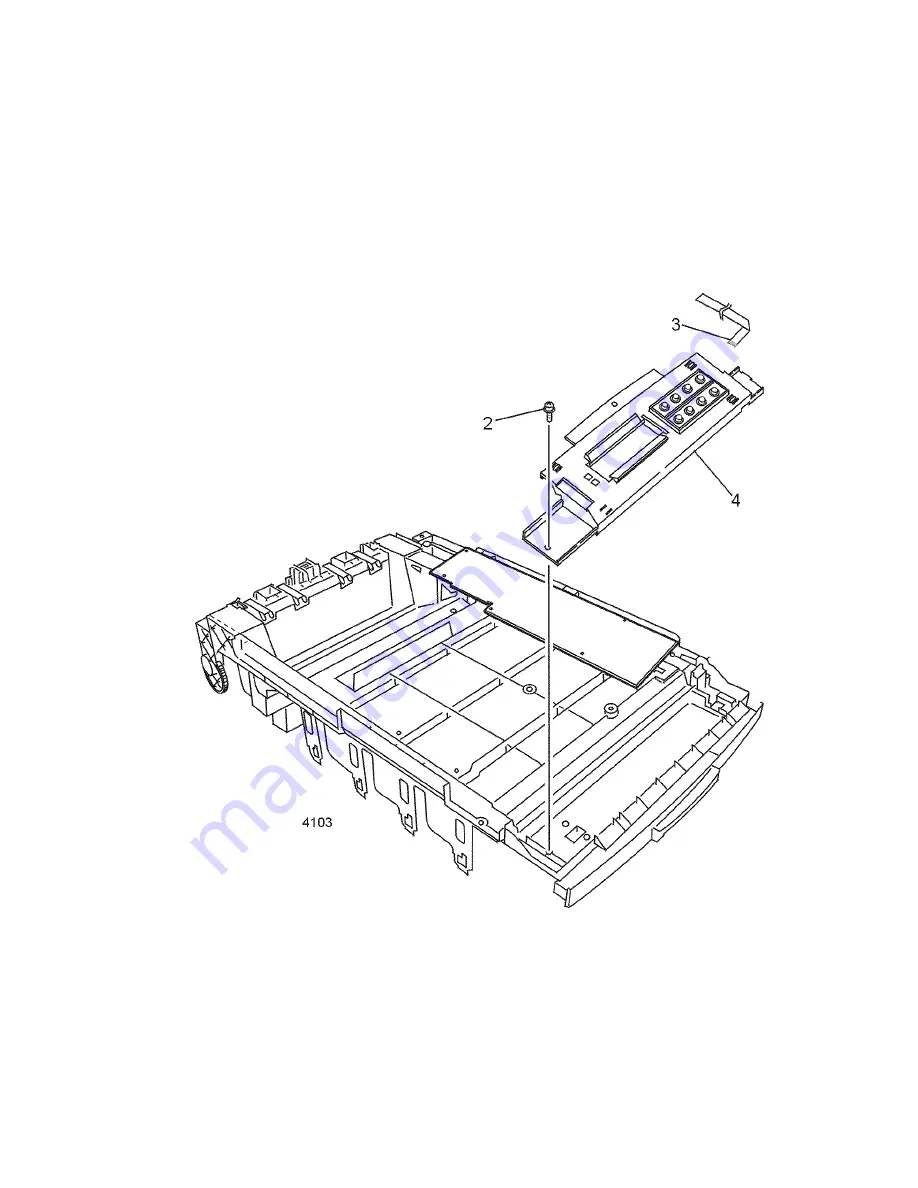
Control panel
Warning
Switch off the power and disconnect the power cord.
1.
Remove the top cover as detailed in “Top cover” on page 87.
2.
Remove the screw securing the left side of the control panel.
3.
Lift the control panel and disconnect CN1 from the back of the panel.
4.
Remove the control panel.
Reverse these steps to install the control panel.
Removing the control panel
Summary of Contents for 1235DT - Phaser Color Solid Ink Printer
Page 13: ...xiv Phaser 1235 Network Color Printer...
Page 33: ...20 Phaser 1235 Network Color Printer...
Page 77: ...64 Phaser 1235 Network Color Printer...
Page 93: ......
Page 97: ......
Page 99: ......
Page 103: ...90 Phaser 1235 Network Color Printer...
Page 199: ......
Page 202: ...Service Guide 189 Figure 1 Cabinet FRUs...
Page 204: ...Service Guide 191 Figure 2 Top cover FRUs...
Page 206: ...Service Guide 193 Figure 3 Printer chassis FRUs 1 of 2...
Page 208: ...Service Guide 195 Figure 4 Printer chassis FRUs 2 of 2...
Page 210: ...Service Guide 197 Figure 5 Paper tray FRUs...
Page 212: ...Service Guide 199 Figure 6 Paper tray guide FRUs...
Page 214: ...Service Guide 201 Figure 7 Multi sheet bypass feeder FRUs...
Page 216: ...Service Guide 203 Figure 8 Electrical components FRUs...
Page 217: ...204 Phaser 1235 Network...
Page 218: ...Service Guide 205 Figure 9 Duplexer unit...
Page 220: ...Service Guide 207 Figure 10 LowerTray Assembly FRUs...
Page 228: ...Service Guide 215 Wiring Diagram Wiring diagram part 1 of 3...
Page 229: ...216 Phaser 1235 Network Color Printer Wiring diagram part 2 of 3...
Page 230: ...Service Guide 217 Wiring diagram part 3 of 3...
Page 232: ...Service Guide 219 Wire routing at the top of the engine controller board Tie wrap...
Page 233: ...220 Phaser 1235 Network Color Printer Detail of wiring passthru...
Page 235: ...222 Phaser 1235 Network Color Printer...
Page 236: ...NOTES...
Page 237: ...NOTES...
Page 238: ...NOTES...
Page 239: ...NOTES...


