Chapter 12 - Accessories • 209
2.
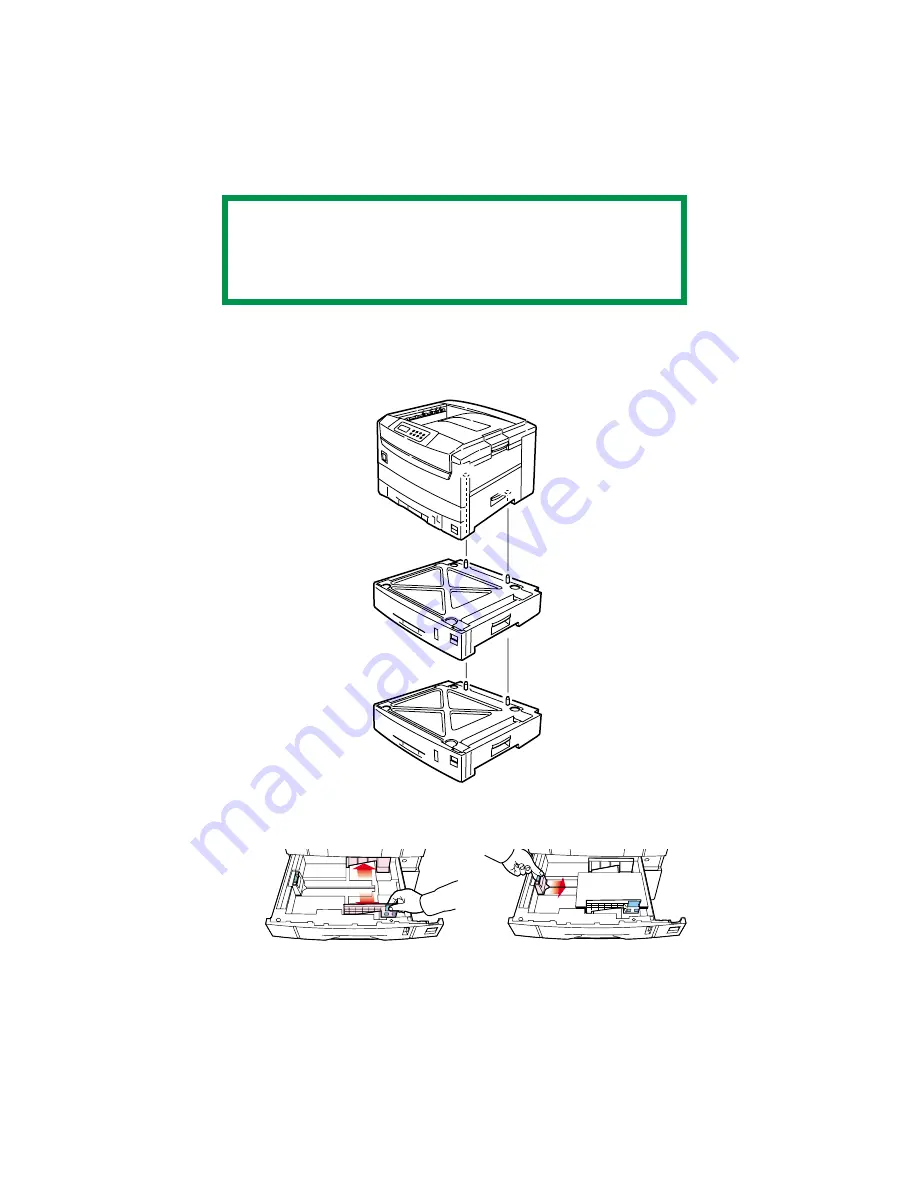
Lower the printer
gently
on to the additional paper tray unit
aligning the holes and connection socket on the base of the
printer with the locating pegs and connector on the additional
paper tray unit.
3.
Load paper in each tray, using the same procedure you use for
loading paper in Tray 1.
NOTE
If installing both additional paper trays, put the two
additional paper trays together as one unit first, then install
the printer on top of the two additional paper trays.
Summary of Contents for CL30
Page 1: ......
Page 21: ...Chapter 2 Getting Started 12...
Page 61: ...Chapter 3 Setting Up 52...
Page 62: ...Chapter 3 Setting Up 53 Item Value...
Page 63: ...Chapter 3 Setting Up 54 Item...
Page 64: ...Chapter 3 Setting Up 55...
Page 83: ...Chapter 3 Setting Up 74...
Page 85: ...Chapter 4 Mac OS 8 6 9 2 2 Printer Driver 76 4 Click Select to activate the Description file...
Page 89: ...Chapter 4 Mac OS 8 6 9 2 2 Printer Driver 80...
Page 91: ...Chapter 4 Mac OS 8 6 9 2 2 Printer Driver 82...
Page 121: ...Chapter 5 Mac OS 8 6 9 2 2 Operation 112...
Page 123: ...Chapter 6 Mac OS 10 1 5 Printer Drivers 114...
Page 204: ...Chapter 11 Troubleshooting 196...


