e X a c t A u t o - S c a n S y s t e m
12
Operating the System
You should refer to the online help in the software application for procedures on creating and selecting
color bars. The following information is provided to familiarize you with the mechanical aspects required
when measuring.
Sheet Loading and Alignment
The press sheet can be loaded from the back and passed through the track or from the front to align the
color bar. The press sheet is held in place by the supplied magnets or series of vacuum holes if the
optional pump is used.
CAUTION:
CLASS 1 LASER PRODUCT
1.
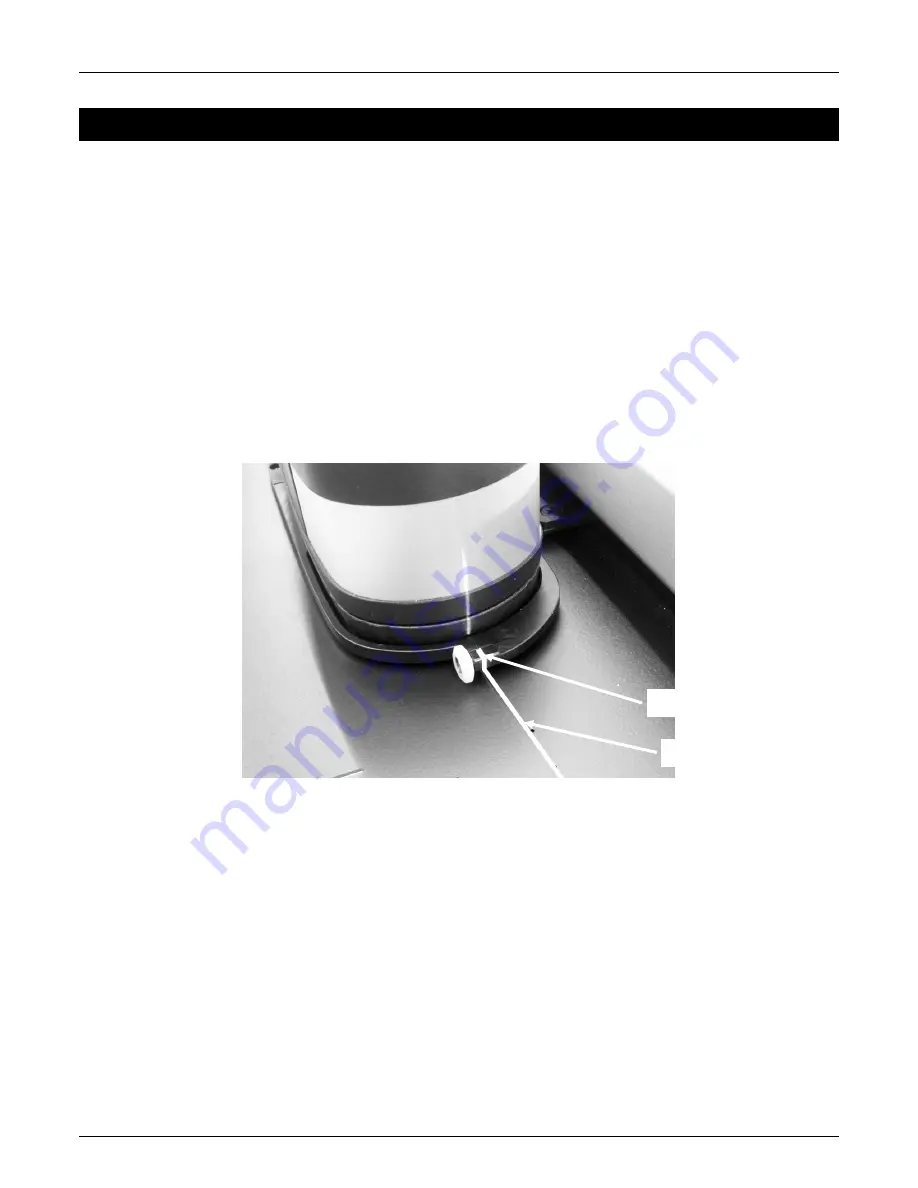
If not already done, slide the instrument and scanning trolley against the charging station. This will
activate the alignment laser.
NOTE:
Make sure the laser line is centered on the white dash mark at the end of the scanning trolley. If
the laser is not centered, you will need to align the laser before scanning. Refer to the Laser Alignment
Procedure in the Appendix.
2.
Place the edge of the press sheet at the white line (1) in front of the scanning trolley.
3.
Manually align the color bar so that the laser line (2) runs down the center of the color bar to be
measured.
NOTE:
After 30 seconds, the laser line will turn off if a measurement is not started. To reactivate the
laser use one of the following methods:
•
move the trolley away from the charging station and then return it back to the charging
station
•
turn on the laser using the icon in the eXact InkKeyControl software
•
press the Operation button on the eXact-Scan system
•
use the optional foot switch if that is part of your configuration
4.
If required, locate paper stop/flat hold down magnets (3) at the top edge of the press sheet to help
with the alignment of additional sheets. Refer to the next page for additional paper stop alignment
option.
White dash mark
Laser line
Summary of Contents for PANTONE exact Auto-Scan
Page 1: ...Auto Scan Setup and Operation ...
Page 2: ......
Page 13: ...e X a c t A u t o S c a n S y s t e m 11 Charging station 5 ...


