www.WoodMaxx.com
10
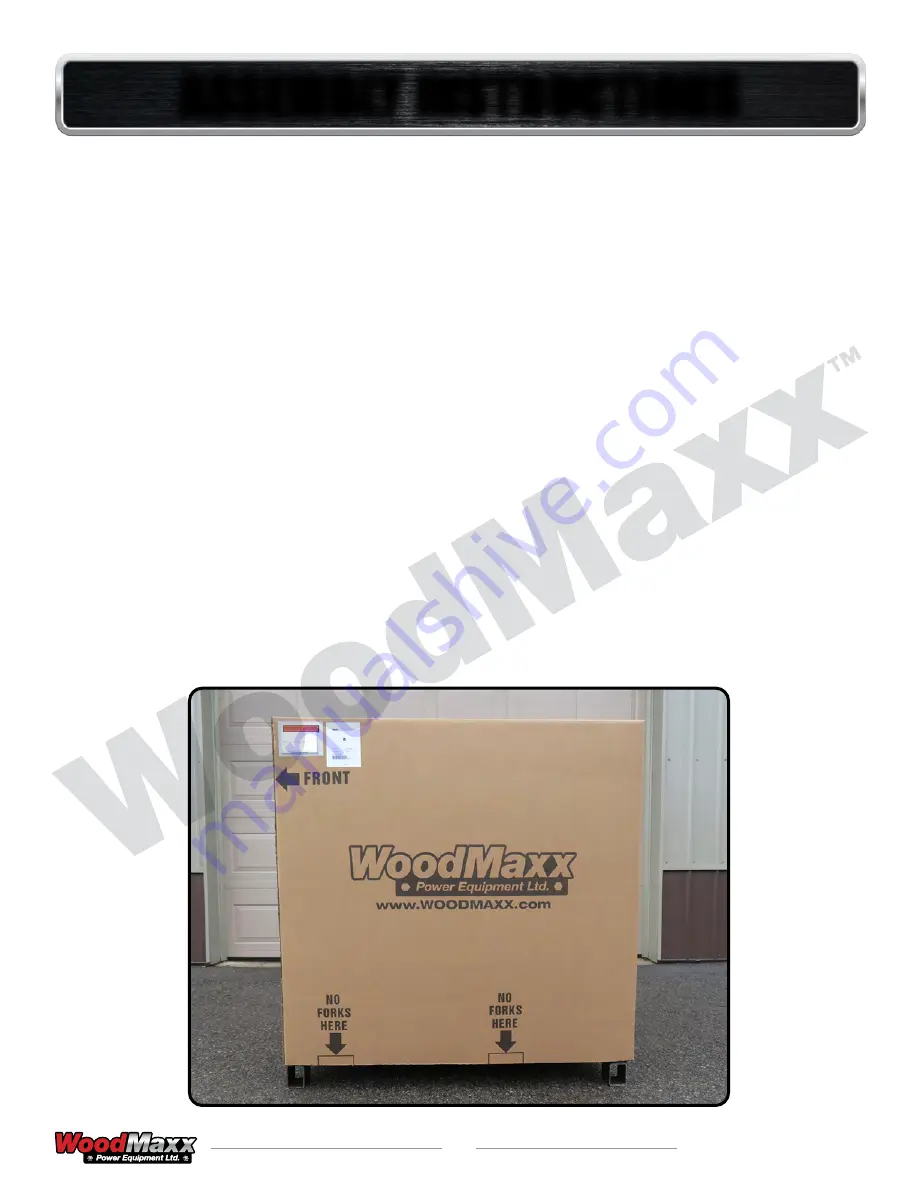
• Your chipper will need to be set up prior to installation. It arrives in a steel crate that can
be dismantled in minutes.
• The infeed bin and discharge chute are shipped with the unit and are located in the
bottom of the steel crate.
• Visually inspect the infeed bin, and the fly wheel before attaching to tractor, and applying
power to ensure that nothing is in the chipper head. If the chip deflector or any of the
guards have been removed for shipping, be sure to replace them properly before use.
• The PTO (Driveline) is also shipped with the unit and is located in the bottom of the steel
crate.
• When mounting, keep the chipper as close to the tractor as possible.
•
IMPORTANT
- Make sure that the PTO shaft is sized properly. See
PTO Shaft Sizing
Instructions
on page 20 of this manual.
• While in use, keep the PTO shaft as straight as possible. Your PTO shaft will be more
efficient and will have a longer life if it is as close to level as possible.
No more than 25° degrees from level is acceptable.
• Do not operate the chipper without the chip deflectors, and or drive belt cover properly in
place.
• Read and understand all assembly instructions prior to assembly.
ASSEMBLY INSTRUCTIONS
ASSEMBLY INSTRUCTIONS
Summary of Contents for WM-8M
Page 1: ......
Page 58: ...3 20...


