PETS-2 Crossing Telephone System
QUICKFIX INSTALLATION HANDBOOK
Page 21
of 40
Issue 2
13/12/99
21
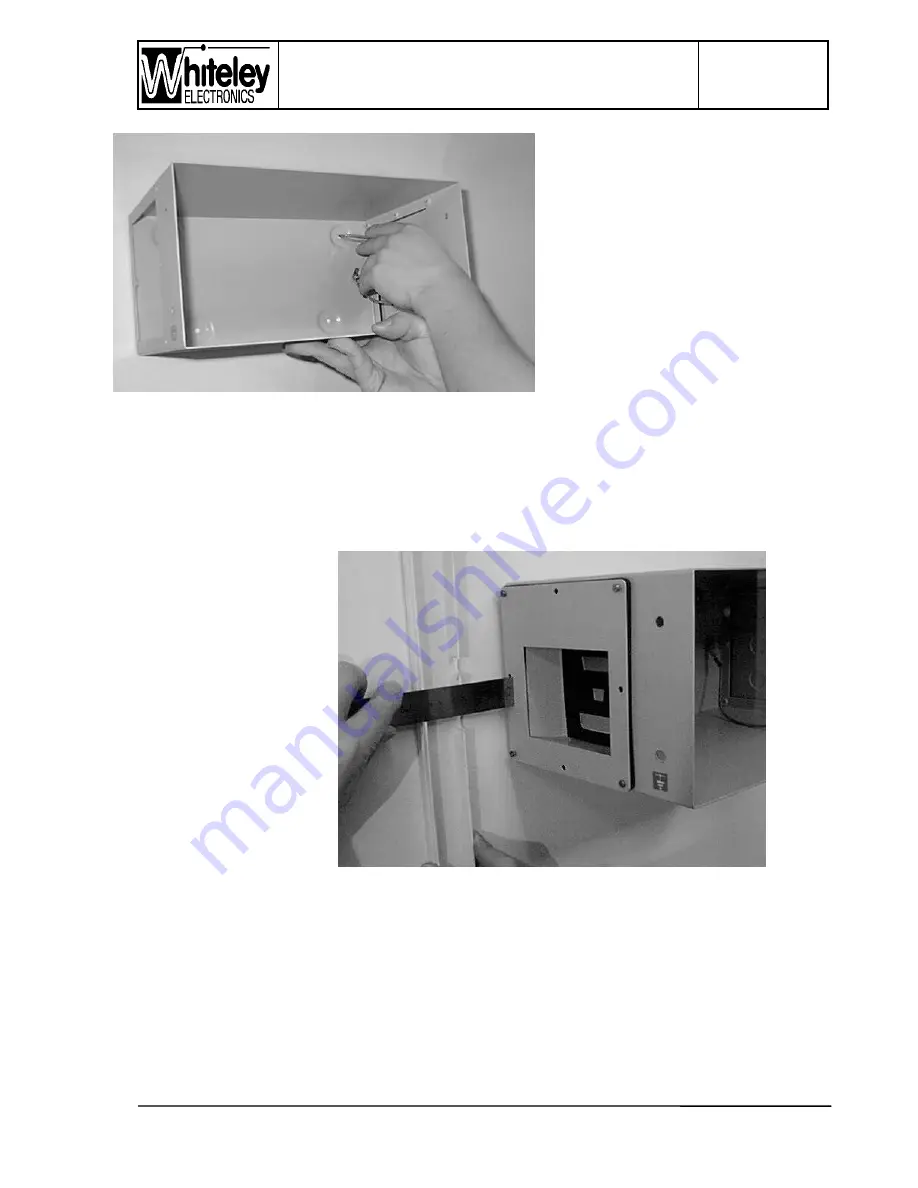
a) The case is now free of electronic
parts. Hold the case in the desired
installation position, making sure it
is level. IMPORTANT - THE
REAR FIXING HOLES ARE NOT
SYMETRICAL. THE WIDELEY
SPACED HOLES SHOULD BE
TOWARDS THE TOP, THE
EARTH TAG TO THE RIGHT.
Mark the four fixing positions
through the holes (in the centre of
the back panel ‘bumps’). Use the
most appropriate wall fixing
method, e.g. drill and plug for
masonry/ brick, make a pilot hole for wood and bolt/ or drill and tap for metal. When
installing the Level Crossing Unit in damp locations a rubber washer will be required
either at the back or directly under the screw head (a steel washer is recommended
between the screw head and the rubber washer); this arrangement is needed to prevent
water ingress through the fixing holes. IMPORTANT - CHECK TO ENSURE THE
SCREW HEAD PROTRUDES NO MORE THAN 4mm ABOVE THE BACK PANEL OF
THE CASE.
a) It may be useful to
temporarily fix with
just two screws whilst
trunking is fitted down
the left hand side.
The cables from each
connector exit
towards the wall; by
fitting the Connection
Plate the locations
may be identified.
Plastic trunking is
recommended, with
an end cap fitted to
the top of the
trunking, the trunking
cover can be modified
with cable cutters to create an entry point for each of the cables.
b) Check to ensure the case is installed level and is firmly fixed to the wall, the fixing screws
should be fully tightened.
c) Peel of the pieces of black PVC tape from the inside base of the case. Each piece
should be placed centrally over the wall fixing screw head. This will ensure the wall fixing
is sealed and is a precautionary measure to prevent contact with the rear of the frame
motherboard (when re-installed).
d) Fit the Junction Box to the wall. Its position may be determined by the trunking and the 2
metre cable length. At this stage a temporary fix is recommended.


