28
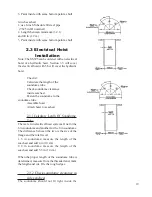
Alignment considerations:
a) Only DC power pack can be
installed on the hoist rack. The rack opposite the
limited switches is the only rack leg the power pack
can be attached to.
b) The AC power pack must be
installed on a bulkhead. The DC power pack can
also be installed on a bulkhead and not on the
rack. Rotate the hoist so the rack leg with the limit
switches is adjacent to the bulkhead that has the
power pack. This will avoid crossing the hydraulic
lines.
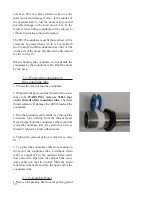
4. Bolt the hoist flange to the seachest. Apply
ANTI-SEIZE on the bolt threads. Insert the bolts
from the bottom up. Use the lock washer and nuts
and tighten in place.
5. Tighten the packing gland cap bolts finger tight.
Use wrench and tighten each bolt one full turn,
repeat for a total of two turns.
NOTE: When the vessel is back in the water, cycle
the hoist up and down four times. Check the pack-
ing gland for water. It is normal for the packing
gland to weep but not drip. Tighten if necessary.
2.6.5 Install hydraulic power pack
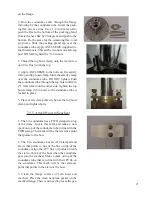
1. Install the DC power pack on the rack leg op-
posite the leg with the limit switches. About half
way up on the leg are two holes where the DC
mounting bracket will bolt to. Use ANTI-SEIZE
and tighten in place. Connect the hydraulic lines
to the cylinder.
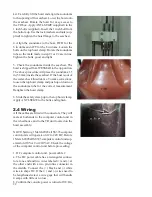
2. Install the AC power pack to the bulkhead. Use
the mounting bracket attached to the motor. Gener-
ally taped standoffs are welded to the bulkhead and
the motor will bolt to them. The hydraulic lines will
2. Clean the flange surfaces of the seachest and
hoist. Place the neoprene gasket on the seachest
flange.
3. Lift the hoist assembly and set it on top of
the seachest. Rotate the flange to coincide with
the hoist power pack and limit switches for easy
maintenance.
Summary of Contents for SS395
Page 36: ...36...

