26
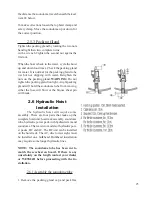
from inside the packing gland on the flange.
2. Run the soundome tube through the flange
and stop when the tube is half way up the rack
assembly.
3. Insert the packing flax one at a time. Use a
screwdrive to push the flax to the bottom of the
packing gland. Rotate the next flax by 90 degrees
and push to the bottom. Do the same for the
remaining pieces, six in total. Slide the packing
gland cap over the soundome tube and down so
it is touching the flax. Apply ANTI-SEIZE to the
gland cap bolts and thread them in finger tight.
Do not tighten at this time.
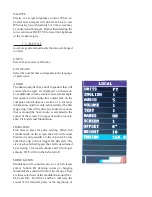
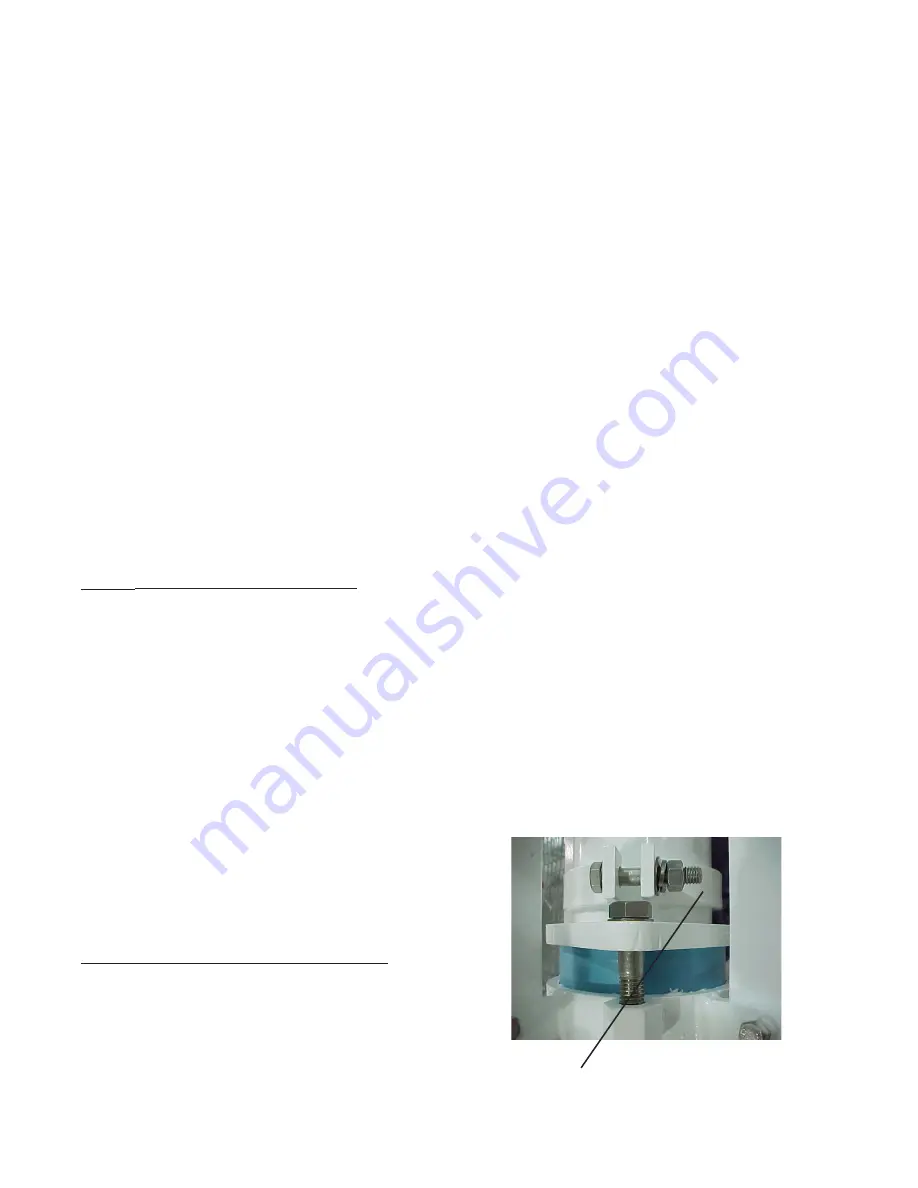
4. Slide the tube safety clamp over the soundome
tube.
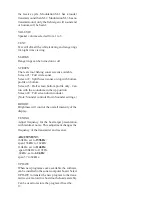
5. Slide the tube guide clamp over the soundome
tube.
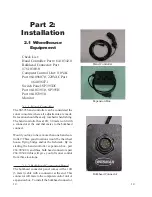
2.6.2 Install the soundome
1. Clean the matting surfaces of the soundome
and soundome tube flange.
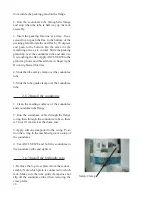
2. Run the soundome cable through the flange
o-ring then through the soundome tube so there
is 1 foot 30 cm slack at the dome end.
3. Apply silicone compound to the o-ring. Posi-
tion the o- ring in the machined groove on top of
the soundome.
4. Use ANTI-SEIZE and bolt the soundome to
the soundome tube and tighten.
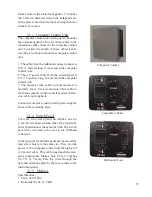
2.6.3 Install the hydraulic ram
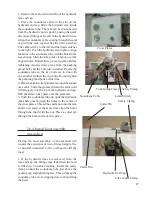
1. Remove the top cross plates from the rack as-
sembly. Note which plate is connected to which
rack. Make sure the tube guide clamp does not
slip off the soundome tube when removing the
cross plates.
Safety Clamp
Summary of Contents for SS395
Page 36: ...36...

