27
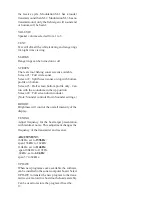
2. Remove the cable strain relief from the hydraulic
ram end cap.
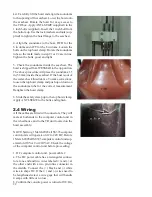
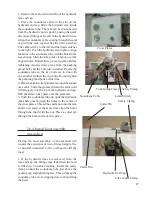
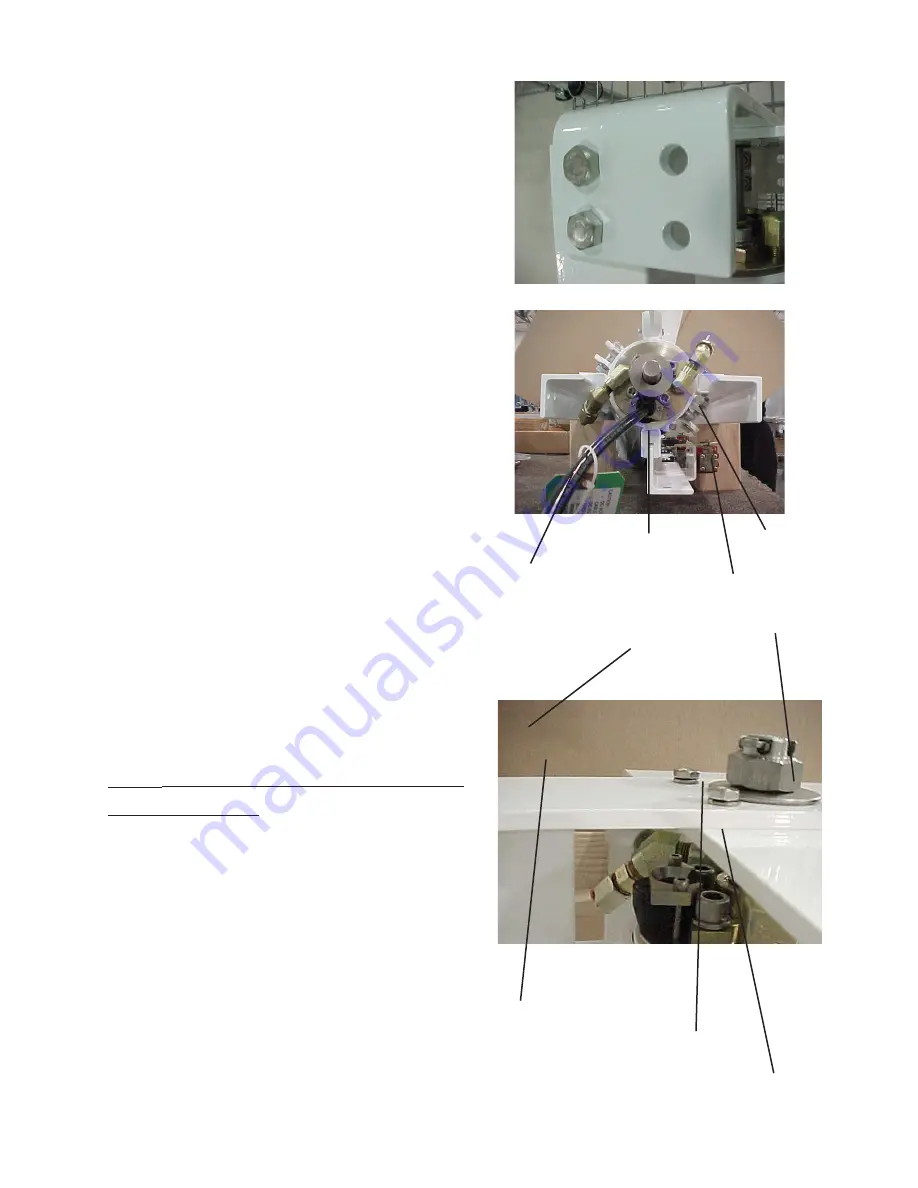
3. Place the soundome cable in the slot on the
hydraulic end cap. Slide the hydraulic ram inside
the soundome tube. The ram can be disconnected
from the hydraulic power pack by using the quick
disconnect fittings at the end of the hydraulic lines.
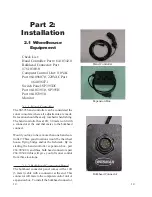
Align the soundome cable coming through the end
cap with the rack leg that has the limit switches.
The cable will be to the left and the limit switches
to the right. Push the hydraulic ram in place. Align
the holes in the soundome tube with the holes in the
ram end cap. Slide the tube guide clamp up over the
aligned holes. Bolt all three pieces together. Before
tightening visually draw a line from
the packing
gland bolt and the bolt just installed. Rotate the
soundome tube so the two bolts are in line with
one another Tigthen the two bolts. Do not tighten
the packing gland bolts at this time.
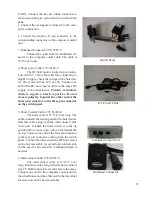
4. Place the strain relief grommet around the sound-
ome cable. Slide the grommet down the cable until
it fits snuggly into the top of the hydraulic end cap.
Bolt the strain relief plate over the grommet.
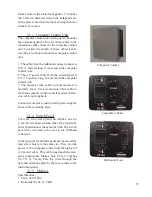
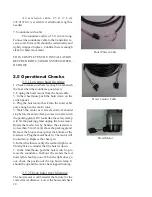
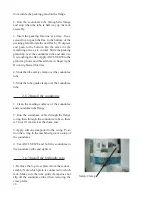
5. Push the soundome tube up until the hydraulic
ram shaft goes through the holes in the center of
the cross plates. Thread the castle nut onto the ram
shaft so its snug; at the same time align the holes
through the shaft with the nut. Place a cotter pin
through the hole and lock it in place.
2.6.4 Install hoist assembly
on seachest
Placing the hoist assembly on the seachest will
require the assistance of two or three helpers. Use
a chainfall connected to the overhead to lift the
load.
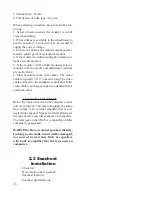
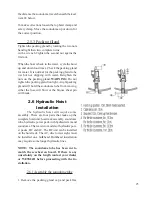
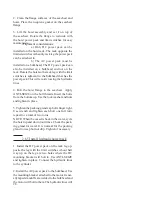
1. If the hydraulic lines are removed from the
ram end cap, the fittings may leak when the hoist
is lifted up. To reduce leaking, install the safety
clamp around the soundome tube just above the
packing cap and tighten inplace. This will keep the
soundome tube from slipping down when lifting
the hoist.
Cotter Pin
Castle Nut
Hydraulic End Cap
Safety Clamp
Tube Guide Clamp
Soundome Cable
Tube Guide Clamp Safety Clamp
Limit Switch
Cross Plates
Summary of Contents for SS395
Page 36: ...36...

